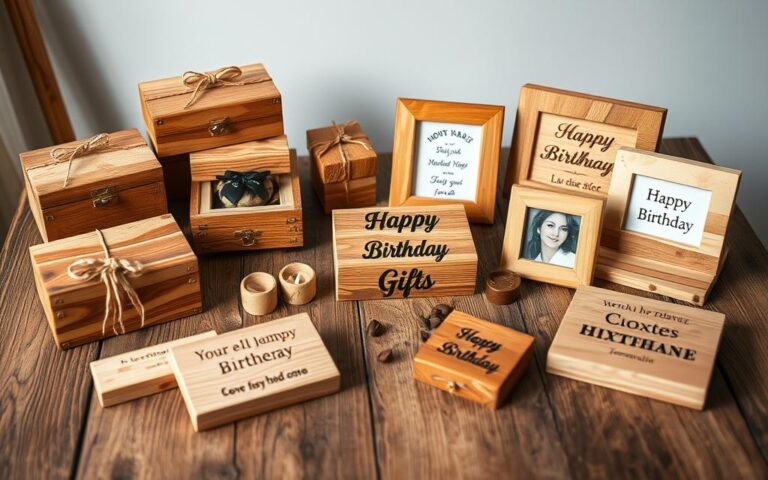
Did you know the personalized product market has grown over 25% lately? This increase shows how much people love custom things, like wood burned gifts. Wood burning, or pyrography, lets you make one-of-a-kind gifts. These add a personal touch to any special moment.
This DIY guide will show you how to craft custom pyrography items. You’ll boost your creativity and make meaningful presents. By choosing the right materials and improving your skills, you’ll turn simple wood pieces into amazing gifts. Your loved ones will treasure these for many years.
Introduction to Wood Burning as a Craft
Wood burning, also known as pyrography, is the art of designing on wood with heat. It is becoming very popular for its unique creations that show personal style. Many artists now use this craft to make special gifts.
What is Wood Burning?
Wood burning uses a heated tool to etch designs onto wood. This method lets artists create detailed designs, pictures, or words. These add beauty and meaning to the gifts, making wood burning popular among craft lovers.
Benefits of Wood Burned Gifts
Wood burned gifts are special because they are one-of-a-kind. They often are made just for the person, showing their interests or memories. People love these gifts for their beauty and the personal touch they bring.
Ideal Recipients for Wood Burned Gifts
Many people love getting wood burned gifts. They are great for family and friends on important days like birthdays or anniversaries. Even colleagues would enjoy them for office gifts. They’re perfect for anyone who likes unique, heartfelt gifts.
Essential Tools for Wood Burning
Creating amazing wood burn art is fun but needs the right tools. It’s key to know about wood burning gear, tips, and safety stuff. This knowledge sets you up to make awesome pyrography items.
Wood Burner Basics
The heart of wood burning is the pen or tool. You have simple ones and advanced soldering-style tools. Picking a comfy and reliable wood burner makes creating art better. It helps make your work from small details to big pictures look great.
Different Types of Tips
Tips are crucial for pyrography designs. They let you make cool details, shading, and textures. For example, a fine tip does great outlines, and a wide tip fills spaces. Trying different tips adds uniqueness to your work. Knowing each tip’s use helps get the look you want in your crafts.
Safety Equipment
Using wood burning tools wisely is important. Always wear goggles to protect your eyes from smoke and bits. Heat-resistant gloves save you from burns. And make sure to work in a well-ventilated area. Good safety gear means you can focus on creating safely and beautifully.
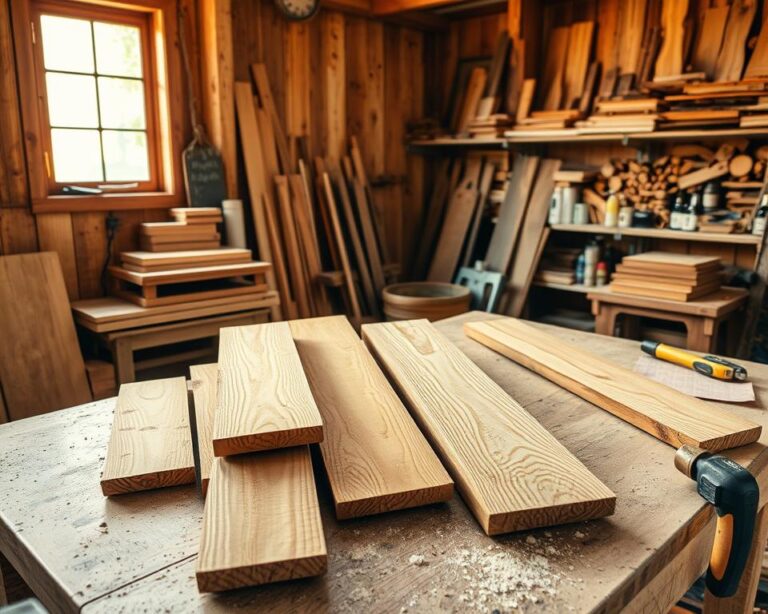
Choosing the Right Wood for Your Projects
Choosing the right wood is key for pyrography. Each wood type brings special traits that can make your wood burning art stand out. Knowing which woods to use can help you get better results and enjoy your work more.
Types of Wood for Burning
Different woods are chosen for wood burning because of their grain, how easy they burn, and how long they last. Some popular choices include:
- Basswood: Known for its smooth surface and light color, basswood is great for detailed art.
- Birch: Birch has a fine grain, perfect for clear details. It’s a top pick for pyrography artists.
- Maple: Maple is hard but still easy to work with. It’s durable, making it perfect for detailed designs.
Preparing Your Wood Surface
Getting your wood ready for burning is important. Prepped correctly, your wood lets the burner move smoothly and the designs stick well. Here’s how to prepare your wood:
- Sanding: Smooth the wood with fine-grit sandpaper to remove rough patches.
- Cleaning: Use a damp cloth to wipe away any dust and debris. This keeps your workspace clean.
- Drying: Always let the wood dry fully before you start burning to ensure it burns correctly.
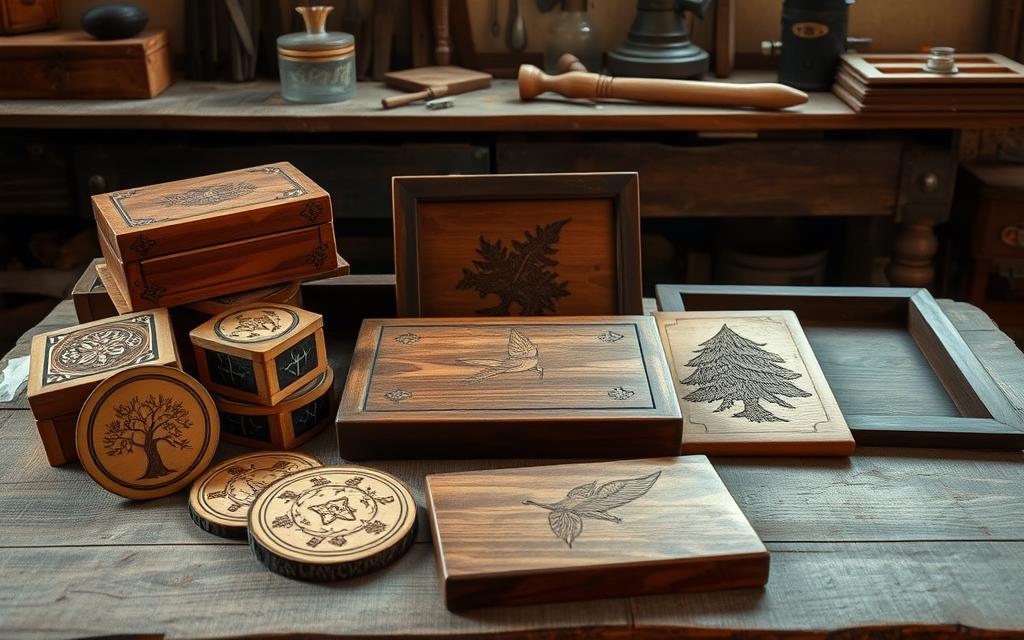
Designing Your Wood Burned Gift
Making wood burned gifts is both an art and a technique. Choosing the perfect design is the first step towards creating something unique. We will show you how to draw your designs and transfer them onto wood. This will make your projects truly stand out.
Sketching Your Designs
Start with an idea that matches the receiver’s taste or hobbies. You can draw your design by hand for something special or use prints for accuracy. Themes like nature, animals, quotes, or shapes are great. Trying new things can lead to surprising and beautiful results.
Tips for Transferring Designs to Wood
There are many ways to get your design onto the wood for burning. Using graphite paper is easy for tracing your design. Carbon transfer is another good choice, giving you a clear line to follow. Make sure the wood is clean for the best outcome. Getting the outline right is key to making your gift look amazing.
| Design Method | Description | Best For |
|---|---|---|
| Freehand Drawing | Allows for personal creativity and unique touches | Skilled artists looking for originality |
| Graphite Paper | Facilitates a clean transfer of printed designs | Beginners or those requiring precise outlines |
| Carbon Transfer | Utilizes carbon paper for a clear design outline | Those seeking accuracy and simplicity in the design process |
Step-by-Step Guide to Wood Burning
Starting a wood burning project means getting ready first. This guide helps you set up, master techniques, and stay precise. Use these pyrography tips to make something beautiful.
Preparing Your Workspace
First, make sure your space is clean and organized. Good light and air are key for comfort and safety. Keep your tools close to focus better. This setup helps with smoother moves and better control.
Proper Technique for Burning
For the best results, move your hand smoothly and steadily. Use the right heat for your wood to avoid damage. Try different angles and speeds to see what looks good. Starting gently and adding pressure helps you burn correctly.
Maintaining Control and Precision
Being precise is important in wood burning. Practice on scrap wood with various tips and styles. This helps you get good at detailed work. Keep your pressure even to make your lines look the same. These steps improve your work and create great gifts.
Adding Color and Finishing Touches
Color can make wood burned gifts look even more special. By adding color to wood burned gifts, artists can make their work stand out. There are many ways to add color, making every piece unique and eye-catching. It’s important to pick the right finishing touches to protect the art and make it look professional.
Techniques for Adding Color
There are lots of ways to add color to wood burned gifts. Some popular methods include:
- Wood Stains: These soak into the wood for a rich look. Water-based stains are easier to clean up.
- Paints: Acrylics give bright colors, and watercolors give a gentle effect.
- Colored Pencils: Made for wood, these pencils allow for detailed work.
Sealing and Finishing Options
After coloring your piece, it’s vital to protect it. Sealing it right can make it last longer. Some top finishing techniques for pyrography include:
- Clear Varnish: Makes the surface tough and improves colors while being waterproof.
- Wood Oil: Oils make the wood look deeper in color and nourish it.
- Polyurethane: Perfect for items used a lot, as it protects against damage.
Personalization Ideas for Wood Burned Gifts
Personalized wood burned gifts are more than just presents. They turn into treasures. By choosing designs that mean something to the person getting the gift, you make a lasting impression.
Initials and Monograms
Adding initials or monograms to wood gifts is a timeless idea. It makes the gift feel personal and truly special. It’s a joy for people to see their own initials carved into the wood, making the item uniquely theirs.
Special Dates and Quotes
Marking a gift with a significant date or a birth date makes it unforgettable. When you add a quote that’s meaningful, it deepens the connection. These touches turn simple gifts into timeless memories and bonds.
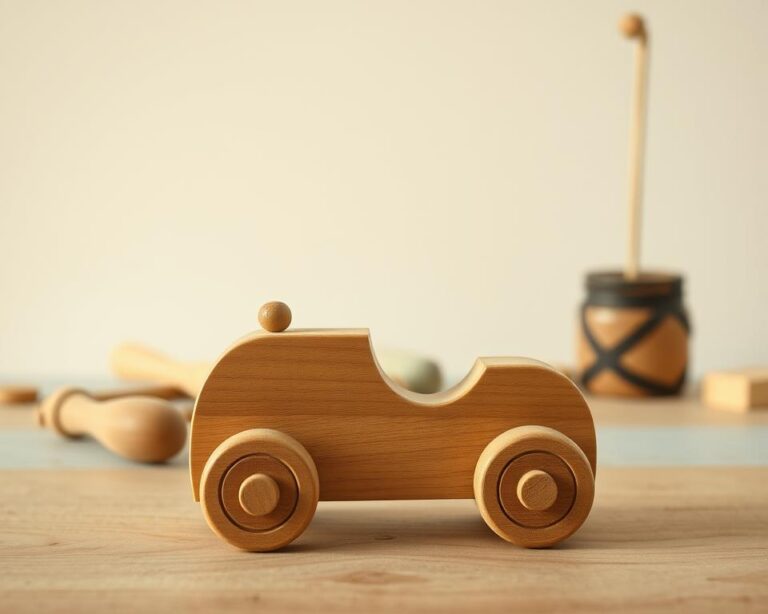
Themed Designs for Different Occasions
Themes related to special occasions add extra value to the gifts. Whether it’s a wedding, a holiday, or a birthday, themed gifts show thoughtful celebration. They turn into lasting memories of the event, treasured for years to come.
Common Mistakes to Avoid
Crafting beautiful wood burned gifts requires detailed attention. Even experts can miss important steps. By knowing the common mistakes in wood burning, you can improve your project’s quality. Let’s look at three big errors and how to avoid them for better wood burning work.
Overheating the Wood
Overheating the wood is a big mistake. Too much heat can leave unwanted burn marks or ruin the wood. To avoid this, keep the heat consistent and don’t linger too long on one spot. Always lift the burner often to check your work. This approach makes your final piece look better and keeps you safe.
Inconsistent Pressure
Uneven pressure during burning results in irregular lines and shading. This can mess up your design’s look. To fix this, keep your hand steady. Use a comfortable grip for better control and even textures in your work.
Skipping Safety Precautions
Safety first in crafting. Ignoring safety steps can lead to burns or worse. Always wear safety glasses and work where there’s plenty of air. Have a fire extinguisher close, and keep your space tidy. Safety measures keep your crafting enjoyable and your space secure.
| Mistake | Consequences | Solution |
|---|---|---|
| Overheating the Wood | Burn marks and damage | Maintain consistent heat levels |
| Inconsistent Pressure | Uneven lines and shading | Practice steady pressure control |
| Skipping Safety Precautions | Injuries and accidents | Always follow safety protocols |
Care and Maintenance of Wood Burned Gifts
Taking good care of wood burned gifts is crucial for keeping their beauty and use. Follow certain care tips, and your wood creations will last many years. This will keep the recipients happy with these gifts.
Cleaning Tips
For cleaning, it’s simple: use a soft, dry cloth to dust regularly. If something spills, use a damp cloth with a bit of mild soap. Stay away from strong chemicals because they harm the finish and life of your wood gifts. The proper way to clean keeps the details of the wood intact.
Long-Term Care Suggestions
Items like cutting boards should get food-safe oils applied now and then. This makes the wood look better and keeps it healthy. Keep these creations out of direct sunlight and away from too much moisture. Doing these things will help your wood burned gifts last longer and stay beautiful.

Conclusion and Inspiration for Your Projects
As you finish your wood burning journey, remember the key is to let your creativity shine. Each project lets you show who you are. Try different designs, colors, and techniques to make special items. Wood burning welcomes everyone, no matter their skill. Let your imagination guide you in finding ideas for projects!
When you share your wood burned items with loved ones, it highlights your effort. It also brings crafters closer. Whether you give them as gifts or sell them, you might inspire others to try wood burning. Talking about your work can help improve everyone involved, creating a supportive and inspired community.
Now, grab your tools and unleash your creativity! Each project, whether it turns out great or teaches you something, helps you grow. Jump into this rewarding craft and enjoy making your visions come to life with wood burning.