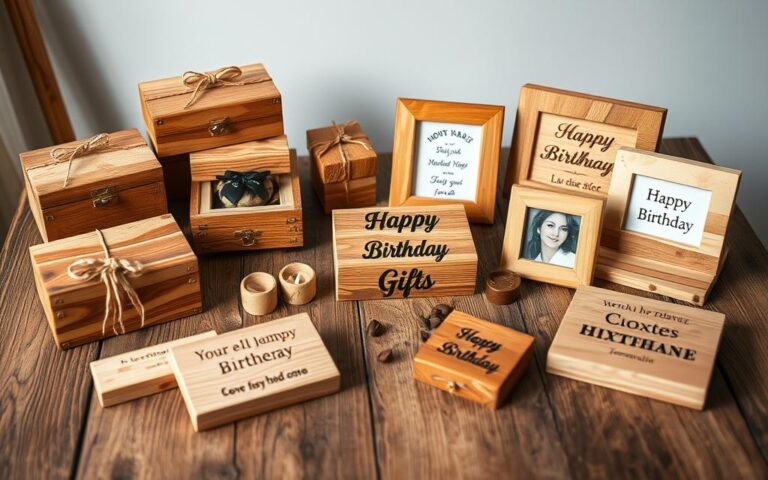
Did you know over 65% of Americans have done at least one DIY project in the last year? This shows a big increase in creativity. Many people are now making their own rustic signs to make their homes look better.
Creating rustic signs is a great way to add charm to your home. It also lets you show off your creativity through wood crafts. These projects are easy to start, even if you’re new to woodworking. They’re also cheap and simple, making them perfect for anyone wanting to decorate their home.
What is DIY Wood Decor?
DIY wood decor lets you make decorative items from wood. It’s a way to express your creativity and make things that are truly yours. You can make everything from rustic signs to detailed wooden decorations. This hobby shows off your skills and makes your home look better.
Definition and Overview
DIY wood decor means making decorative items using wood. It’s a chance to test your artistic skills and control the design. Each piece is unique, showing the creator’s personal touch.
Benefits of DIY Wood Decor
- Cost Savings: Making your own wood decor can save money compared to buying it.
- Sustainable Materials: Using wood that’s been reclaimed or sustainably sourced is good for the planet.
- Personal Satisfaction: Making something with your own hands gives you a feeling of accomplishment.
- Customization: DIY projects let you create wooden decorations that fit your home and style perfectly.
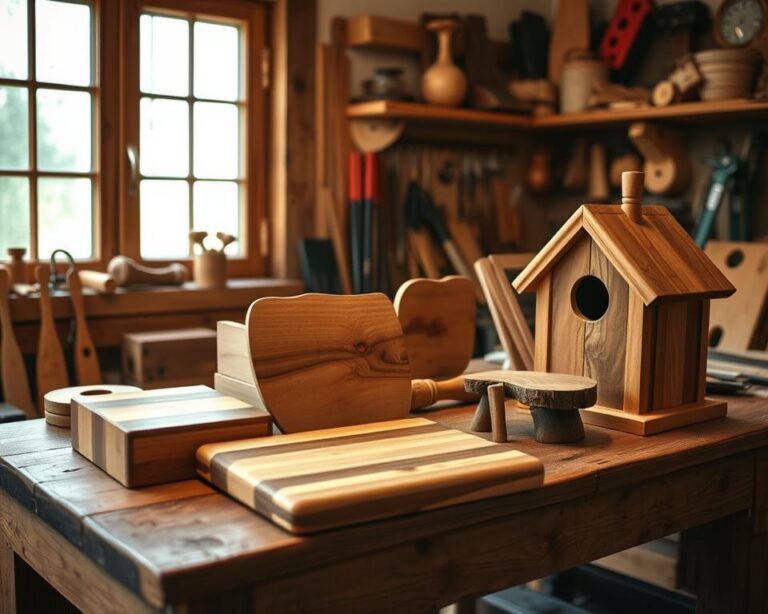
Essential Tools for DIY Wood Projects
Starting easy DIY wood projects requires the right tools. A good set of essential woodworking tools is key. It makes your projects both fun and successful, whether you’re new or returning to woodworking.
Must-Have Tools for Beginners
Beginners should invest in these essential woodworking tools:
- Miter saw for precise angled cuts
- Drill to make holes and drive screws
- Handheld saws for various cutting needs
- Sander for smooth surfaces
- Pliers and clamps to hold materials in place
- Paintbrushes and wood glue for finishing touches
These tools make crafting easier. They help you tackle different projects and let your creativity shine. For more tips on using these tools, check out this step-by-step guide.
Safety Gear and Precautions
Always prioritize safety in woodworking. The right safety gear is crucial. Make sure you have:
- Sturdy work gloves to protect your hands
- Safety goggles or glasses to shield your eyes
- Dust mask or respirator to guard against wood dust
- Ear protection, such as earmuffs or earplugs
- An apron or shop coat to keep your clothes safe
Following safety rules, like using tools as directed and staying focused, keeps you safe. Safety not only makes your work better but also lets you enjoy your creations for a long time.
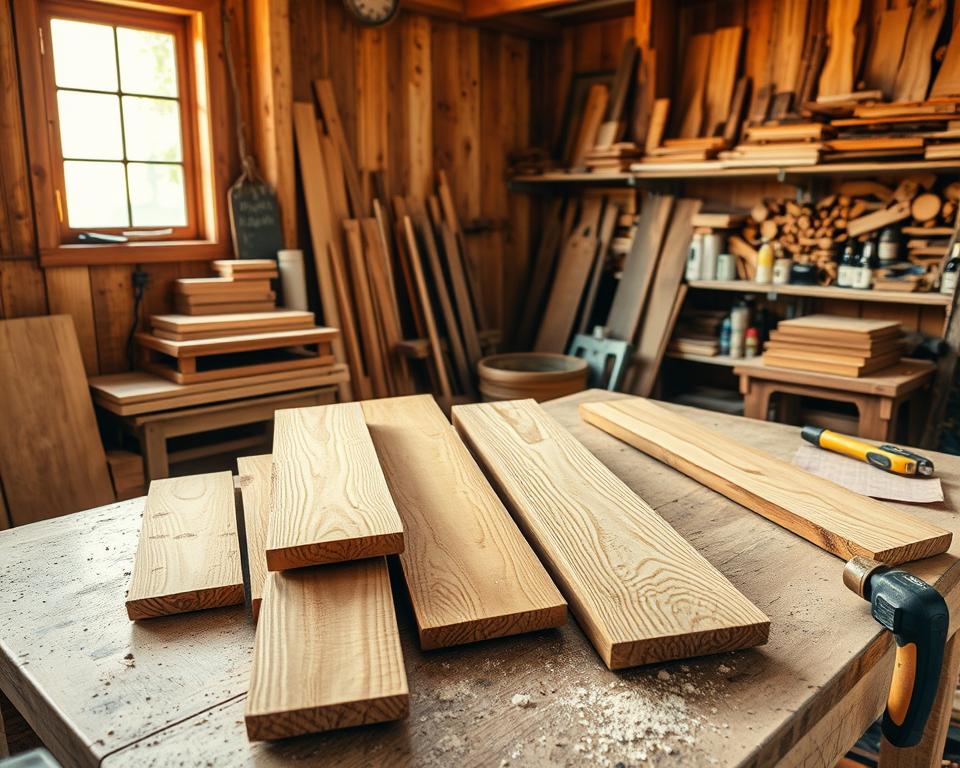
Choosing the Right Wood for Your Project
When starting your DIY rustic sign project, picking the right wood is key. It affects both how your sign looks and how long it lasts. Knowing about different wood types can make your project more fun and successful. Here, you’ll find popular wood choices and their features to help you decide.
Types of Wood for Rustic Signs
Many wood types are great for rustic signs, offering a mix of affordability and ease. Here are a few:
- Pine: This softwood is light and cheap. It takes paint and stains well, making it versatile.
- Cedar: Cedar resists decay and smells nice. It has a warm color, perfect for outdoor signs.
- Birch: Birch has a fine grain and smooth surface. It looks elegant when stained.
Sustainable and Reclaimed Wood Options
If you care about the environment, consider sustainable and reclaimed wood. Sustainable wood harms forests less. Reclaimed wood comes from old buildings and has a unique story. You can find it at local salvage yards or online.
Think about these wood types when planning your project. Here’s a table with their characteristics:
| Wood Type | Durability | Cost | Eco-Friendliness |
|---|---|---|---|
| Pine | Moderate | Low | Low (if locally sourced) |
| Cedar | High | Moderate | Moderate |
| Birch | Moderate | Moderate | Low (if sourced responsibly) |
| Reclaimed Wood | High | Variable | High |
Choosing the right wood for your rustic signs is important. It makes your signs beautiful and helps the environment.
Getting Started with Basic Techniques
Learning basic woodworking techniques is key to making beautiful rustic signs. Cutting wood right is the first step in any project. Also, knowing how to smooth wood surfaces makes your signs look better and last longer.
Cutting and Shaping Wood
At the start, cutting wood properly is very important. Use a miter saw or circular saw for simple cuts. This helps you get the right angles and sizes.
- Choose the right saw for your project.
- Measure twice before cutting to be sure.
- Use clamps to hold your wood while cutting.
There are many woodworking techniques to learn. Practice straight and curved cuts on scrap wood. This builds your confidence for the real project.
Sanding and Smoothing Surfaces
Once your wood is shaped, it’s time to smooth wood surfaces. This step is crucial for a professional look. Use different grits of sandpaper to go from rough to smooth:
- Begin with coarse grit (80-120) for the first sanding.
- Move to medium grit (150-220) for a finer surface.
- Finish with fine grit (320 and above) for a shiny finish.
Use the right sanding tools like handheld sanders or sanding blocks. Smoothing wood not only looks better but also gets it ready for staining or painting.
Designing Your Rustic Sign
Creating a rustic sign lets you show off your personality and share important messages. Begin by thinking about the themes for wood signs that speak to you. These could be family values, inspirational quotes, or seasonal messages. Adding personal touches makes your sign unique, showing off your style.
Picking a Theme or Message
Choosing the right theme or message is key for your rustic sign. Think about what you want to express. Themes like cozy home vibes, nature, or funny quotes are popular. Pick words that mean something to you or your family.
Consider adding words that celebrate joy, love, or your favorite activities.
Incorporating Graphics and Images
Adding graphics can make your sign look even better. Use stencils or a projector to add your designs to the wood. You can go from simple shapes to detailed illustrations. Images that match your sign’s theme add creativity and depth.
Think about using nature symbols, geometric shapes, or meaningful icons. When designing, mix text and images well for a stunning result.
| Theme | Message Ideas | Graphics Suggestions |
|---|---|---|
| Home | “Home Sweet Home” | House silhouette, heart |
| Nature | “Welcome to our Campfire” | Trees, mountains |
| Family | “Established in 2023” | Family tree, paw prints |
| Humor | “This Kitchen is for Dancing” | Dancing figures, musical notes |
Painting and Finishing Techniques
Transforming your rustic sign is all about the painting and finishing techniques. The right paint choices can make your wood decor shine. Paints and stains change how your signs look in big ways.
Types of Paint for Wood Decor
Choosing the right paint is key. Here are some top picks:
- Acrylic Paint: Quick-drying and simple to use, great for both inside and outside projects.
- Enamel Paint: Gives a hard, shiny finish, perfect for signs needing extra protection.
- Chalk Paint: Offers a soft, vintage look, ideal for rustic designs.
Stain vs. Paint: What’s Best?
Deciding between stain and paint depends on your sign’s look. Here’s a quick guide:
| Feature | Stain | Paint |
|---|---|---|
| Appearance | Highlights the wood grain | Covers with a solid color |
| Durability | Protects from moisture but may fade | Stands up to wear and tear |
| Application Ease | Needs careful application for even coverage | Easy to apply with various tools |
| Finish for Wood Decor | Natural finish | Glossy or matte options |

Think about these points to choose the best for your project. This ensures your wood decor matches your vision. Have fun trying out different techniques to find your style!
Adding Decorative Elements
Adding decorative elements to your rustic signs can really boost their appeal. Using wood stencils and natural elements keeps the rustic charm alive. Let’s see how to use these techniques effectively.
Using Stencils and Templates
Wood stencils are a great way to add designs to your wood signs. They come in many shapes and patterns, offering endless creative options. Stencils help you achieve clean, precise designs, perfect for beginners.
Introducing Natural Elements
To capture the rustic feel, add natural elements like twine, dried leaves, or preserved flowers. These elements bring a natural touch to your signs, making them warm and inviting. You can attach them with glue or arrange them for a decorative look. Mixing these organic materials with stencils creates a stunning contrast.
Installing Hardware for Display
Choosing the right hardware is key for showing off your hanging signs. It makes your decor look great and stay in place. Knowing your options and how to install them can really make a difference.
Choosing the Right Hangings
There are many hangers to pick from, each with its own benefits. Here are a few:
- Command Strips: Great for lighter items, they don’t leave marks when you take them down.
- Nails: Best for heavier signs, they can handle the weight.
- Screws and Anchors: Ideal for the heaviest pieces, they’re a solid choice.
Tips for Wall Installation
To get the most out of your signs, follow these tips:
- Find a spot on the wall that fits your decor.
- Use a level to hang your signs straight and even.
- Think about the height of your signs for the best view.
Personalizing Your Rustic Signs
Adding personal touches to your rustic signs can make them truly special. Custom wood lettering is a great way to express your creativity. These signs become more than just decor; they tell stories of your family or cherished memories.
Customizing with Fonts and Typography
Trying out different fonts can really make your sign stand out. Look for fonts that match your theme. Whether you prefer elegant scripts or fun fonts, custom wood lettering lets you add your own style.
Think about how the font fits with your decor and message. This will help you create a sign that truly reflects you.
Adding Family Names or Special Dates
Adding family names or special dates makes your signs even more meaningful. It turns them into unique pieces of family history. Consider adding names, anniversaries, or other important dates to your designs.
This will not only make your signs special but also create lasting memories. It’s a beautiful way to connect with your loved ones through your creations.

Maintenance Tips for Wood Decor
To keep your rustic signs looking great, regular care is key. It’s not just about cleaning them. You also need to protect them from the weather. A few easy steps can make your wood decor last longer and stay beautiful.
How to Clean Your Rustic Signs
Begin with gentle cleaning to preserve your decor’s beauty. Use a damp cloth to wipe away dust and dirt. Stay away from harsh chemicals that can harm the finish. For stubborn stains, a mild soap solution can be effective.
Regular cleaning keeps your signs looking their best. It’s a simple habit to adopt.
Protecting Against Weather Elements
For outdoor signs, applying a good sealant is vital. Use polyurethane or wax to shield your signs from rain, sun, and cold. Start with thin layers to avoid drips. Always test on a small area first to avoid streaks.
For outdoor signs, marine-grade polyurethane is best. Beeswax is better for indoor signs. This care keeps your signs looking great all year.
Don’t forget to reapply wax for that vintage shine. By following these tips, you’ll make your wood decor last longer. For more detailed care tips, check out this guide.
Inspiring DIY Rustic Sign Ideas
Creating unique rustic signs opens a world of creativity in seasonal wood crafts. You can transform your home or garden with charming decorations that reflect your personality all year. Whether it’s a festive occasion or a quiet celebration, a personalized sign can make your space feel extra special.
Seasonal Decor Projects
Design signs that celebrate the beauty of each season. For spring, consider making colorful flower-themed signs with phrases like “Welcome Spring” or “Bloom Where You’re Planted.” Summer projects can include cheerful beach-themed signs.
Autumn invites designs showcasing pumpkins and leaves, perfect for fall festivities. Winter brings opportunities for signs adorned with snowflakes and cozy holiday messages, aligning with the spirit of the season.
Home, Garden, and Celebration Themes
Incorporate garden sign concepts into your outdoor spaces by crafting personalized signs that designate areas for herbs or flowers. These signs not only enhance your garden’s appeal but also serve as functional markers. When it comes to home decor ideas, consider signs that highlight family values or heartwarming messages, making your home a welcoming refuge.
Embrace other celebrations too, like birthdays or anniversaries, by designing custom signs that commemorate those special moments.
Resources for DIY Wood Decor Enthusiasts
Starting your DIY wood decor journey can be exciting. There are many ways to learn and grow. Online tutorials are great for learning new skills from home. They help you pick up techniques quickly.
Woodworking classes give you a solid base. They teach you the basics and help you explore different styles. This is especially useful for making rustic signs.
Community forums are also key. They let you share ideas and solve problems with others. It’s a great way to learn and feel supported by others who love DIY.
Using different learning platforms can really improve your skills. With today’s technology, it’s easy to find classes and tutorials online. This helps you grow as a woodworker and boosts your creativity.