Did you know nearly 1.5 million people in the U.S. enjoy wood carving as a hobby? This shows how popular it is, turning simple wood into amazing pieces. As a beginner, learning the basics is key to unlocking your creativity and skill.
It lets you make beautiful wood projects and relax while making unique items. These items show off your personal style.
This guide will help you start your wood carving adventure. You’ll learn about different wood types, tools, and techniques. Whether you’re new to woodworking or looking for simple projects, you’ll find helpful plans here.
What Are Simple Wood Projects?
Simple wood projects are a great way to start woodworking. They need just a few tools and can be done quickly. They let you enjoy making *handmade wooden projects*.
Choosing the right materials is key to success.
Understanding Wood Types
Knowing the different types of wood is important. Basswood is a top pick for beginners because it’s soft and has a fine grain. It’s perfect for detailed work without worrying about damage.
Butternut and pine have unique looks and textures. They can make your projects special and personal.
Benefits of Wood Projects
Woodworking has many benefits. It lets you be creative and learn useful skills. Doing small projects can make items that are both beautiful and useful.
These items can make your space look better and be great gifts. Every project you finish makes you more confident and skilled.
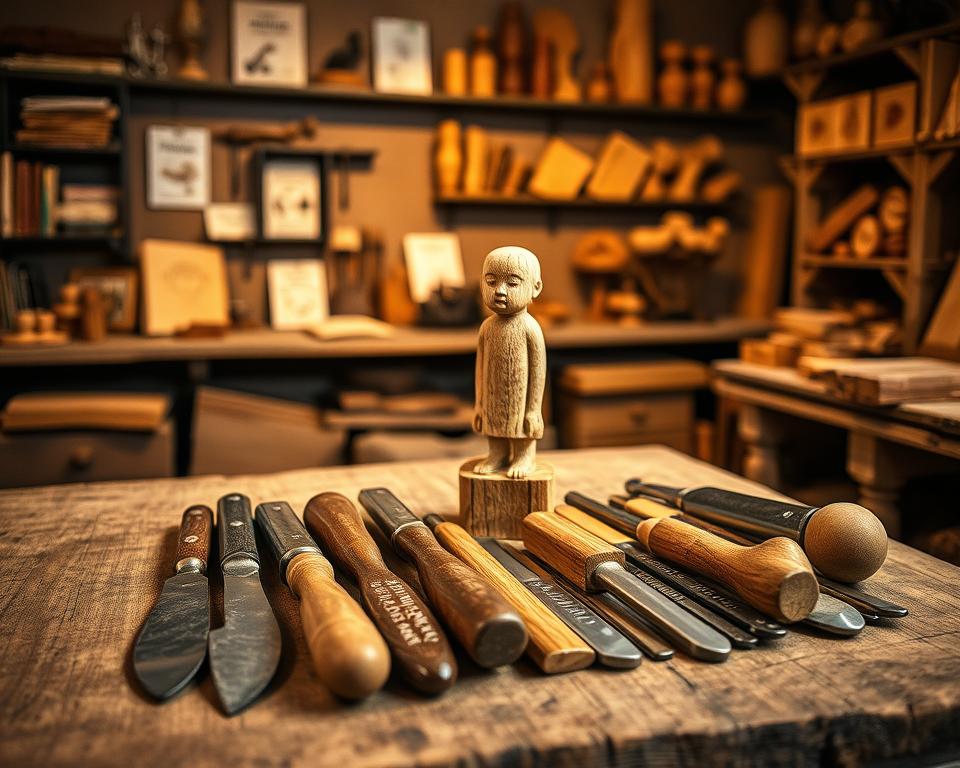
Essential Tools for Wood Carving
Starting your wood crafting journey? The right tools are crucial for success. Essential woodworking tools make tasks easier and improve your work quality. This section covers must-have tools for beginners and safety gear for secure woodworking.
Must-Have Tools for Beginners
Wood carving is both exciting and overwhelming for beginners. The right tools help you tackle projects with confidence. A whittling knife is key for precise cuts, and chisels and gouges shape wood as needed. Schaaf Tools offers comprehensive sets with everything you need.
- Whittling knife for detailed carving.
- Chisels in different sizes for versatility.
- Gouges for scooping and shaping wood.
- Carving gloves for added grip and protection.
Safety Gear You Should Use
Safety gear for wood carving is a must. The right protective equipment lets you focus on your art without fear of injury. Safety glasses and gloves are a minimum. They protect your eyes and hands from debris and cuts, making your projects safe and enjoyable.
Investing in essential tools and safety gear is key to a rewarding woodworking journey. Choose beginner woodworking plans that match your skills. Always put safety first while creating beautiful wood pieces.
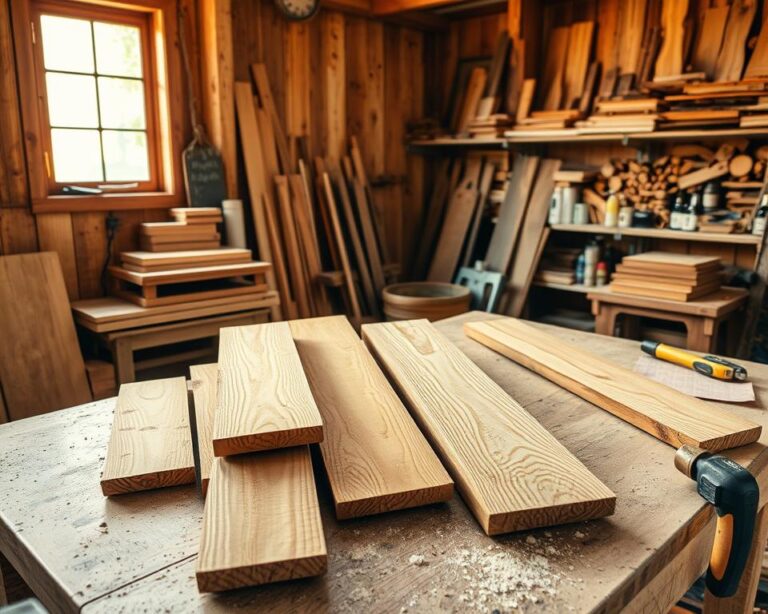
Preparing Your Workspace
Creating a good woodworking workspace is key for wood carving fans. A well-organized area helps you focus and work better. Make sure your workspace is clear and free from distractions.
Good lighting is important for seeing small details. Organizing your tools and materials makes your work easier and faster.
Setting Up Your Workstation
Your workstation needs a strong surface for all project sizes. A table or workbench with enough space is a must. Tools should be organized and easy to reach.
This setup saves time and makes starting your projects easier. Keep important tools like chisels, knives, and clamps nearby.
Organizing Your Materials
Keeping your workspace organized is crucial. Store wood, tools, and safety gear in their places. Here are some tips for organizing your wood carving space:
- Use clear bins or racks for different types of wood.
- Label your tools and materials for quick identification.
- Keep safety equipment, such as goggles and gloves, close at hand.
Following these tips will help you stay ready for any project. It keeps your passion for wood crafting alive.
Choosing Your First Simple Project
Starting your woodworking journey can be daunting, especially picking your first project. Choosing beginner woodworking projects makes it easier. By starting with simple goals, you can build your skills and enjoy the process.
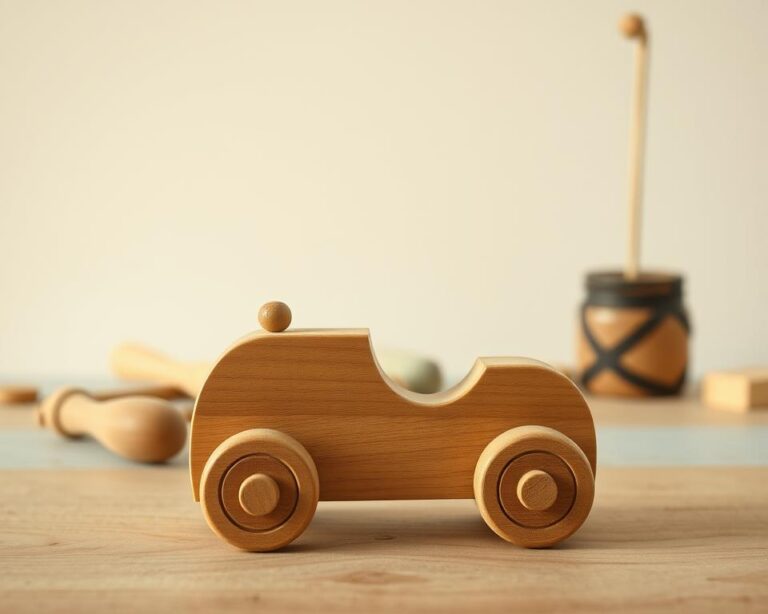
Ideas for Beginners
Beginners should consider these fun and easy woodworking ideas:
- Carving a spoon, which offers great hands-on experience.
- Creating simple wood signs that allow for personalization.
- Making coasters to enhance your home decor.
- Building a birdhouse to attract feathered friends to your yard.
These simple projects help you get to know tools and materials. They prepare you for more complex projects later on.
Factors to Consider
Before starting your first project, think about these things:
- Skill Level: Pick a project that’s a bit of a challenge but still fits your skill level.
- Time Commitment: Consider how much time you have; simple projects usually take a few hours or a weekend.
- Tool Availability: Make sure you have all the tools you need for your project.
Thinking about these factors will make your woodworking journey better. It will help you succeed and build a strong foundation for the future.
Basic Wood Carving Techniques
Learning basic wood carving techniques is key for anyone wanting to improve in woodworking. Whittling and chip carving are great for beginners. They help you create beautiful projects and build a solid woodworking foundation.
Whittling Basics
Whittling is simple and uses just a knife to shape wood. It’s about removing thin layers to get the shape you want. It’s great for beginners because it needs only a few tools.
With practice, you’ll get better at precision and control. This will help you make elegant designs that show your creativity.
Chip Carving Introduction
Chip carving is another fun option for beginners. It involves removing small chips to make detailed patterns. It’s perfect for adding beauty to your projects, turning simple items into stunning pieces.
As you learn chip carving, you’ll improve your woodworking skills. It’s a great way to add detail and make your projects stand out.
Wood Finishing Techniques
Finishing your projects is a key step in woodworking. It makes your creations look better and last longer. Whether you’re doing DIY wood crafts or simple projects, a smooth finish is essential.
Sanding Your Project Smooth
Sanding is important for making your projects smooth. Begin with coarse sandpaper and move to finer grits for a shiny finish. This step gets your wood ready for finishing and highlights its natural beauty.
By doing this, you’ll see a big improvement in your woodworking. It makes your projects look and feel better.
Applying Varnish and Stain
After sanding, it’s time to add varnish or stain. These steps protect your projects and make them look great. Varnish is good for protecting against moisture and scratches. It’s great for items you use a lot.
Stain adds color and lets the wood grain show. It’s perfect for showing off your skills in DIY wood crafts. Trying different finishes can turn simple projects into beautiful art.

Common Mistakes to Avoid
Starting your woodworking journey can be very rewarding. But, you might run into some common mistakes. Knowing these pitfalls helps you move forward smoothly, especially with beginner projects. Learning from others’ mistakes can help you grow faster and enjoy your projects more.
Overcarving Your Wood
One big mistake is overcarving your wood. It can damage your project beyond repair. Always be careful and have a clear idea of your final product. Make small steps and track each cut or shape.
This way, you can improve your skills without harming your wood.
Not Testing Your Techniques
Another mistake is not testing your techniques first. Using scrap wood for practice can save you from wasting materials and frustration. It lets you try out different skills and tools and build your confidence.
| Mistake | Consequences | Solution |
|---|---|---|
| Overcarving | Damage to the wood, loss of project | Take your time, visualize the final product |
| Not Testing Techniques | Wasted materials, decreased confidence | Use scrap wood for practice |
Maintenance Tips for Wood Carving Tools
Keeping your wood carving tools in good shape is key. It ensures they work well and last long. Here are some top tips for cleaning and storing your tools. They will help you keep them in top condition.
Cleaning Your Tools
Always clean your tools after each use to stop rust and extend their life. Begin by wiping off debris and shavings with a soft cloth or brush. For tough spots, warm soapy water works well, but dry them right away to avoid damage.
Regular cleaning is vital for your tools’ performance and your carving success.
Storing Your Tools Properly
Storing your tools right is crucial to avoid damage and make them easy to find. Store them in a dry, cool spot to prevent rust. Use a special toolbox or drawer for your tools to stay organized.
Protect blades with sheaths or wraps to keep them safe. These steps are important for beginners, teaching care and organization in woodworking.
Joining Wood Pieces Together
Learning to join wood pieces is key in woodworking. There are many types of joints, each with its own use. The right joint depends on your project’s complexity and your skill. For beginners, starting with simple joints is a good way to gain confidence.

Types of Joints to Use
Woodworking joints have different functions and benefits. Here are a few common ones:
- Butt Joint: The simplest form, where two pieces of wood are simply butted together. Often used in basic projects.
- Lap Joint: This joint involves overlapping pieces of wood, adding strength and stability.
- Dovetail Joint: Known for its decorative appeal and strength, making it ideal for drawers and boxes. This joint might require more advanced woodworking techniques.
Tips for a Secure Fit
To ensure a secure fit when joining wood pieces, consider the following tips:
- Make precise cuts to ensure edges fit snugly together.
- Use wood glue that is appropriate for your project for lasting adhesion.
- Employ clamps to hold your pieces tightly while the glue sets.
- Test joints before final assembly to assess alignment and fit.
By mastering these techniques, you enhance your woodworking ability and create strong, lasting constructions in your simple wood projects.
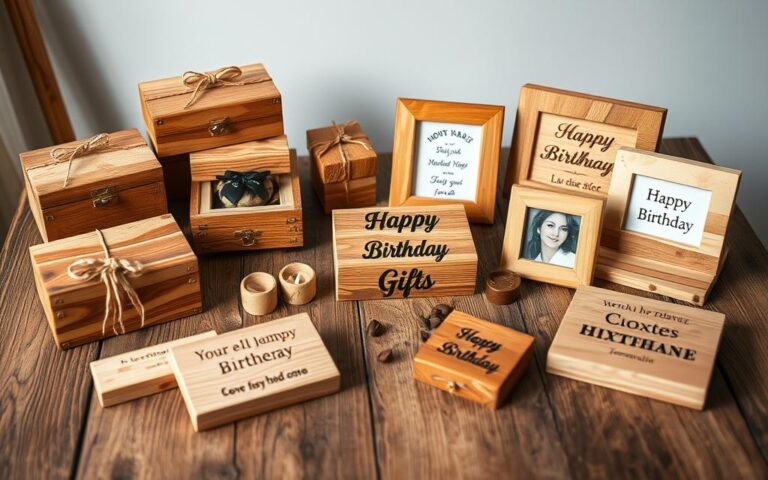
Crafting Decorative Wood Items
Exploring the world of crafting decorative wood items is a fun journey. It lets you express your creativity and style. You can make simple wood signs, intricate wall art, or even coasters. Each project is a chance to add your personal touch.
Simple Wood Signs
Starting with simple wood signs is a great first step. They can beautify your home or make thoughtful gifts. You can add quotes, names, or designs to make them unique. Use woods like pine or cedar for beginners, as they are easy to work with.
Coasters and Wall Art Ideas
Coasters are both useful and creative. You can play with shapes and finishes, using stains or paints for a personal touch. Wall art can be anything from quotes to abstract designs. It brings warmth and charm to your space.
| Item | Benefits | Materials Needed |
|---|---|---|
| Simple Wood Signs | Personalization, Home Décor | Pine, Cedar, Paint, Brushes |
| Coasters | Functionality, Unique Designs | Wood Slabs, Stains, Sealants |
| Wall Art | Aesthetic Appeal, Personal Expression | Wood Panels, Carving Tools, Finishes |
Resources for Learning More About Wood Carving
To keep improving in wood carving, check out different resources. Online tutorials and courses are great for learning new techniques. They help you tackle harder projects with confidence.
These platforms offer video lessons that guide you step by step. They’re perfect for practicing what you’ve learned.
Online Tutorials and Courses
YouTube, Skillshare, and MasterClass have lots of wood carving tutorials. They show you how to do it right and share creative ideas. Plus, live sessions offer feedback to help you improve.
Recommended Books for Beginners
There are many books for beginners in wood carving. “Wood Carving for Dummies” and “The Complete Book of Woodworking” are great starts. They teach the basics and inspire you with simple projects.
Getting a good book is worth it. It will help you understand wood carving better and be a handy reference.
Getting Involved in the Wood Carving Community
Getting involved in the wood carving community can really boost your skills and love for woodworking. By connecting with others who love woodworking, you open up new chances for growth and creativity. Local woodworking clubs and workshops are great places to learn from experts and share your projects.
This creates a supportive environment that encourages you to take on bigger projects.
Local Clubs and Workshops
Joining local woodworking clubs gives you hands-on experience and valuable feedback on your skills. Many clubs have regular meetings and workshops. Here, you can try out different carving styles and techniques.
These events are perfect for making friends with others who love woodworking. You also get to learn about different woodworking aspects.
Online Forums and Social Media Groups
If local clubs are hard to reach, online forums and social media groups are great alternatives. They’re perfect for sharing tips, ideas, and your work. In these communities, you can ask questions, get feedback, and find new designs.
Connecting with woodcarvers online can spark your creativity. It also helps you learn more as you explore woodworking.