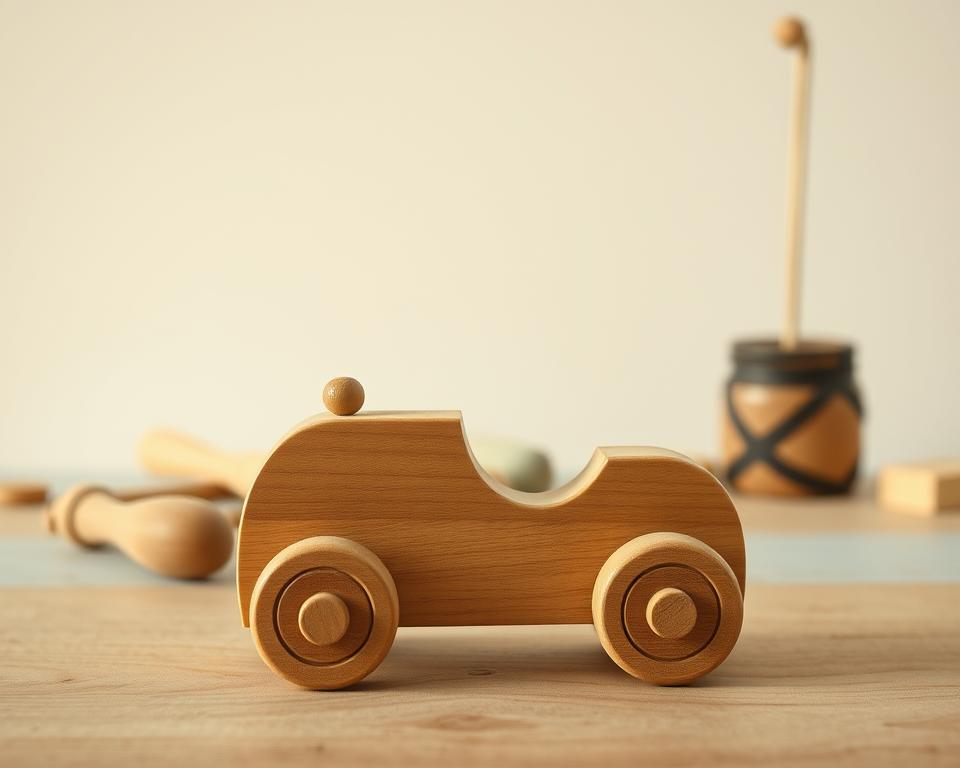
Did you know over 80% of Americans want to learn woodworking but feel scared to start? Making your own wooden toys is a great way for beginners to get into woodworking. It’s fun and easy, with lots of creative designs and simple tutorials.
Creating wall art from these handmade toys not only makes your space look better. It also helps the environment by using materials that would otherwise be thrown away. Let’s see how simple wood techniques can change your decor and give you a fun creative outlet.
The Charm of Wooden Toy DIY Art
Creating wooden toys is a mix of creativity and practicality. These toys have a timeless charm that everyone loves. They add warmth to any room, making them perfect for wall art.
By making your own wooden toys, you can show off your unique style. This makes any space better.
Why Choose Wooden Toys for Wall Art?
Wooden toys are naturally beautiful, with a rustic charm that many find appealing. They make your home more interesting and bring back memories. Their designs fit well with many styles, from modern to traditional.
Adding wooden toys to your wall art brings joy and warmth. Few materials can match this.
Benefits of DIY Projects with Wood
Working on wood projects boosts your creativity and fine motor skills. The joy of making something special is rewarding. It’s a great way to feel fulfilled.
DIY projects with wood also help the environment. Using recycled materials is a big plus. Each project is a celebration of your skills, care for the planet, and creativity.
Essential Tools You’ll Need
Starting your woodworking journey means getting the right tools. Knowing which tools are essential can boost your creativity and help you succeed. This guide will cover the basics and highlight the need for safety gear.
Basic Hand Tools for Your Project
Every woodworker needs a good set of hand tools. Here are some must-haves:
- Saws: A handsaw or coping saw is great for cutting small pieces.
- Hammers: A solid hammer is key for driving nails and putting pieces together.
- Screwdrivers: Having both flat-head and Phillips screwdrivers is important for securing parts.
- Chisels: These are for precise carving and shaping of wood.
- Tape Measure: Accurate measurements are crucial for fitting pieces together well.
Power Tools to Consider
Power tools can make your projects faster. Here are some popular ones:
- Circular Saw: Great for making straight cuts quickly and efficiently.
- Miter Saw: Perfect for angled cuts, especially for decorative edges.
- Drill: A power drill makes creating holes and driving screws easy.
- Router: This tool is versatile for shaping edges and hollowing out wood.
Safety Equipment for Woodworking
Getting the right tools is important, but safety comes first. Make sure you have these essential items:
- Safety Goggles: Protect your eyes from sawdust and debris.
- Dust Masks: These prevent you from inhaling harmful particles.
- Ear Protection: Power tools can be very loud, so earplugs or earmuffs are a must.
- Gloves: Gloves protect your hands from splinters and cuts.
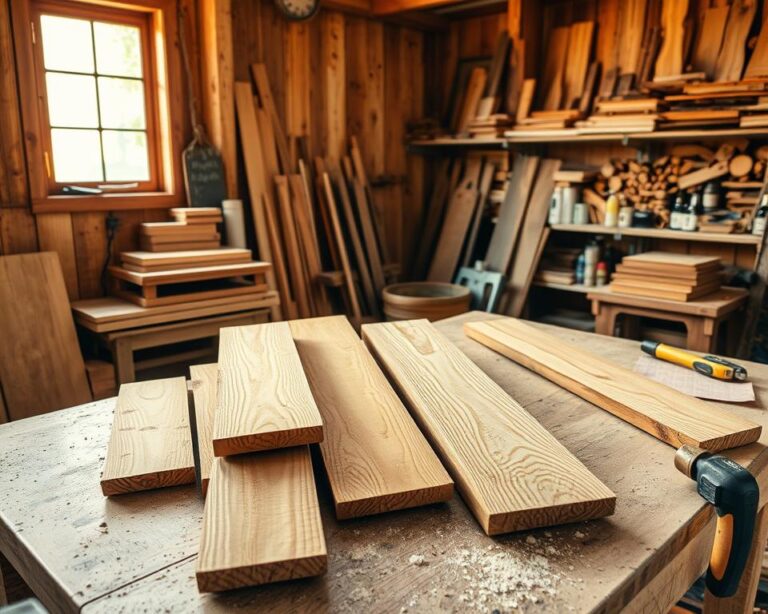
Selecting the Right Type of Wood
Choosing the right wood is key for making quality DIY toys. The wood you pick affects how long the toy lasts and how it looks. You have many options, each suited for different skills and tastes.
Best Wood Types for DIY Toys
Pine is a top pick for DIY toys because it’s easy to work with. It’s great for beginners. Hardwoods like maple and oak are better for durability and a high-end look. They make your toys last longer.
Sustainable Wood Options to Explore
Choosing sustainable woods is a smart move. Reclaimed wood and bamboo are good for the planet and add charm to your projects. They help you live greener and make toys that are both beautiful and eco-friendly.
| Wood Type | Durability | Workability | Sustainability |
|---|---|---|---|
| Pine | Moderate | Easy | Low |
| Maple | High | Moderate | Moderate |
| Oak | High | Moderate | Moderate |
| Bamboo | Moderate | Easy | High |
| Reclaimed Wood | Variable | Variable | High |
Design Inspiration for Your Wall Art
Exploring design inspiration for DIY projects opens a world of creativity for your wooden art. Nature is full of organic shapes and patterns that can enhance your artistic vision. These natural designs bring a sense of harmony to your art.
Geometric patterns offer a modern twist, with sharp lines and symmetry. They can make your creations more appealing. Painting and staining add vibrant color, giving your projects personality and uniqueness.
Drawing Ideas from Nature
Nature is a rich source of inspiration for your wooden art. Trees, flowers, and landscapes offer beautiful designs. You might want to use elements like leaf shapes or wave patterns in your pieces.
Translating these natural designs into woodworking projects connects you to the environment. It also enhances the aesthetic quality of your work.
Incorporating Geometric Patterns
Geometric patterns contrast with the soft curves of natural designs. They add a contemporary flair to your wooden art. Shapes like triangles, hexagons, and circles are great starting points.
Experimenting with symmetry and repetition adds a dynamic element. This makes each piece unique and engaging to onlookers.
Using Color in Wooden Art
Add life to your wooden creations with color. Finishes, paints, or stains can change the look of your art. Choose bold hues for a striking effect or soft tones for a calm ambiance.
Color allows for personal expression. It lets you customize your work and create a piece that reflects your style.

Step-by-Step Guide to Creating Your First Piece
Starting your wooden toy wall art journey is both rewarding and fun. This guide will help you through the key steps of making your first piece. You’ll learn about preparation, assembly, and finishing techniques. This way, you can create a beautiful, personalized artwork for your space.
Preparing Your Wood: Cutting and Sanding
Preparing the wood is a vital step before assembly. First, pick the wood pieces that match your design. Here’s how to prepare them effectively:
- Measure and mark the wood according to your design.
- Use a saw to cut the pieces accurately.
- Smooth the edges using sandpaper to prevent splinters and create a polished look.
Assembling Your Wooden Toy Art
Now, it’s time to bring your design to life. Assemble the cut pieces to create your toy art. You can use different methods, such as:
- Gluing the pieces together for a seamless look.
- Nailing them for added durability.
- Utilizing screws to secure the components firmly.
Finishing Techniques for a Polished Look
Finishing techniques are key to your artwork’s success. Consider adding paint or stain to enhance texture and color. Some popular choices include:
- Water-based stains for a subtle shine.
- Acrylic paints for vibrant color.
- Sealants to protect the surface and improve durability.
Tips for Painting and Staining Wood
Turning wooden toys into colorful treasures requires careful paint and stain choices. It’s crucial to pick non-toxic wood finishes for kids’ toys. This ensures fun and safety, letting creativity shine.
Choosing Non-Toxic Paint Options
When painting wooden toys, choose paints that are safe for kids. Brands like Green Planet Paints and Milk Paint Company have many kid-safe colors. Look for eco-friendly labels and make sure they meet ASTM safety standards. Here are some tips for painting:
- Test the paint on a small area first.
- Use the right brushes or rollers for the paint.
- Apply thin coats to avoid drips and bubbles.
Techniques for Staining Wood
Staining can make your wooden pieces look even better. Think about how wood takes stains when picking colors. For a darker look, apply multiple layers, letting each dry before adding the next. Here are some staining tips:
- Use a foam brush for even application.
- Always test your stain on scrap wood first.
- Wipe off excess stain quickly for a smooth finish.

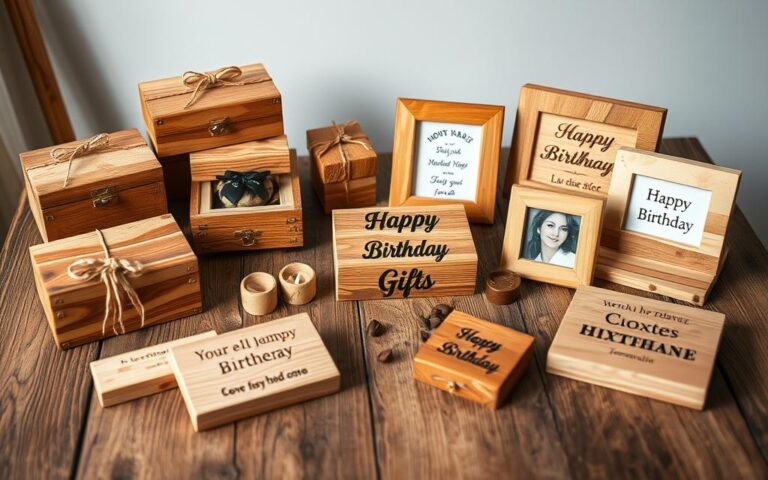
Personalizing Your Wooden Art
Personalizing wooden art makes simple pieces into treasured keepsakes. It lets you add your unique touch to each item. Adding names, dates, or quotes makes wooden art perfect for special occasions. It brings a personal touch that touches the hearts of those who receive it.
Adding Names or Dates
Adding names to your projects can make them stand out. It’s great for a child’s nursery, a wedding gift, or a family reunion. Whether you engrave or paint names and dates, it adds a special connection to the art.
Imagine a wooden sign welcoming a new baby, with the child’s name and birth date. Such details create lasting memories and bring joy.
Using Unique Shapes or Themes
Using unique shapes in woodworking makes your creations more appealing. You could make woodland animals, whimsical shapes, or characters that kids love. These designs spark imagination and add beauty to the artwork.
Thoughtful personalization makes wooden toys a joy for kids. They become a wonderful addition to any nursery or playroom.
| Element | Description | Impact on Personalization |
|---|---|---|
| Names | Personal identifiers added to artworks. | Creates emotional connections and significance. |
| Dates | Important events marked on pieces. | Helps commemorate special occasions. |
| Shapes | Creative forms tailored to interests. | Enhances visual appeal and thematic relevance. |
By adding your personal touch, you can make wooden art truly special. It becomes a reflection of your story or memories. Personalizing wooden art is a way to enjoy woodworking and share meaningful gifts with others.
Displaying Your Finished Art
After making your wooden art, showing it off right can change your space and make your creations shine. Good display methods let you see your hard work, especially when you mount wall art in a way that grabs attention.
Best Practices for Mounting on Walls
Choosing the right hardware is key for mounting art. Pick the right fasteners or brackets based on your art’s weight and size. Here are some tips for mounting safely and effectively:
- Choose heavy-duty wall anchors for larger pieces.
- Use picture hooks for lighter items, which distribute weight evenly.
- Ensure all fixtures are securely installed to prevent accidents.
Creative Ways to Showcase Your Artwork
Displaying handmade wooden toys or other wooden art can add personality to your home. Try these creative ways to show off your projects:
- Group smaller pieces together to create a charming vignette.
- Design a gallery wall featuring a mix of different wood art styles.
- Use shelves to display wooden art at varying heights, adding visual interest.
Using these methods can make your space feel more welcoming and unique. Take time to try out different setups to find what works best for you and your art.
Upcycling Old Wooden Toys
Upcycling old wooden toys is a creative way to help the environment. It gives new life to items that might otherwise be thrown away. You can make unique pieces that add to your home’s decor and bring back memories.
Transforming Old Toys into New Art
Turning old wooden toys into art is a fulfilling project. Choose toys that are no longer needed or are broken. Think about how you can make them new again by:
- Painting them in bright colors for a playful look.
- Combining different toys to create a whimsical sculpture.
- Utilizing parts of toys to form new shapes or wall hangings.
This creative process lets you enjoy the charm of upcycling while adding a personal touch to your home.
Repair Tips for Vintage Wooden Finds
If you have vintage wooden toys, make sure they’re in good shape before showing them off. Here are some easy repair tips:
- Assessing the damage: Look for loose parts or scratches.
- Cleansing: Use a gentle wood cleaner to remove dirt without damaging the finish.
- Re-gluing: Apply wood glue to any broken pieces and clamp them until they bond.
- Sand and refinish: For deeper scratches, lightly sand the area and apply a suitable finish to match the rest of the toy.
Fixing these toys not only makes them look better but also keeps memories alive. They’re perfect for display or as thoughtful gifts.
Engaging the Family in Wooden DIY Projects
Bringing family-friendly woodworking projects into your home boosts creativity and family ties. These activities are great for working together and learning new skills. Doing projects with kids helps them feel proud and makes memories that last.
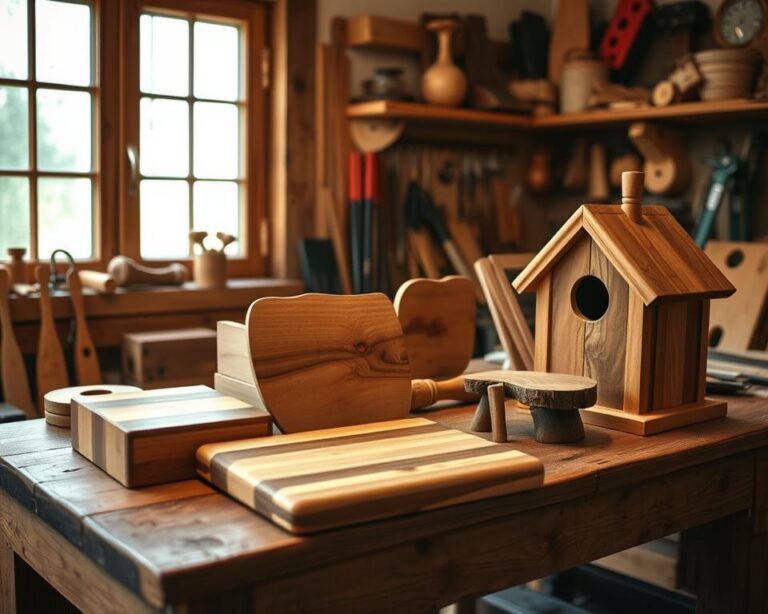
Fun Projects for Kids
Choose simple but fun tasks for kids. Here are some ideas:
- Building birdhouses that can be painted and decorated.
- Creating wooden puzzles that enhance problem-solving skills.
- Crafting personalized picture frames to capture family memories.
These projects let kids show their creativity without feeling overwhelmed.
How to Host a DIY Workshop at Home
Hosting DIY workshops at home is a great way to bring family and friends together. Here’s how to make it a success:
- Set a date and invite family members to join the fun.
- Prepare all materials and tools needed for the chosen projects.
- Organize a welcoming space where everyone can work comfortably.
- Encourage participants to share ideas and inspire each other throughout the process.
These workshops not only strengthen bonds but also foster a sense of community. They let everyone, especially kids, enjoy fulfilling projects together.
Further Resources and Communities
Starting with woodworking and DIY projects is thrilling, especially with the right tools. Joining DIY communities can really boost your skills and spark creativity in your wooden toy art. These groups are great for sharing ideas, asking questions, and getting feedback from others who love DIY.
Online Forums for DIY Enthusiasts
Look into online forums for woodworking. They’re full of helpful tips and project ideas. Talking with experienced woodworkers can make you more confident and introduce you to new techniques and materials.
Recommended Books and Tutorials for Beginners
Also, check out books for beginners in woodworking. They offer structured learning and step-by-step guides that are key for mastering techniques. Many tutorials are available online or in print, designed for new DIYers. Using these resources will make your DIY journey better and inspire new ideas.