Did you know that about 80% of wood carving beginners quit within a year? This is because they pick the wrong wood. Knowing which wood to use and which to avoid is key, especially for beginners. It can turn a frustrating experience into a joyful one.
We’ll explore the best wood for beginners. You’ll learn about softwoods and the tools you need. These tips will make your wood carving journey more enjoyable.
Introduction to Wood Carving for Beginners
Wood carving is a fun and rewarding hobby that lets you express your creativity. It’s easy to start, and you can make beautiful things, no matter your skill level. You can create detailed designs or simple tools, and it’s very fulfilling.
Why Choose Wood Carving?
Wood carving lets you turn raw wood into special items. It’s not just about the end product; it’s the journey too. As you get better, you learn new skills and techniques.
Many people find it calming and meditative. It helps you focus and lets your imagination run wild. Seeing your project come to life is incredibly satisfying.
The Joy of Creating with Your Hands
Working with your hands connects you deeply to the materials. You notice the wood’s texture, color, and smell. It’s a way to relax and spark your creativity.
Every piece you make tells a story of your growth and love for wood carving. It’s a special way to express yourself.
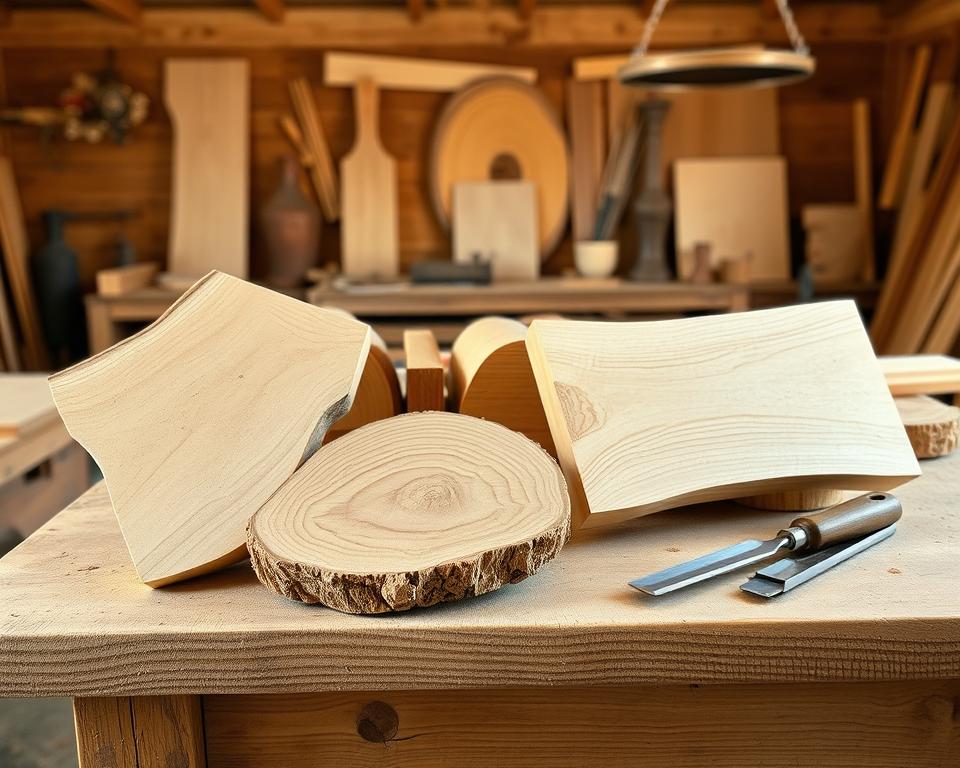
Understanding Different Types of Wood
Starting with wood carving means knowing the difference between softwoods and hardwoods. Each has its own traits that impact how easy it is to carve and what projects it’s best for. This knowledge is key for beginners to pick the right wood for their projects.
Softwoods vs. Hardwoods
Softwoods come from coniferous trees and are softer, making them simpler to carve. Pine and cedar are good for beginners because they’re light and have a fine grain. On the other hand, hardwoods from deciduous trees are tougher but harder to carve. Oak and maple, used in fine furniture, can be tough for new carvers because they’re dense.
Common Woods for Beginners
As you start wood carving, you’ll meet many types of wood. Knowing the common ones for beginners can make your journey better. Here’s a table showing some popular ones:
| Wood Type | Characteristics | Best Uses |
|---|---|---|
| Pine | Lightweight, easy to carve, and affordable | Beginner projects, whittling, and simple carvings |
| Cedar | Aromatic, lightweight, and resistant to decay | Outdoor projects, decorative carvings, and signage |
| Basswood | Soft, smooth, and ideal for detailed work | Intricate carvings and relief work |
Picking the right wood is crucial for your projects. Learning about softwoods and hardwoods helps you choose the best wood for your needs. This way, you can enjoy the fun of wood carving more.
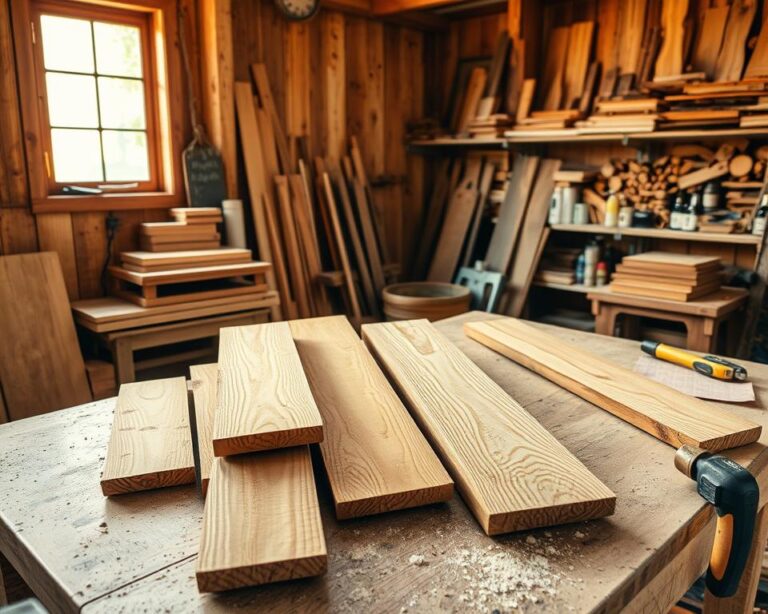
Recommended Woods for Beginners
Choosing the right wood is key when you start carving. The best wood for beginners is soft and easy to work with. This makes learning fun. Here are some great options for beginners, each with special qualities.
Basswood: The Ideal Choice
Basswood is the best wood for beginners. It’s soft and has a fine grain. This makes it perfect for detailed carvings without the hassle of harder woods.
Many beginners find basswood great for intricate designs. It also has a smooth finish that makes your projects look amazing. For tools and techniques for basswood, check out this link.
Pine: A Cost-Effective Option
Pine is another great choice for beginners. It’s affordable and easy to find. As a softwood, it’s easy for new carvers to work with.
But, pine is soft, so you need to be careful not to damage it. Its light color also makes it great for showing off your creativity.
Cedar: Lightweight and Aromatic
Cedar is a joy to carve with. It’s light and has a nice smell. It’s also durable and has a beautiful grain.
This makes it perfect for beginners who want to try different styles. Its natural resistance to pests adds to its appeal.
| Type of Wood | Softness | Ideal Projects |
|---|---|---|
| Basswood | Soft | Intricate carvings, sculptures |
| Pine | Soft | Decorative items, furniture |
| Cedar | Medium | Outdoor items, toys |
Woods to Avoid for Beginners
Starting your wood carving journey means choosing the right materials. Some woods are tough for beginners. Here are a few to avoid as you learn.
Oak: Challenges with Hardness
Oak is strong and durable, making it popular for woodworking. But, its hardness is a challenge for beginners. Carving oak can be frustrating because of the hard work needed for details.
Beginners should start with softer woods. This makes learning easier and more fun. Tips for beginners often suggest using woods that are easier to work with.
Teak: Expense Considerations
Teak is known for its moisture resistance and durability. But, it’s expensive, which is a problem for beginners. Starting with teak might not be practical for experimenting with techniques.
For beginners, it’s better to find cheaper options. This helps you use your resources wisely as you learn.
Plywood: Not Suitable for Intricate Work
Plywood is cheap and easy to find. But, its layered structure can split and chip when you try detailed designs. This makes it hard to achieve the detail needed for your projects.
Beginners should choose solid woods like basswood or pine. These woods are better for your creative projects and will give you better results.
| Wood Type | Challenges | Recommendation |
|---|---|---|
| Oak | Hardness makes carving difficult | Try softer woods |
| Teak | High expense | Look for more affordable options |
| Plywood | Not suitable for detailed work | Select solid wood for projects |
Essential Tools for Wood Carving
Getting the right tools is key for starting wood carving. Learn about the essential tools for beginners. Each tool has its own role, so knowing how to use them is important. This guide will help you understand the main tools and how to start carving.
Knives: Choosing the Right Ones
Wood carving knives vary in shape and size, each for different tasks. Here are a few common types:
- Detail Knife: Great for detailed work, it helps create fine lines.
- Carving Knife: Versatile for shaping and removing wood.
- Whittling Knife: Best for small projects and rounding shapes.
Choosing the right knife depends on your carving style. Pick one that feels good in your hand for better control.
Chisels: Different Types Explained
Chisels are crucial for precise cuts and control. Here are the main types:
| Chisel Type | Use |
|---|---|
| Flat Chisel | Great for removing wide wood sections. |
| V-Tool | Used for fine details and textures. |
| Round Chisel | Ideal for curves and contours. |
Knowing each chisel’s use lets you master various techniques.
Safety Gear: Protecting Yourself
Safety is crucial when carving. Wear the right gear to stay safe:
- Cut-resistant gloves: Protects your hands from cuts.
- Safety glasses: Keeps your eyes safe from wood chips.
- Dust mask: Filters dust while sanding.
By focusing on safety, you can enjoy carving without worrying about injuries.
Basic Techniques for Wood Carving
Starting your wood carving journey? Learning basic techniques will boost your confidence and skill. Each method lets you express your creativity and improve your craft. Here are three key techniques to get you started:
Whittling: Getting Started
Whittling is great for beginners. It involves shaping wood with a knife by removing small pieces. Many tutorials start with whittling to help you grow. Start with softwood like basswood, as it’s easier to carve.
With practice, you can make simple figures or tools. Let your imagination guide you.
Relief Carving: Adding Depth
Relief carving adds depth to your projects. It turns flat surfaces into stunning designs with depth. By removing wood, you create striking contrasts.
This method can take your work to new heights. Many artists use tutorials to explore relief styles, creating detailed pieces.
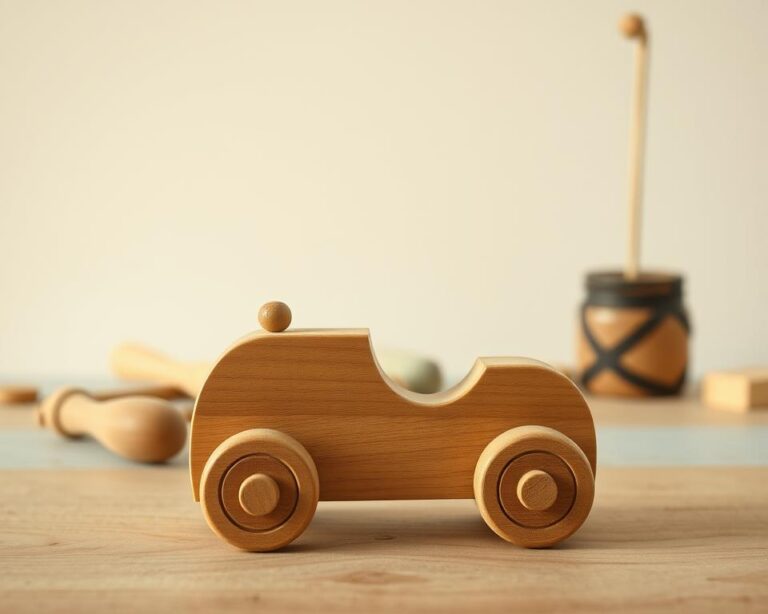
Chip Carving: Unique Patterns
Chip carving creates unique patterns on wood surfaces. It’s known for geometric shapes and detailed designs. This technique needs precision but offers impressive results.
Learning chip carving can inspire your art and expand your skills. It’s a great way to enhance furniture or decorative boxes.

Environmental Considerations
Starting your wood carving journey means thinking about the planet. Choosing the right wood affects your projects and the environment. It’s key to pick sustainable wood to protect nature and support eco-friendly craftsmanship.
Sustainable Wood Choices
Look for sustainable wood for your projects. Options like recycled wood and certified lumber are great. They help reduce deforestation and support forest care. These choices add unique touches to your work and show you care about the environment.
The Importance of Sourcing
It’s important to know where your wood comes from. Connect with suppliers who care about the environment. This choice boosts your skills and connects your passion with important values. It makes a big difference for your work and the planet.
Caring for Your Wood Projects
After putting time and effort into wood carving, taking care of your work is key. Knowing how to finish and store your pieces is crucial. Here are some beginner tips to help you.
Finishing Techniques
Finishing techniques can make your wood projects look better and last longer. They protect your work from the environment and add shine. Here are some common methods:
- Staining: Adds color and shows off the wood’s grain.
- Sealing: Keeps moisture out and makes your work last longer.
- Polishing: Gives a shiny finish, making your project look professional.
Storing Your Finished Pieces
Storing your wood projects right is important. Here are some tips to keep your carvings safe:
- Store them in a cool, dry place to prevent damage from humidity.
- Use covers or wraps to protect from dust and scratches.
- Avoid direct sunlight to stop fading and color change.
Following these tips will help keep your projects in great shape. It will also make you appreciate the craft more.

| Finishing Technique | Purpose |
|---|---|
| Staining | Adds color and highlights grain |
| Sealing | Protects from moisture and wear |
| Polishing | Enhances luster and presentation |
Finding Inspiration as a Beginner
Starting in wood carving opens a world of creativity and skill. Seeking inspiration is key to improving and staying motivated. Using available resources helps you learn new techniques and projects, boosting your confidence.
Resources for Learning and Practice
There are many beginner wood carving tips out there. You can find them in books, online courses, and tutorials. These resources offer step-by-step guides, making it easier to learn new skills. Here are some great resources:
- Books: Look for titles that focus on basic techniques and safety in wood carving.
- Online Courses: Websites like Udemy and Skillshare offer courses tailored to beginners.
- YouTube Tutorials: Many experienced carvers share their techniques and projects, providing visual guidance.
- Local Workshops: Check community centers or craft stores for hands-on classes with skilled instructors.
Connecting with the Wood Carving Community
Being part of a community is crucial for growth. Joining forums, social media groups, or local clubs lets you connect with other wood carving enthusiasts. This interaction can offer valuable feedback and boost creativity. Here are some benefits of connecting with the community:
- Support: Fellow carvers can offer encouragement and tips for your projects.
- Sharing Experiences: Learning from others’ experiences enriches your own journey.
- Showcase Your Work: Participate in exhibitions or online showcases to share your progress.
Using these resources will improve your skills and inspire your journey. The more you practice and engage with others, the better your craftsmanship will get. Enjoy exploring the world of wood carving, and let your creativity flourish!
Tips for Success in Wood Carving
Starting your wood carving journey takes time and effort. It’s important to enjoy the process to get the best results. Here are some tips to help you on your creative path.
Patience and Practice
Patience is key in mastering wood carving. You’ll face challenges, but keep practicing. Start with simple projects and make them more complex as you get better.
Every small success is worth celebrating. Each stroke you make is a chance to improve. So, take your time and enjoy learning.
Experimenting with Different Techniques
Don’t be afraid to try new things. Exploring different styles can spark your creativity. Try whittling, relief carving, or chip carving to find what you like.
Each project teaches you something new. Don’t worry about mistakes. They’re lessons that make you better.
Conclusion: Your Wood Carving Journey Begins
Your wood carving adventure is just starting. Remember, every skilled carver was once a beginner. It’s all about patience and practice. Wood carving for beginners is about exploring, being creative, and learning from each project.
Encouragement to Start Creating
Start with small goals, like carving your first spoon or intricate relief. Each project boosts your confidence and skills. Don’t be afraid to try new techniques and woods. These tips will help you find your style.
Next Steps for Your Wood Carving Adventure
As you progress, think about joining local workshops or online courses. Being part of the wood carving community offers support, inspiration, and advice. Gather your tools and dive into this rewarding world. Your journey is just beginning.