Did you know that about 35 million tons of wood waste is thrown away each year in the U.S.? By using scrap wood crafts, you can make a big difference and show off your creativity. Using leftover wood saves money and helps the environment. You can make everything from DIY rustic signs to cute decor items.
Wood crafting lets you turn trash into treasure. With a bit of creativity, your scrap wood can become amazing parts of your home. It’s a chance to express your style and help the planet at the same time. Let’s explore how your leftover wood can become something truly special!
Introduction to DIY Rustic Wood Signs
Rustic wood signs are loved for their charm and simplicity. They add warmth to any room with their natural textures and rugged looks. You can make them your own, creating unique pieces that show off your style.
These signs are great for decorating your home or making a special gift. Their versatility makes them perfect for any occasion.
What Are Rustic Wood Signs?
Rustic wood signs are made from untreated or reclaimed wood. They have a raw look that’s often enhanced by their imperfections. This makes each sign unique.
Common designs include welcoming messages, family names, and seasonal decor. You can choose from many ideas to fit your needs and themes.
Benefits of Making Your Own Signs
Creating your own rustic wood signs has many benefits. You can customize every detail, from the wood to the design. This lets you express yourself and save money compared to buying signs.
Plus, making these signs can be very rewarding. You get to control how they look and function in your home.
For inspiration and tips on making your own rustic wood signs, check out this resource. With creativity and the right approach, you can turn leftover wood into beautiful decorations for your home.
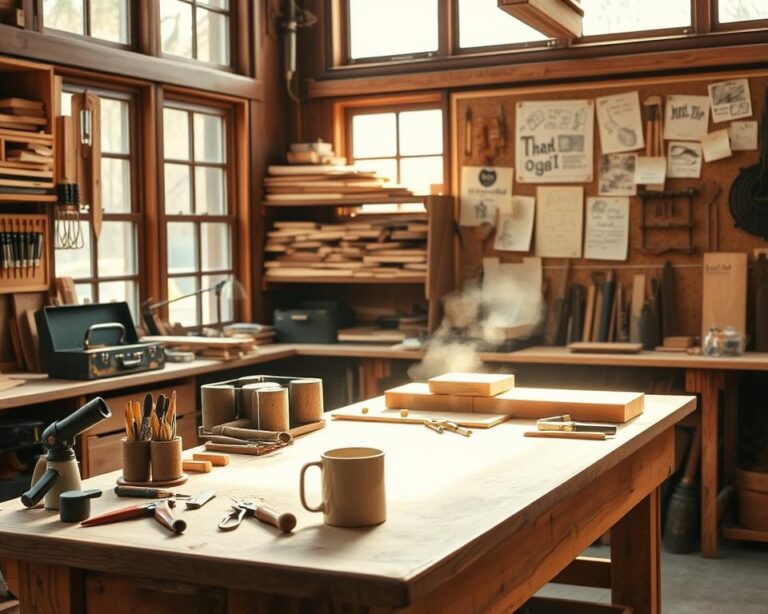
Essential Tools for Crafting Wood Signs
Starting your wood sign crafting journey needs the right tools. Whether you’re new or experienced, knowing which tools to use is crucial. This guide will cover the basics and some extra tools for advanced projects.
Must-Have Tools for Beginners
Beginners should start with the basics. Here’s a list of essential tools:
- Saw: A jigsaw or circular saw is essential for cutting your wood to the desired shape.
- Drill: Use a cordless drill for making holes and securing screws.
- Sandpaper: This tool smooths the edges and surfaces, giving your sign a polished look.
- Measuring Tape: Accurate measurements guarantee your designs fit perfectly.
- Pencil: Marking out your designs before cutting will save time and mistakes.
Optional Tools for Advanced Crafters
For those wanting to improve their projects, here are some advanced tools:
- Router: Perfect for creating intricate designs and edges on your signs.
- Wood Burning Kit: Create detailed artwork and lettering with this versatile tool.
- Table Saw: Ideal for making precise cuts, especially for larger projects.
- Clamps: Essential for holding pieces together securely while the glue dries.
Choosing the Right Wood for Your Signs
Choosing the right wood is key when making DIY signs. Each wood type has its own special qualities that make your projects better. Knowing what wood to use can make your signs look great and work well.
Whether you’re new to DIY or have lots of experience, learning about wood types is important. It helps you make signs that look good and last long.
Types of Scrap Wood Suitable for Signs
- Pine: A softwood that is easy to work with, making it perfect for beginners.
- Cedar: Known for its aromatic properties and resistance to decay, cedar is an excellent choice for outdoor signs.
- Oak: A hardwood that offers durability and a beautiful grain, ideal for more intricate designs.
- Birch: Another hardwood that provides a smooth surface, great for painting or staining.
- Plywood: Versatile and budget-friendly, plywood can be used for various designs.
How to Select the Best Pieces
When picking scrap wood, look at a few things. Check the grain patterns and textures. They show if the wood is right for your sign.
Also, watch for damage like cracks or warps. These can ruin your project. By paying attention to these details, you make your signs look better and last longer.
Popular Designs for Rustic Wood Signs
Creating rustic wood signs is a fun way to show off your creativity. You can find many designs to match your home or celebrate the seasons. From cozy sayings to festive signs, you can make beautiful pieces quickly.
Simple Sayings for Beginners
Beginners often start with simple sayings that add charm to any room. Signs with phrases like “Home Sweet Home” or “Love Lives Here” are popular. These messages make your space feel welcoming.
Online, you can find templates to help you create these signs. It’s a fun way to express your feelings through your decor.
Creative Ideas for Seasonal Decor
Seasonal wood signs can make your home reflect the current season. Signs for holidays like “Welcome Fall” or “Happy Holidays” are great. They let you add your personal touch to your decor.
Think about using themes, colors, and styles that match each season. Changing your signs with the seasons keeps your home looking fresh and welcoming.

Step-by-Step Guide to Creating Your Sign
Making your own rustic wood signs is a fun and rewarding project. This guide will help you through the wood sign crafting process. You’ll learn how to prepare, paint, and add your own special touches to make your vision come to life.
Preparing the Wood for Crafting
To start making rustic wood signs, you need to prepare your wood. First, sand the surface to get rid of rough spots and splinters. Use a fine-grit sandpaper for the best finish. After sanding, clean off any dust.
If you’re using light colors, consider applying a primer. This helps the paint stick better and last longer.
Painting and Finishing Techniques
Now, it’s time to paint your sign. You can stencil for precision, paint freehand for a personal touch, or use decals for a professional look. Make sure to use outdoor-rated paint if your sign will be outside.
For a rustic look, distress the edges with sandpaper or a brush after the paint dries. This lets the wood grain show through.
Adding Personal Touches
Finally, make your sign truly yours. Add personal touches like embellishments or layered paints. You can also use vinyl letters or wood stains to enhance the colors.
By adding these special touches, your sign will show off your personality and creativity.
Customizing Your Rustic Wood Signs
Creating personalized rustic wood signs is all about customization. You can explore many techniques to make your design stand out. Whether you like the precision of stenciling or the artistic touch of freehand painting, the right method will make your project more enjoyable.
Stencil vs. Freehand: Choosing Your Method
Stencils are great for clean, uniform designs. They’re perfect for intricate patterns or lettering, ensuring your signs look professional. Stencils save time and reduce frustration, especially for beginners.
Freehand painting, on the other hand, lets you add a personal touch. It encourages creativity without limits. The unique imperfections in freehand painting give your signs character. If you love unique designs, freehand might be for you.
Utilizing Transfers and Decals
Transfers and decals are also great options. They make adding detailed graphics or text easy. Transfers need less skill than painting and are perfect for intricate designs.
Decals, made for wood, come in many styles and sizes. They’re easy to use and add beauty with little effort. Mixing stenciling and decals can create a beautiful, cohesive sign.
| Technique | Pros | Cons |
|---|---|---|
| Stenciling | Precision and consistency | Limited creativity |
| Freehand | Creative expression and uniqueness | Requires practice |
| Transfers/Decals | Easy to apply and replicate | Less personal touch |
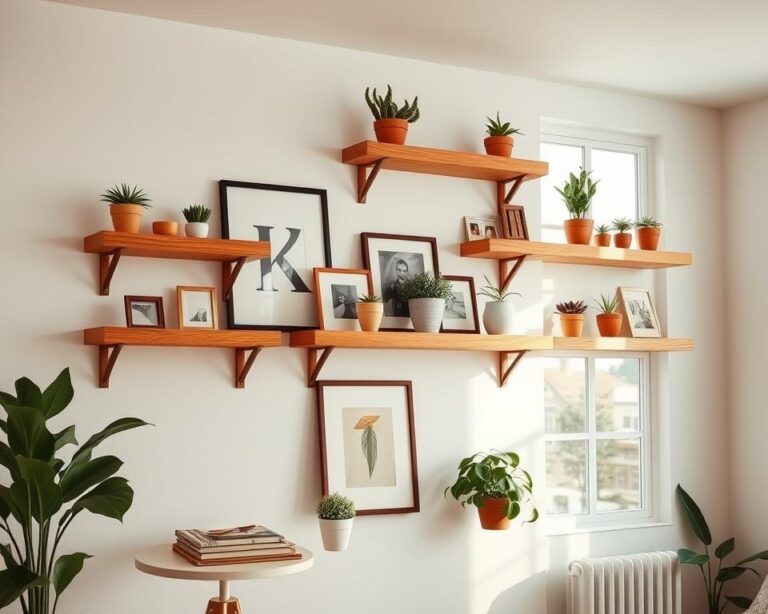
Displaying Your DIY Wood Signs
Choosing the right spots for your rustic wood signs can change your home and outdoor areas. The right placement makes your decor better and lets your signs stand out. Think about these spots to show off your signs.
Best Places to Hang Your Signs at Home
Entryways and porches are great for welcoming signs. A personalized sign above your mantel adds charm and daily inspiration. In bedrooms, signs that show your dreams or values make the space welcoming.
Home offices can use motivational quotes to keep you motivated. Always measure your space to fit your signs perfectly.
Incorporating Signs into Outdoor Spaces
Patios and gardens are perfect for outdoor signs. Use materials that can handle the weather. Styles like Barn Wood or Distressed look good with nature.
Don’t forget to seal your signs for protection. Clean them with a soft cloth to keep them looking good.
Find more ideas for displaying rustic wood signs in your space. Make sure they match your decor.
Upcycling Old Wooden Items for Signs
Upcycling wood for signs is a creative way to support the environment. You can turn old furniture or pallets into unique rustic signs. These signs not only beautify your space but also reflect your personal style.
Repurposing Furniture or Pallets
Start by looking for old furniture or pallets to upcycle. These items often have interesting textures and colors. Look for pieces with unique grain patterns or wear that tells a story. Here are some tips for finding the right items:
- Check if they are structurally sound to ensure safety.
- Think about the size to match your sign needs.
- Check the wood type, as some are better for outdoor use.
Tips for Cleaning and Preparing Reclaimed Wood
After finding your materials, clean and prepare the wood well. Good preparation makes a big difference in your final sign. Here’s how to get your wood ready:
- Take out any nails or screws.
- Clean the surface with a brush or cloth to remove dust and debris.
- Sand rough areas to make the surface smooth for painting or finishing.
- Apply a wood conditioner to enhance the wood’s natural beauty and durability.

Inspiration from Other Crafters
Connecting with other crafters can spark your creativity. It opens you up to many ideas for rustic wood signs. Sharing your passion for wood crafting with others can make the experience even more rewarding.
Sharing Your Creations on Social Media
Social media is a great place to share DIY projects. Instagram, Facebook, and Pinterest are perfect for showing off your work. You can get feedback and connect with others who love crafting.
Using hashtags can help your work reach more people. It might even inspire others to create. So, don’t be shy about sharing your projects. It could lead to new ideas or collaborations.
Finding Craft Communities Online
There are many craft communities online. They offer tips and fresh ideas for woodworking. Websites and forums are full of useful information.
Pinterest is a treasure trove of designs. Joining DIY craft groups connects you with others. You’ll find endless inspiration and get support from like-minded people.
| Social Media Platform | Benefits | Best for |
|---|---|---|
| Visual engagement, wide audience reach | Showcasing completed projects | |
| Endless project ideas, rich visuals | Finding inspiration and tutorials | |
| Community support, real-time interaction | Joining groups and sharing experiences |
Conclusion: Embrace Your Creativity with Scrap Wood
As you finish exploring DIY rustic wood signs and scrap wood projects, remember it’s more than crafting. It’s a chance to show your unique style and help the environment through creative woodworking. By using leftover wood, you can make beautiful decor that shows who you are and fits your home.
Starting this crafting adventure might seem tough, but it’s also very rewarding. From picking the right wood to making your designs, each step lets you show your creativity in new ways. Enjoy the DIY encouragement from learning and trying new things; every sign you make helps you grow your skills and art.
So, go ahead and collect those scrap materials, set aside some time, and start your wood crafting journey. You have everything you need to make your ideas into amazing, real pieces you can show off and share. Your crafting adventure is waiting, full of endless possibilities—let your imagination guide you!