Did you know the average American throws away over 220 million tons of waste yearly? Much of this waste is good wood. Instead of throwing it away, you can make it into something useful. In just one hour, you can turn leftover wood into a beautiful shelf.
This shelf not only adds charm to your space but also helps the environment. It’s a great way to practice sustainable crafting. This guide will show you how to make your own wooden shelf. It’s perfect for holding books, decor, or anything special to you.
Why Choose Scrap Wood for Your Projects?
Scrap wood is a great choice for woodworking projects. It helps reduce waste and opens up creative possibilities. Working with scrap wood lets you find unique qualities in materials that regular lumber doesn’t have.
As you explore upcycling wood ideas, you’ll find practical and beautiful results. These reflect your personal style and are good for the environment.
Benefits of Using Scrap Wood
Using scrap wood for your projects has many benefits. It reduces waste and helps the environment. It’s also often cheaper, making stunning pieces more affordable.
Every piece of scrap wood has its own story and character. This adds a special touch to your projects. It lets you show off your creativity and develop your own style.
Eco-Friendly Crafting
Eco-friendly woodworking is becoming more popular. More artists are choosing sustainable options. Upcycling wood ideas help reduce the need for new timber.
By picking scrap wood, you help the environment and enjoy crafting with materials with a history. This approach improves your woodworking skills and makes you appreciate the resources you use.
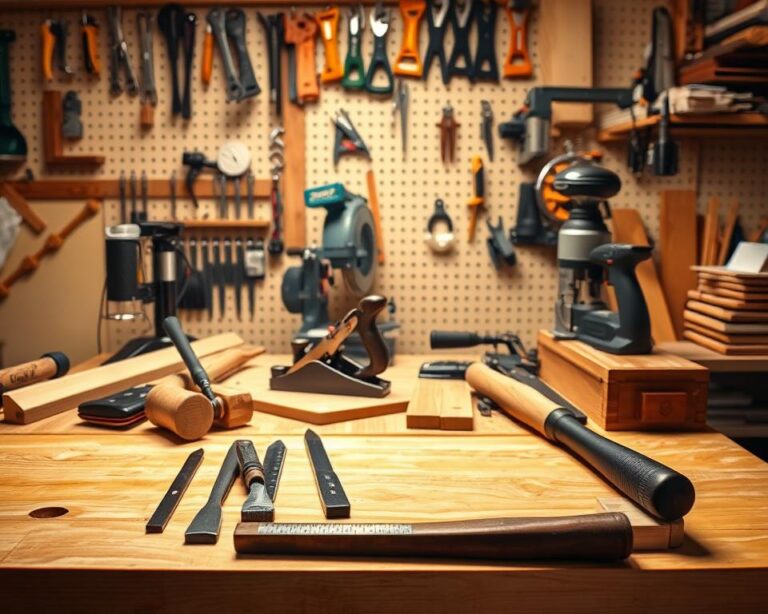
Essential Tools for Building Your Shelf
Before starting your project, having the right tools is key for success. A good set of DIY tools makes the process easier and improves your shelf’s quality. Here are the basic tools you’ll need, plus some optional ones for better precision.
Basic Tools You’ll Need
- Miter saw for accurate wood cuts
- Drill for fastening
- Pin nailer for easy assembly
- Measuring tape to ensure proper dimensions
- Wood glue for added strength
- Sandpaper for a smooth finish
- Screws to secure pieces
Optional Tools for Enhanced Precision
- Kreg jig for creating pocket holes
- Sander for a polished surface
- Impact driver for effective fastening
Investing in these tools makes your scrap wood crafts look professional. Good equipment helps your DIY projects go smoothly. This lets you focus more on creativity and less on problems.
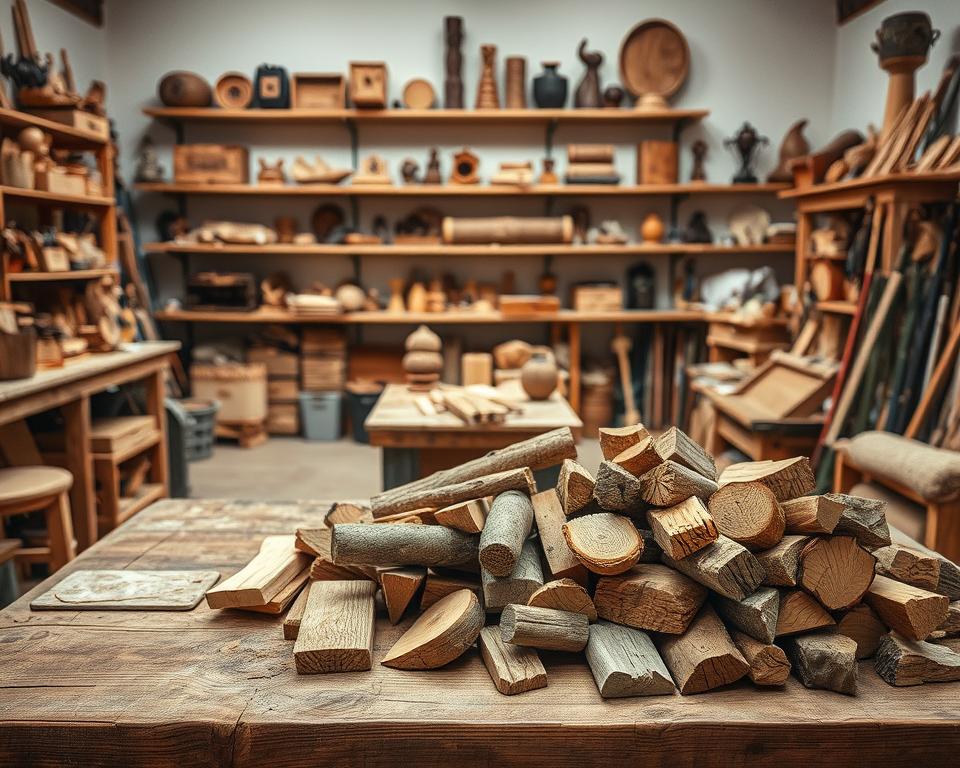
Selecting the Right Scrap Wood
Choosing the right scrap wood is key to a successful shelf project. Your style and goals guide your choice. Knowing the types of wood for shelves helps you pick wisely, improving both function and look.
Types of Scrap Wood Suitable for Shelves
Pine, oak, and birch are top picks for scrap wood projects. They’re durable and easy to find. Pine is light and simple to work with, great for newbies.
Oak is sturdy and has a beautiful grain, fitting any design. Birch is strong with a smooth texture, perfect for modern looks.
How to Inspect the Wood for Quality
Always check the wood before using it. Look for defects like knots, cracks, and warping. These can weaken your shelf.
A quality piece should feel solid and have few flaws. Choose wood that’s not just useful but also adds charm. This way, your projects will last long and look great.
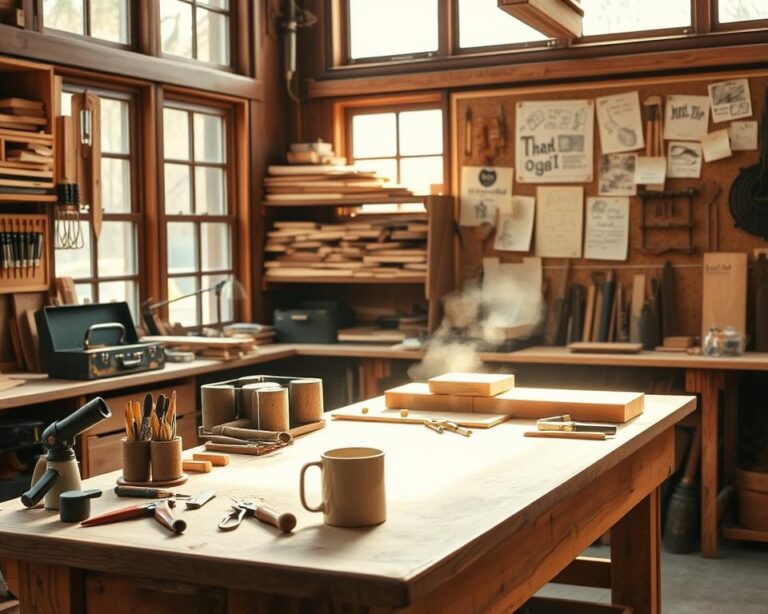
Preparing Your Workspace
Creating a well-organized and safe workspace is key for a successful DIY project. Setting everything up properly can greatly improve your efficiency and safety. Start by organizing your tools so they’re easy to find.
This makes your workspace safer and less cluttered. It helps you focus on your project without distractions.
Organizing Your Tools
First, sort your tools by their use. Put all cutting tools together and measuring tools in another spot. Think about getting toolboxes or pegboards to keep things neat.
Having an organized workspace is safer. It lowers the risk of accidents from tools being in the wrong place.
Ensuring Safety First
Your safety is the most important thing when doing DIY projects. Wear protective gear like goggles and gloves to stay safe. Good lighting is also essential to avoid accidents.
By following these safety steps, you make your workspace better for working on your project.
Designing Your Wooden Shelf
Creating a beautiful shelf needs careful thought. Think about the look you want, like rustic wood decor, and make sure it’s functional. A well-designed shelf can meet your storage needs and improve your space’s look. Simple ideas can show off your style easily.
Simple Design Ideas
Consider using basic shapes and clean lines for a simple yet attractive design. Here are some ideas to start with:
- Floating Shelves: Install shelves that look like they’re floating on the wall for a modern look.
- Ladder Design: Use a ladder-style shelf for a dynamic and open feel.
- Cubed Sections: Design with cubed sections for a unique way to display decor.
Planning Measurements for Your Space
Getting the measurements right ensures your shelf fits perfectly. Keep these points in mind:
- Measure the wall space where you plan to install the shelf to confirm its dimensions.
- Consider the height and width of items you’ll place on the shelf.
- Sketch a layout that includes the shelf and your room’s furniture for a harmonious look.
Step-by-Step Instructions
Making your wooden shelf can be both fun and rewarding. With a clear plan, you can make it happen. Follow these steps for efficient progress. Focus on the right woodworking techniques for a strong structure while enjoying your DIY project.
Cutting the Wood to Size
Start by measuring the wood for your design. Precision is crucial when cutting the pieces. Use a circular saw for straight cuts and a miter saw for angles. Always double-check your measurements to avoid mistakes. Here are the essential steps:
- Gather your measurements based on shelf dimensions.
- Use a straight edge to mark cut lines clearly.
- Carefully cut the wood, maintaining a steady hand for clean edges.
Assembly Techniques
Assembling wooden shelves needs careful attention to detail. Apply wood glue to the connection points for added durability. Use a pin nailer to fasten the sides and top securely. This method helps create a strong bond. Follow these tips for effective assembly:
- Align the pieces precisely before nailing.
- Ensure that all edges are flush for a professional appearance.
- Check the structure’s sturdiness before finalizing.
Using these woodworking techniques will make your project successful. You’ll end up with a beautifully crafted shelf ready for use.

Finishing Touches for Your Shelf
Finishing your wooden shelf is more than just putting it together. It’s about adding the final touches that make it look great and last long. Start by sanding everything smooth. This step is key before you apply any finish.
Using the right wood finishing techniques can make the wood look amazing. It also makes sure the shelf is safe and free from splinters.
Sanding and Smoothing Surfaces
Begin by sanding all the surfaces of your shelf. Pay extra attention to edges and corners. Use a fine-grit sandpaper for a smooth finish.
Proper sanding not only makes the wood look professional. It also gets it ready for the next steps in your project.
Choosing the Right Stain or Paint
Choosing the right stain or paint is crucial for your shelf’s look. Think about using eco-friendly options to show off your upcycling skills. There are many stains and paints out there, like water-based and oil-based ones.
Water-based finishes dry fast and don’t smell as much. Oil-based ones last longer but take longer to dry and smell stronger. The right choice not only makes the wood look good but also protects it.
| Finishing Option | Pros | Cons |
|---|---|---|
| Water-Based Stain | Quick drying, low odor | Less durable than oil-based |
| Oil-Based Stain | Durable finish, rich color | Longer drying time, stronger odor |
| Clear Coat | Protects the wood, enhances natural color | May yellow over time |
| Chalk Paint | Matte finish, easy to distress | Less durable, may require sealing |
Mounting Your Shelf Securely
Installing your shelf securely is key for its use and safety. There are many wall mounting techniques for different walls. First, find out if your wall is drywall, brick, or plaster to ensure a good installation.
Anchoring Options for Different Wall Types
Each wall type needs its own anchors for the best hold. Drywall walls need heavy-duty wall anchors or toggle bolts for weight support. Brick or concrete walls require masonry screws or expansion anchors for a strong hold.
When you can, attach your shelf to the studs behind the drywall. This gives the most reliable hold.
Tips for Leveling Your Shelf
Getting your shelf level is important to avoid mess and bad looks. Use a spirit level to check for evenness before securing. If your shelf is not level, it can cause trouble when organizing.
By following these tips, your shelf will be both useful and look good. For more on wall mounting, check out this resource.

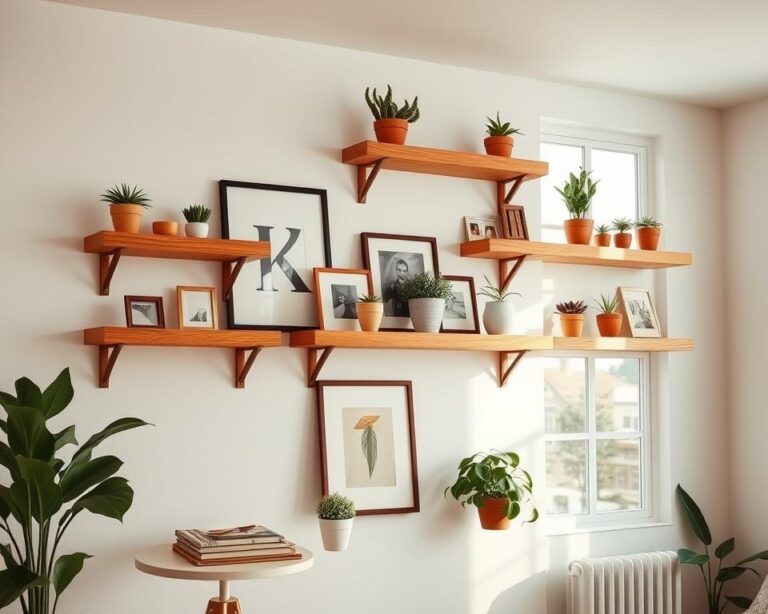
Making the Most of Your Shelf Space
After mounting your shelf, you can make it stylish and useful. Start with creative decor ideas that show your style and fit your home. Arrange items by theme or color for a nice look. Display books, plants, and special items for interest.
Creative Organization Ideas
Use height to make your shelf look interesting. Stack books at different angles, add small plants, or show photos in unique frames. Wooden crates can add a rustic feel and useful storage. This makes your shelf styling better and keeps things organized.
Adding Decorative Elements
Mix textures and shapes on your shelf. Smooth ceramics and wooden crates look good together. Use decorative bowls or vases for both looks and function. Each piece adds to your shelf’s beauty. This turns a simple shelf into a room highlight.
Final Thoughts on Crafting with Scrap Wood
Crafting with scrap wood is more than just being creative. It’s about choosing a green option that helps the planet. You show others how to use leftover materials wisely. Your projects, like shelves or decorations, turn waste into something special for your home.
Think about the joy of turning old wood into something new and useful. You could make outdoor furniture, custom picture frames, or rustic planters. Each project keeps you focused on being eco-friendly and encourages you to think outside the box.
Looking forward to your next project, remember it’s for a greener future. Use what you have, let your creativity flow, and enjoy making something unique. Your work not only makes your space beautiful but also helps create a more sustainable world.