Did you know over 75% of American homes have at least one handmade item? Making your own wooden tray is rewarding and can make your home look better. It’s also a great way to improve your woodworking skills.
This project is perfect for beginners. It’s a mix of function and creativity. With some basic tips, you can make something beautiful that shows off your style.
The Basics of Woodworking for Beginners
Starting your woodworking journey is exciting. Knowing the basics can really help you succeed. Learning about the right tools and materials will improve your skills and make projects easier. Whether you’re looking for beginner tools or want to learn the basics, the right equipment makes woodworking more fun and rewarding.
Understanding Common Tools
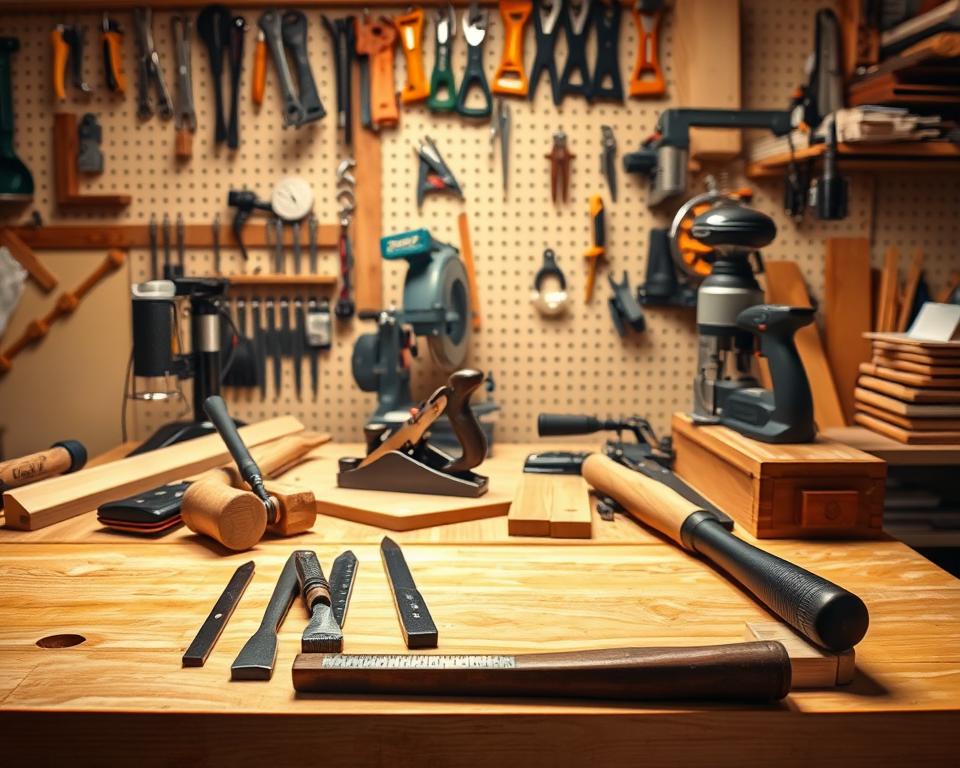
Woodworking needs a good set of tools to create amazing projects. Essential tools for beginners include:
- Table saw
- Power drill
- Bar clamps
- Hand tools like handheld saws and planes
- Sanders for finishing touches
Having these tools helps you cut, assemble, and finish projects easily. The right tools make your work better and faster.
Essential Materials You’ll Need
When starting your wooden tray, the right materials are key. Basic materials for beginner projects include:
| Material | Purpose |
|---|---|
| 1”x4” Pine Boards | Main body of the tray |
| Screws | To secure pieces together |
| Wood Glue | For added strength at joints |
Understanding woodworking basics and getting the right materials sets you up for success. For more detailed steps, check out this step-by-step guide.
Choosing the Right Wood for Your Tray
Choosing the right wood is key for woodworking beginners. The wood you pick affects the tray’s look, durability, and how easy it is to make. Knowing about different woods ensures your tray looks just as you imagined.
Popular Wood Types for Beginners
Here are some wood types beginners might consider:
- Pine – Softwood that’s affordable and easy to work with.
- Oak – A hardwood known for its strength and attractive grain.
- Maple – Another hardwood that offers durability and a smooth finish.
- Cedar – Lightweight and resistant to decay, making it great for outdoor projects.
Pros and Cons of Each Wood Type
Each wood type has its own good and bad points. Here’s a comparison to help you decide.
| Wood Type | Pros | Cons |
|---|---|---|
| Pine | Inexpensive, lightweight, easy to cut. | Less durable, prone to dents. |
| Oak | Strong, stylish, holds stains well. | Can be heavy, more expensive. |
| Maple | Durable, easy to finish, fine texture. | Harder to work with, can be costly. |
| Cedar | Natural resistance to decay, aromatic. | Soft, can be easy to scratch. |
Essential Woodworking Techniques
Starting with woodworking? Learning a few key techniques can make you more confident and skilled. These simple techniques will help you make beautiful, useful items like your wooden tray.
Measuring and Marking
Getting your measurements right is the first step in woodworking. Use a good measuring tape and square. Double-check each measurement to avoid errors. Mark your cuts clearly to avoid mistakes.
Cutting Basics
Get to know your saws and how they work. Whether it’s a handsaw or a power saw, knowing how to use it is key. Practice making straight cuts along your lines. This helps your pieces fit together well.
Sanding for Smooth Finishes
Sanding is key for a polished look. After cutting, use sandpaper to smooth out edges and surfaces. This makes your tray look and feel better. A smooth finish is especially important for items that get handled a lot.
Designing Your Wooden Tray
When designing your wooden tray, think about both its use and how it looks. Trays are usually around 12”x18”, but you can change these sizes to fit your needs. This lets you make projects that show off your style.
Tray Dimensions to Consider
Choosing the right size is key. Here are some common sizes and what they’re good for:
| Dimension | Use Case |
|---|---|
| 12” x 18” | Standard serving tray |
| 16” x 24” | Large breakfast tray |
| 10” x 14” | Perfect for snacks |
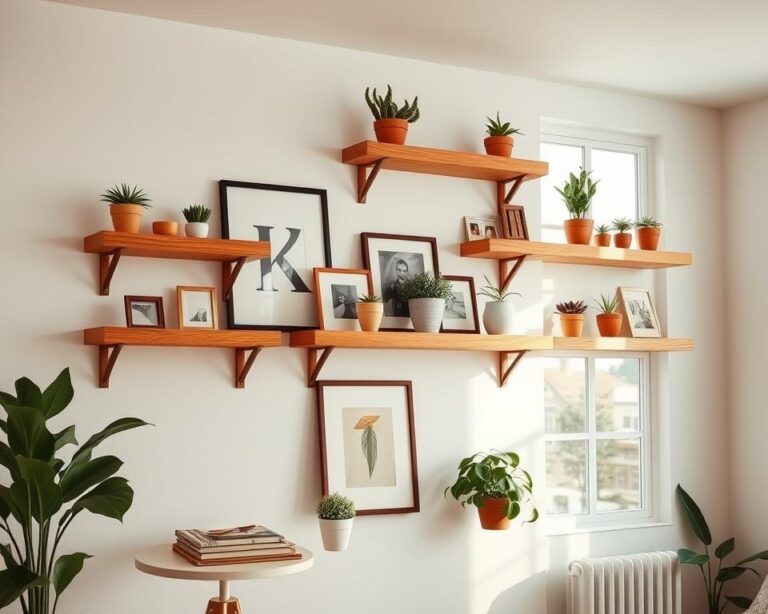
Adding Personal Touches
Adding your own touches makes your tray special. You could add decorative handles or unique finishes. Painting or staining the wood adds a personal touch that matches your home.

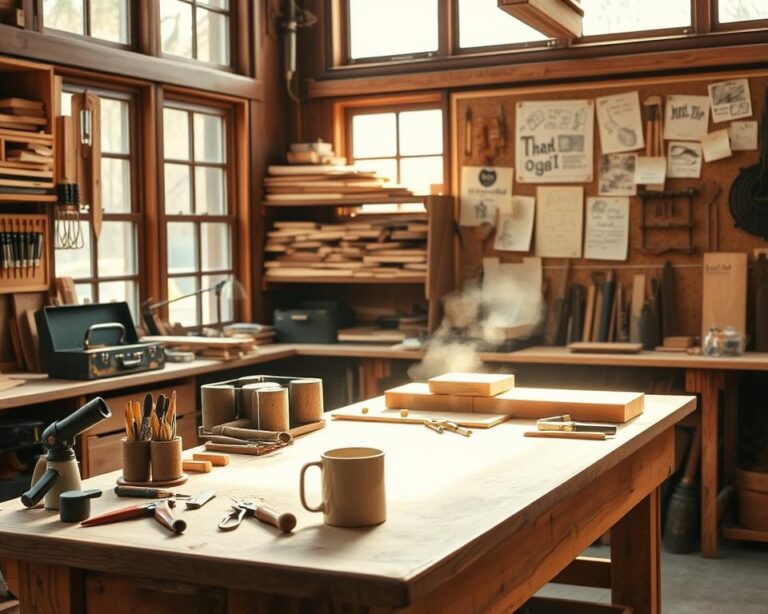
Preparing Your Workspace
Having a well-organized workspace is key when starting woodworking projects. Setting up your tools right can make your work smoother and cut down on mistakes. Make sure all your beginner woodworking tools are within reach and neatly arranged. Good lighting is also crucial for seeing your work well, especially when you’re making precise cuts or measurements.
Setting Up Your Tools
Place your beginner woodworking tools like saws, drill, and measuring tape close to you. This makes moving between tasks easier. Use a strong workbench that has enough room for your projects. Keeping tools in bins or holders helps avoid clutter and lets you focus better.
Safety Practices to Follow
Keeping safety first in woodworking is very important. Always wear protective gear like goggles and gloves to protect against flying debris. Dust masks also help filter out fine particles that could harm your lungs. By following these simple safety steps, you create a safe space to learn woodworking basics for beginners.
| Safety Gear | Purpose |
|---|---|
| Goggles | Protect eyes from dust and debris |
| Gloves | Shield hands from splinters and cuts |
| Dust Mask | Reduce inhalation of wood dust |
Assembling Your Tray
Assembling your wooden tray is an exciting part of your project. With the right steps, you can make a sturdy and good-looking tray. It’s important to follow the right techniques, especially if you’re just starting out in woodworking. Begin by gluing the bottom boards together, making sure they cover the whole surface. Use bar clamps to hold the boards in place while the glue dries.
Step-by-Step Assembly Instructions
Once the bottom is set, move on to the sides. Make sure the sides fit together right to make a strong tray. Here are the steps to help you assemble your tray:
- Glue the bottom boards and use clamps to fasten them.
- Attach the side pieces, ensuring all edges align properly.
- Consider using joining biscuits or screws for added strength.
- Check for any uneven areas and make adjustments as needed.
- Allow all glue to dry completely before moving to the next step.
Tips for Secure Joints
To make your tray last longer, focus on making strong joints. Start with woodworking tips for beginners that stress the need for enough glue. Use a lot of glue on any joints you make, and clamp the pieces together tightly. This method not only makes your tray more stable but also looks better. Try different joinery methods to see what works best for you. Remember, strong joints are key in woodworking, especially for beginners.
Finishing Touches
After you’ve put together your wooden tray, it’s time to add the final touches. These will make it look better and keep the wood safe. Picking the right finish or stain is key to getting the look you want. Think about how different finishes can make your project stand out.
These steps are perfect for those starting with easy woodworking projects or beginners. They help you bring your project to life.
Choosing the Right Finish or Stain
Choose a finish that matches your tray’s design. You can go for clear sealers for a natural look or stains for color. Each option has its own special qualities. Take your time to pick the one that fits your vision.
Applying the Finish
When you apply the finish, use a brush or cloth for an even coat. Always follow the wood grain to avoid streaks. Here are some tips to help you:
- Work in a well-ventilated area.
- Apply thin coats to avoid running or drips.
- Let it dry fully between coats for the best look.
A well-finished tray not only protects the wood but also looks great. Paying attention to detail is crucial. These finishing touches can greatly improve your project’s look.
Troubleshooting Common Issues
Every woodworking project, even simple ones, can face challenges. Knowing how to solve common problems helps keep your project smooth and high-quality.
Addressing Uneven Joints
Uneven joints can ruin your wooden tray’s look and strength. Start by sanding the area gently until it’s smooth. Use fine-grit sandpaper for a shiny finish.
If the gaps are still there, try wood filler. It’s a basic skill for beginners and makes your project look professional.
Fixing Frayed Edges
Frayed edges happen after cutting. But they’re easy to fix. Sanding will make these spots smooth and clean.
For bigger fraying, cut the edges with a sharp knife first. Then sand. Fixing these small issues makes your tray look better.

Maintaining Your Wooden Tray
To keep your wooden tray looking great, proper care is key. Follow a few simple tips to make sure it stays a cherished home accessory. These woodworking tips for beginners will help you see the value of your hard work.
Tips for Care and Storage
Avoid direct sunlight and moisture to prevent warping or fading. Clean your tray with a damp cloth to remove dust and debris. Don’t use harsh chemicals that could harm the finish.
Store your tray in a dry, cool place when not in use. This helps prevent long-term damage. These steps are important for keeping your project in top shape.
Preventing Damage Over Time
Regularly check your tray for wear or damage. Small scratches or blemishes can be fixed with light sanding and refinishing. Avoid putting too much weight on your tray to prevent stress on the joints.
By following these tips, your wooden tray will stay in great condition. It will be ready for all your special occasions.