Did you know the average American household spends over $1,000 a year on home decor? You can save a lot by making your own diy wood coasters. These coasters are not only affordable but also a great way to get creative.
By using reclaimed or scrap wood, you can make beautiful and useful decor. This easy wooden coaster tutorial will show you how to make coasters that wow your guests. You can make your home look great without spending a lot.
So, why not try DIY woodworking? Your next stylish project is just waiting for you!
Why DIY Wood Coasters Are a Great Project
Making your own coasters is very rewarding. You can make them your own style. They also add to your home’s look.
Benefits of Making Your Own Coasters
DIY wood coasters let you express yourself. You can pick designs, shapes, and colors that match your taste. Each coaster can hold special memories, making them unique.
Cost-Effective Crafting Solutions
DIY wooden coasters save money. You can make many without spending a lot. It’s a way to create something beautiful without breaking the bank.
Perfect for Gift Giving
Handmade coasters are great gifts. They’re perfect for any occasion. You can add personal touches, like initials, to make them extra special.
Materials Needed for DIY Wood Coasters
Wondering how to make wood coasters? Start by gathering the right materials. Quality materials make your coasters look good and last long. Here’s what you need, plus some extras to make them special.
Selecting the Right Type of Wood
Choosing the right wood is key. Consider these options:
- Pine: It’s cheap and easy to work with, great for beginners.
- Oak: It’s tough and has a beautiful grain, perfect for quality coasters.
- Reclaimed Lumber: It’s eco-friendly and gives your coasters a unique look.
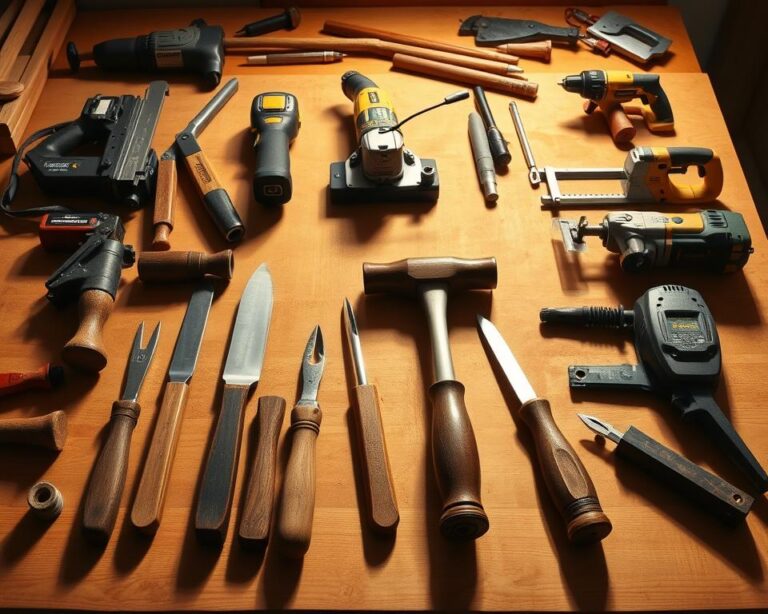
Tools You Might Need at Home
For a simple coaster project, you’ll need these tools:
- Saw (circular or hand saw)
- Sander (orbital or hand sander)
- Drill for making holes or adding designs
Optional Decorative Supplies
Want to make your coasters stand out? Try these extras:
- Wood stain to enhance the natural look
- Acrylic paint for bright designs
- Stencils for patterns or letters
- Epoxy resin for a shiny finish
Simple Techniques for Cutting Wood
For your diy coaster project, mastering cutting techniques is key. Proper cuts make your coasters look great and keep you safe. This section covers important safety tips, measuring best practices, and how to make coasters that look good and are the same size.
Safety Tips When Using Saws
When using saws, safety comes first. Here are some tips to remember:
- Wear protective gear like safety goggles and gloves to avoid injury from flying debris.
- Make sure all tools are sharp and in good shape to avoid accidents.
- Keep your workspace clean and organized to avoid tripping.
- Always follow the tool manufacturer’s instructions.
Best Practices for Measuring
Getting your measurements right is crucial for your diy coaster project. Follow these tips for consistent coaster sizes:
- Use a reliable measuring tape and double-check your measurements before cutting.
- Mark your lines clearly with a pencil for accurate cuts.
- Use a square to get 90-degree angles on your corners.
- Measure twice and cut once to avoid waste and mistakes.
How to Create Uniform Coasters
To make uniform coasters, plan carefully. Try these methods for consistent results:
- Cut multiple pieces of wood at once to keep them the same thickness.
- Use a miter saw for precise and clean cuts.
- If using a jigsaw, make sure your blade is aligned right and cut steadily.
- Sand the edges after cutting for a smooth finish before sealing.
Finishing Touches for Your Coasters
Adding the right finishing touches can make your DIY wood coasters look and feel great. Whether you stain or paint them, it changes how they look and feel. After picking a color, sealing them is key to protect against water and spills. Let’s look at how you can make your coasters even better.
Staining vs. Painting
Staining gives a natural look that shows off the wood grain. It’s perfect for rustic coasters, letting each piece show its unique beauty. Painting, on the other hand, lets you choose bright colors to change your coasters’ look. Think about your decor and style to choose the best option.
Sealing Your Coasters for Longevity
After staining or painting, you need to seal your coasters. A good sealant protects against water, keeps them looking new, and makes them last longer. You can use polyurethane or a water-based sealant. Always follow the instructions for the best results.
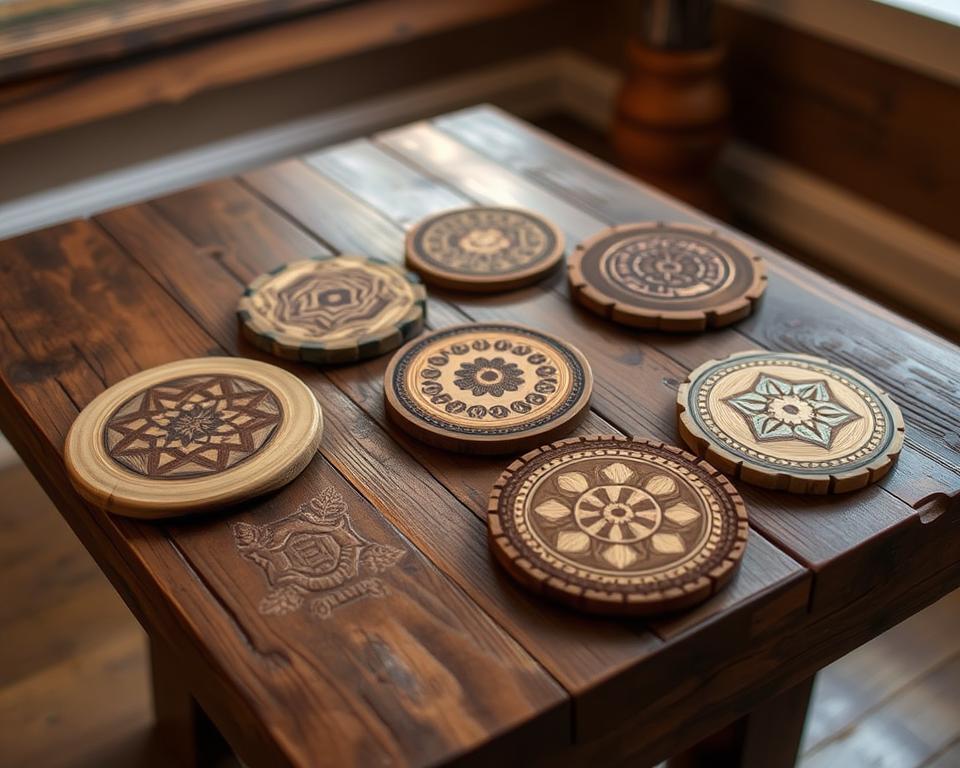
Creative Ideas for Designs
Get creative with your coasters. Use stencils for detailed designs or add decorative papers. Engraving can add unique patterns. Try different materials and designs to show off your style.
| Finishing Method | Advantages | Considerations |
|---|---|---|
| Staining | Enhances wood grain, natural look | Limited color options |
| Painting | Vibrant colors, endless possibilities | May hide wood character |
| Sealing | Increases durability and water resistance | Requires additional drying time |
Personalizing Your Wood Coasters
Adding a personal touch to your wood coasters can make them special. You can use stencils, engraving, or resin to make them stand out. This turns simple coasters into cherished keepsakes or unique gifts.
Using Stencils for Design
Stencils are great for detailed designs on your coasters. You can find or make stencils that match your style. Apply them by tracing or painting over the cut-out areas.
This method ensures your coasters have consistent patterns and lettering. They become stylish and unique.
Engraving Techniques for Unique Touches
Engraving gives your coasters a refined look. Tools like rotary engravers or wood-burning pens can etch designs and messages into the wood. This method provides a sophisticated finish.
Your coasters will keep their charm over time.
Incorporating Resin for a Modern Look
Adding resin gives your coasters a modern look. You can use resin with colorful embeds, glitter, or even pressed flowers. The glossy finish adds to their appeal and protects against spills.
This modern twist makes your coasters perfect for entertaining or decoration.
Your personalized wood coasters show off your style. They become more than just functional items. For more ideas, check out this resource on unique coaster projects.
Eco-Friendly Options for Your Coasters
Making eco-friendly coasters is a great way to help the planet. It turns simple projects into pieces that care for the environment. This guide will help you find materials and finishes that are good for both looks and the planet.
Sourcing Reclaimed Wood
Reclaimed wood is perfect for eco-friendly coasters. It comes from old furniture or building materials. This way, you save trees and add unique charm to your coasters.
Ideas for Upcycling Old Wood Projects
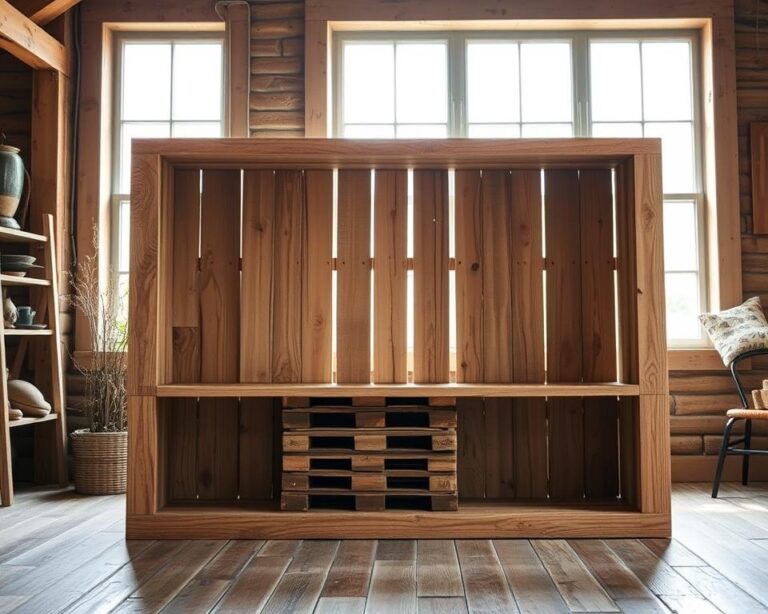
Upcycling is a creative way to reuse wood. Use leftover wood from old projects to make coasters. Old items like pallets or kitchen scraps can become something new. It’s a way to reduce waste and save money.
Sustainable Methods and Finishes
Choose natural oils and waxes for your coasters. They protect the wood without harmful chemicals. Tung oil or beeswax makes the wood look great and keeps drinks safe. Sustainable finishes keep your coasters stylish and safe for a long time.

Ways to Use Your DIY Wood Coasters
Your diy wood coasters can make your daily life and parties more fun. This easy wooden coaster tutorial turns simple coasters into useful items. They also add a personal touch to your home.
Practical Tips for Everyday Use
Use your coasters every day in places where you drink and eat. Here are some tips:
- Place them near your coffee table for easy reach during parties.
- Have a spot in the kitchen for them while cooking.
- Use them on your desk to protect it from coffee or tea spills.
Using Coasters as Decorative Elements
DIY wood coasters can also be decorative pieces. Here are some ideas:
- Put them on a stylish tray for a chic centerpiece.
- Match them with other home items for a unified look.
- Show them off on floating shelves to show off your crafting.
Hosting with Style: Entertaining Tips
Want to impress your guests? Your coasters can help. Here are some tips:
- Choose coasters that fit your party theme for a cohesive look.
- Use them as placeholders for guests to make them feel special.
- Set up a drink station with your coasters for easy access to drinks and snacks.
Troubleshooting Common DIY Issues
Starting wood projects can bring its own set of challenges. Understanding common problems helps in fixing them. This guide will show you how to fix uneven coasters, manage wood splits, and correct mistakes.
Fixing Uneven Coasters
Uneven coasters? No problem. Begin by sanding the surfaces with sandpaper. This will improve their look and function. Place them on a flat surface to check if they’re even. Remember, patience is key to getting the best results.
Dealing with Wood Splits or Cracks
Wood splits or cracks can happen for several reasons. Use wood glue to seal them. Apply the glue and clamp until it dries. For bigger splits, you might need wood filler and sanding for a smooth finish.
How to Correct Mistakes Smoothly
Mistakes are part of DIY. Stay calm and figure out what went wrong. Simple fixes can turn things around. You might need to cut again, add something new, or even start a new project. Troubleshooting wood projects is all about being creative.

Sharing Your DIY Wood Coaster Creations
After finishing your DIY coaster project, don’t hide it away. Share it on social media for DIY. This way, you celebrate your effort and inspire others to start their crafting adventures. Use Instagram and Pinterest to show off your wood coasters.
By sharing how you made them, you might attract others who love DIY. They can share their own ideas and techniques with you.
Showcasing on Social Media
Having a strong online presence is great for getting feedback and meeting people who share your interests. Post pictures of your coaster project at different stages. Ask your followers questions and hold polls to get them involved.
Hosting a Coaster-Making Party
Hosting a coaster-making party is a fun way to bring people together. Invite your friends and family to join in. Everyone can bring their own style to the party.
Sharing tips and materials can lead to new ideas. It’s a great way to improve your skills and make memories with your loved ones.
Engaging with Local Craft Communities
Joining local craft groups or workshops can help you meet new people and learn more. These communities are full of opportunities to share and learn. Go to events and join discussions to find out new things.
Building friendships with other crafters makes the whole experience better. It’s a chance to grow and have fun together.
Expanding Your DIY Wood Project Skills
After making your own wooden coasters, you might want to try more woodworking projects. This path can lead to more complex projects, helping you grow your skills. You can make unique items for your home, from furniture to custom woodwork.
Next Steps in Woodworking
Try new techniques like carving or joinery to boost your skills. Spending time on these skills will make your future projects better. Making complex items will be rewarding and impress your loved ones.
Resources for Learning More
There are many resources to help you grow in woodworking. Online tutorials, workshops, and books can teach you advanced techniques. These resources will help you learn and inspire new ideas for your projects.
Building a DIY Wood Project Portfolio
Keep track of your woodworking journey by creating a portfolio. It shows your progress and skill growth. Sharing your portfolio can inspire others to start their woodworking journey.
For more ideas and detailed guidance on making stunning coasters and improving your woodworking skills, check out this resource: handmade wooden coasters.