Did you know over 60% of people love DIY projects? They do it to show their creativity and make their homes special. Making wooden candle holders is a great quick project. You can make them in under 30 minutes with basic tools.
In this article, you’ll learn how to make these beautiful candle holders. It doesn’t matter if you’re new to DIY or have lots of experience. You’ll enjoy making these unique pieces that light up your home and add to its beauty. Follow these easy steps to add warmth and style to your space!
Introduction to Hand Tools for Woodworking
Starting your woodworking journey means learning about the key hand tools. Choosing the right tools makes your work better and more fun. Good tools also keep you safe while working with wood.
Importance of the Right Tools
For beginners, picking the right hand tools is key. Quality tools help you make precise cuts and finishes. This makes your candle holders look and work better. Investing in the right tools also helps you work faster and avoid headaches.
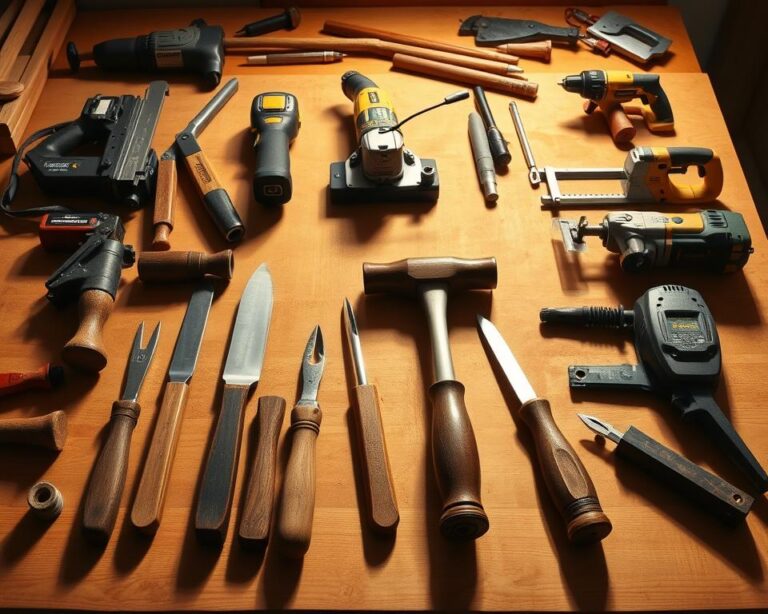
Basic Hand Tools You’ll Need
As a beginner, you’ll need a few basic hand tools. Here’s a list of what you’ll need:
- Saw – for making accurate cuts
- Drill – an essential tool for creating holes
- Chisels – perfect for shaping and detailing
- Measuring tape – for accuracy in measurements
- Square – to ensure your angles are correct
Learning to use these tools will make you more confident. This confidence is crucial for your success in woodworking.
Choosing the Right Wood for Your Candle Holders
Choosing the right wood for your candle holders is key. It affects both the look and how long they last. Each wood type has its own special qualities that can make your candle holders look and work better. Knowing about the different types of wood can help you pick the best one.
Common Wood Types for Beginners
For beginners, some of the best woods include:
- Pine – It’s cheap and light, making it easy to work with.
- Fir – It’s strong and stable, great for candle holders.
- Cedar – It smells nice and doesn’t warp or decay easily.
Considerations for Wood Selection
When picking wood for candle holders, think about these things:
- Aesthetic appeal – Different woods have unique grains and colors. Pick what matches your design.
- Durability – Make sure the wood can handle candle heat without being unsafe.
- Workability – Choose wood that fits your skill level and tools.
Essential Hand Tools for Candle Holder Projects
Starting a candle holder project? You’ll need the right tools. A good woodworking tool set has key hand tools for precision and a nice finish. Knowing what each tool does can make your project better.
Saws: What You Need to Know
Saws are key for any project. A hand saw is great for straight cuts. A miter saw is better for angled cuts, offering flexibility. Pick a saw that matches your project size for the best results.
Chisels: Crafting Precision
Chisels help add detail to your candle holder. They come in different shapes and sizes. A sharp chisel lets you make clean lines and detailed designs, making your work special.
Sanding Tools for a Smooth Finish
After cutting and shaping, sanding tools make your surface smooth. Your set should include sandpaper, sanding blocks, and powered sanders. Sanding removes splinters and gets the wood ready for finishing, giving it a pro look.
| Tool Type | Function | Recommended Use |
|---|---|---|
| Hand Saw | Straight cuts | Basic cuts for candle holder shapes |
| Miter Saw | Angular cuts | Precision at corners or angles |
| Chisel | Detailing and shaping | Creating intricate designs |
| Sandpaper | Smoothing surfaces | Preparing for finishing |
| Sanding Block | Controlled sanding | For flat surfaces and corners |
Safety Tips When Using Hand Tools
Woodworking is fun but can also be dangerous. It’s important to focus on safety to enjoy your projects without risks. By following safety tips, you can avoid accidents and stay safe while working with hand tools.
Wearing Protective Gear
Always wear the right gear before starting a woodworking project. This includes:
- Safety goggles: Protect your eyes from dust and flying debris.
- Gloves: Safeguard your hands against cuts and scrapes.
- Ear protection: Keep your hearing safe from loud noises produced by tools.
- Dust masks: Prevent inhalation of sawdust and other particulates.
Wearing this gear makes woodworking safer and lets you work with more confidence.
Handling Tools with Care
It’s crucial to handle hand tools safely. Keep them organized and within reach. Regularly check and maintain your tools to ensure they work right. Here are some key tips:
- Always use the right tool for the job.
- Keep blades sharp to reduce the strain and improve cutting efficiency.
- Store tools properly to prevent accidents when not in use.
- Clean your workspace regularly to avoid tripping hazards.
Following these tips helps keep you safe and makes your work environment better.
Step-by-Step Guide to Making Your Candle Holders
Making your own candle holders is a fun project. This guide will help you through each step. Follow these steps for great results.
Cutting Your Wood Pieces
First, measure your wood carefully. Then, use a saw to cut each piece to size. Be careful when using woodworking tools for these cuts.
Shaping and Sanding
After cutting, shape your pieces with chisels. Add any designs you like. Next, sand the edges and surfaces. This makes the finish smooth and safe.
Drilling Holes for Candles
Finally, drill holes in the center of each piece for candles. Make sure the holes are the right size. This ensures your holders look and work great.
Creative Designs for Your Candle Holders
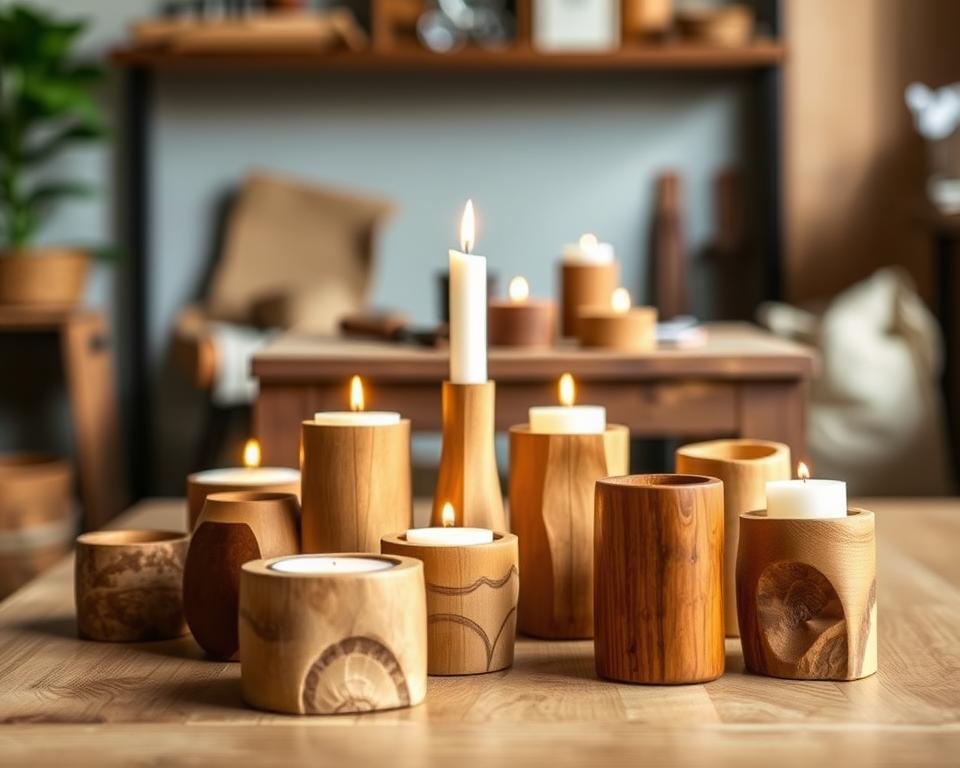
Let your imagination run wild with creative candle holder designs. You can mix beauty and function in countless ways. Choose from simple shapes or rustic wood for stunning pieces that brighten your home.
Simple Geometric Shapes
Geometric designs bring a modern vibe to your space. Shapes like cubes, triangles, and pyramids are simple to make. You can paint them bold colors or keep them natural for a minimalist look.
Rustic and Natural Styles
Rustic wood adds warmth and character to your candle holders. Try leaving the wood as is or use a light stain. This highlights the wood’s natural beauty and adds a unique touch to each piece. Adding twine or burlap can make them even more cozy.

Finishing Touches for Your Candle Holders
Finishing your woodworking projects can make your candle holders look amazing. The right finish can make them stand out and protect them. You can choose from bold paint colors or subtle stains to get the look you want.
Choosing the Right Finish
Think about what finish you want. Paint can add bright colors to match your home. Natural stains bring out the wood’s grain, giving a classic look. Choose based on where you’ll display them. A bold finish is great for showpieces.
Applying Paint or Stain
Before painting, make sure the surface is clean and smooth. A primer helps the paint stick better. Use a brush or spray paint for a smooth coat.
For staining, follow the instructions carefully. Let the stain soak into the wood before wiping off the extra. Both painting and staining need patience for a perfect finish.
Inspiring Ideas for Customization
Customization makes your candle holders special, showing off your personal style. Adding personal touches turns them into meaningful decorations. Here are some ways to make your woodworking projects stand out.
Adding Personal Touches
Think about adding elements that show your unique side. You can:
- Engraving: Add names or special dates to your candle holders.
- Color Selection: Pick colors that match your home or your favorite shades.
- Shapes and Sizes: Try different designs to fit your taste and mood.
Using Decorative Elements
Enhance your projects with eye-catching features. Here are some ideas:
- Natural Accents: Use twine, beads, or moss for a rustic look.
- Seasonal Decor: Update your holders with seasonal themes or colors for year-round use.
- Layered Textures: Mix materials for a rich, dimensional look.

Displaying Your Candle Holders
After making your beautiful candle holders, it’s time to show them off. Placing them in different spots around your home can really make your decor pop. Try putting them on your fireplace, dining table, or in cozy corners to add warmth and charm.
Best Locations in Your Home
Finding the right spots for your candle holders is key to a great look. Your dining table is a great place, especially with linen runners and seasonal decor for dinner. Or, place them on a coffee table with dried flowers for a nice centerpiece. Even your outdoor spaces, like a patio, can be decorated with holders and citronella candles for summer nights.
Incorporating Them into Your Decor
Making your handmade candle holders part of your home decor can really enhance it. Match their colors or materials with what you already have to create a cohesive look. This not only makes your decor better but also highlights your creations. For more ideas, check out this link for candle holder decoration tips. With these tips, you’ll make your home a welcoming space that shows off your creativity.