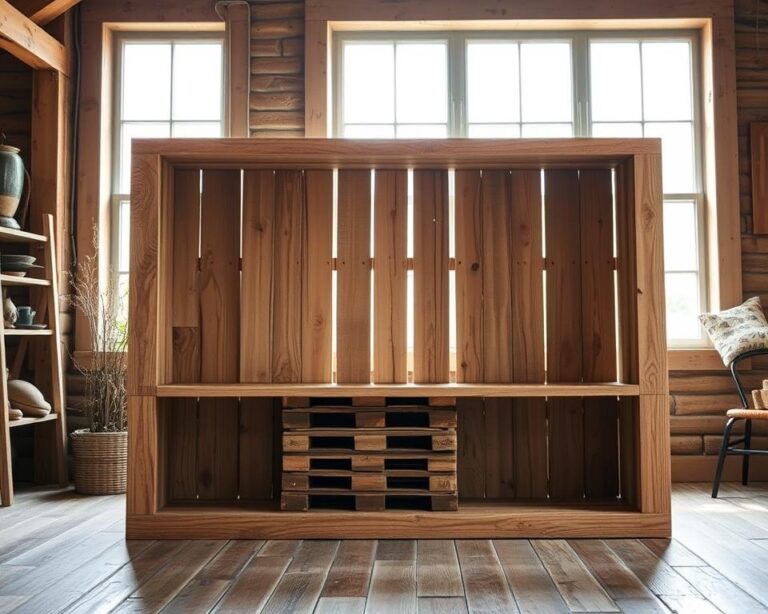
Did you know over 75% of Americans do DIY projects each year? If you’re looking to make your weekends productive, you’re in the right spot. Weekend woodworking is a great way to learn wood engraving and other quick projects. These projects improve your skills and let you make beautiful items for your home.
Working with wood is fun, whether you’re experienced or new. You can make personalized decor or unique gifts. Many projects can be done in just a few hours. Let’s explore woodworking together and see what you can create!
Introduction to Wood Engraving for Beginners
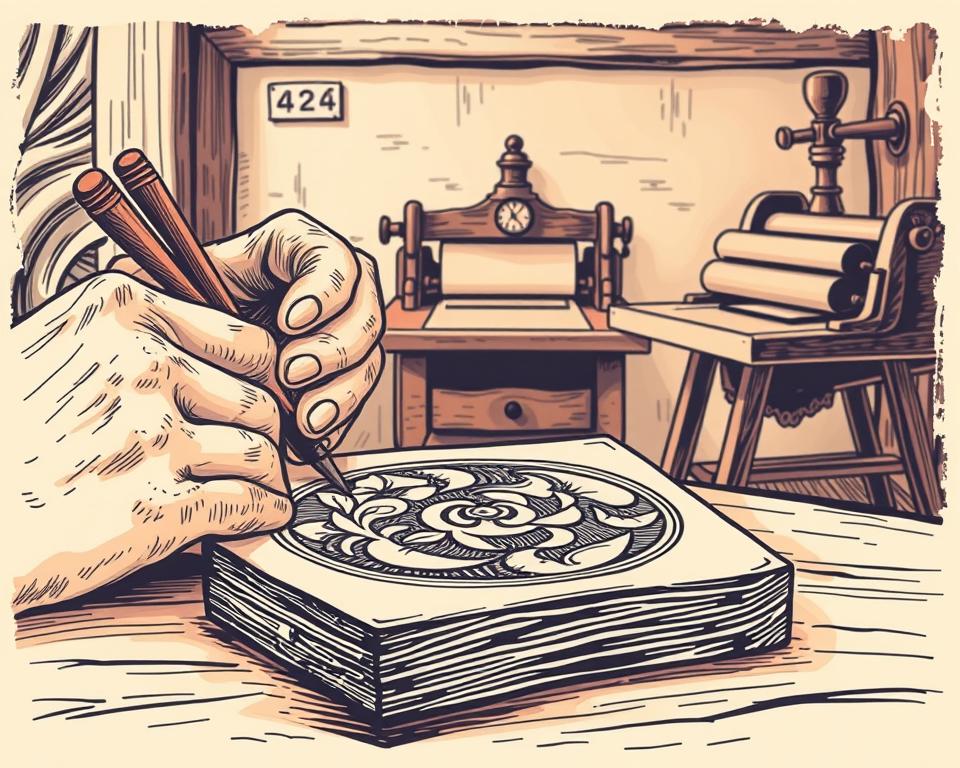
Wood engraving is a fun craft for creative people. It lets you carve designs into wood, making unique art. Learning the basics is key to starting your journey in this craft.
It’s great for making special gifts or adding a personal touch to your home. Knowing how to start can open up many creative possibilities.
What Is Wood Engraving?
Wood engraving is a way to print designs by cutting them into wood. The untouched areas hold ink, while the cut parts print. It’s used for many projects, from decorations to tools.
There are many techniques to explore, each letting you show your creativity in different ways.
Why Choose Wood Engraving?
Wood engraving is versatile and can be used for many projects. It lets you express your creativity and make personal designs. Plus, it’s a way to connect with nature and traditional craftsmanship.
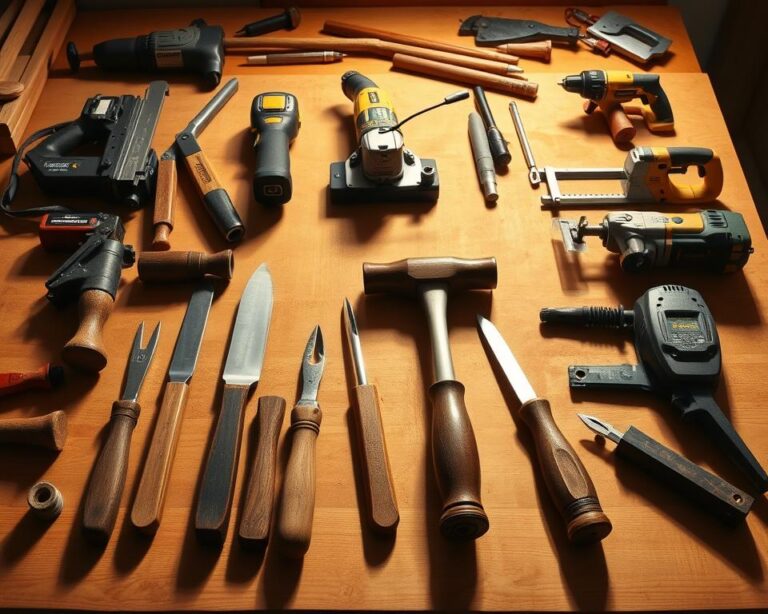
Tools and Materials You’ll Need
To start, you’ll need some basic tools. Here’s a list of what you’ll need:
| Tool/Material | Description |
|---|---|
| Wood Carving Knives | Essential for making precise cuts and details. |
| Rotary Tools | Great for detailed engraving and speed; consider brands like Dremel. |
| Basswood | Soft wood perfect for beginners; easy to carve and engrave. |
| Pine | Another suitable option that is widely available and easy to work with. |
| Pencil | Used for sketching designs before engraving. |
Getting Started with Your Wood Engraving Project
Starting your wood engraving project needs the right setup. This includes picking the right materials and organizing your space. Choosing the best wood for beginners will make your project smoother and more fun.
Selecting the Right Wood
For your engraving, pick softwoods like basswood or poplar. They are soft, making them easy to carve. This means cleaner cuts and less frustration as you learn.
Look for wood without knots or blemishes. It will engrave better. Try different woods to find what works best for you.
Make your workspace neat and safe for engraving. A flat, stable surface is key for holding your wood. Good lighting is also important for seeing your design clearly.
Here are some tips for beginners:
- Keep your tools organized and close.
- Use clamps to keep your work steady.
- Keep your area clean and free from distractions.
By following these tips, you’ll be safer and more focused. The right wood and a good workspace will help you make beautiful engravings.
Essential Tools for Wood Engraving
Choosing the right tools is key to a great wood engraving experience. You might prefer hand tools or power tools. Knowing their pros and cons helps you use beginner techniques well.
Hand Tools vs. Power Tools
Hand tools give beginners a sense of control. They let you work with precision and feel the wood closely. Tools like carving knives and chisels need practice but can create stunning details.
Power tools, however, are fast and efficient. They’re great for those who value speed. Rotating engravers are popular for their ability to make intricate designs easily. Yet, they might make you feel less connected to the wood.
Must-Have Accessories for Beginners
As a beginner, some accessories will make your work easier and safer. Here are a few essentials:
- Clamps: Keep your wood stable while you engrave.
- A sharpener: Keep your tools sharp and effective.
- A good dust mask: Protects you from inhaling wood dust.
Quality tools and accessories will improve your work and make it more fun. Using these items with your tools will help you succeed in engraving.
Basic Techniques for Wood Engraving
Starting with beginner wood engraving techniques can open up a world of possibilities. Learning to control engraving depth is key for different effects. Each style offers unique chances for creative expression through simple wood engraving projects.
Understanding Engraving Depth
Engraving depth greatly affects your design’s look. It controls how light and shadow play on the wood. Here are some tips for working with engraving depth:
- Shallow Engravings: Great for detailed designs needing precision without deep shadows.
- Medium Depth Engravings: Offers a balance, showing both detail and shadow.
- Deep Engravings: Create deep shadows for dramatic effects.
Different Styles of Wood Engraving
Wood engraving has many styles, each with its own flair. Here are a few popular ones to try:
- Relief Carving: Leaves parts of the wood raised, perfect for an impression-like finish.
- Whittling: A casual method using basic techniques to carve wood.
- Through-Carving: Removes all material, showing intricate designs from both sides.
Feel free to mix these styles and techniques in your projects. Combining relief carving with whittling can create unique designs. As a beginner, trying different methods will improve your skills and make each project special.
Creative Project Ideas for Beginners
Exploring easy wood engraving ideas opens a world of creativity for beginners. You can make personalized treasures from simple wood pieces. These can enhance your home decor or be unique gifts for loved ones. These projects improve your engraving skills and create meaningful items with a personal touch.
Personalized Home Decor
Personalized home decor is an exciting area in wood engraving projects. Engraved picture frames add a personal touch to your favorite photos. Custom name plaques welcome guests at your entryway. You can also create simple wall art that shows your style or interests.
Here are a few ideas to get you started:
- Engraved wooden coasters with family names or inspirational quotes.
- Personalized wall hangings with significant dates or important phrases.
- Custom engraved cutting boards that show your love for cooking.
Unique Gifts for Friends and Family
Wood engraving is great for surprising friends and family with thoughtful gifts. Custom coasters with unique designs are perfect for housewarming gifts. An engraved cutting board is practical and shows the recipient’s interests.
Consider creating:
- Personalized keychains with initials or favorite symbols.
- Custom pet tags to make furry friends feel special.
- Engraved jewelry boxes for a touch of elegance.
Tips for Planning Your Wood Engraving Projects
Planning your wood engraving projects is key to getting great results. A well-planned design makes the process smoother and improves your work’s quality. This part shares tips on sketching designs and measuring wood accurately. These steps are key in your wood engraving guide and help you plan better.
Sketching Your Design
Begin by sketching your design. It helps you see what the final product will look like and lets you make changes before engraving. Use graph paper or design software for a detailed layout. Feel free to try out different themes and styles to spark your creativity.
Choose elements that speak to your audience, whether it’s a heartfelt message or a unique graphic.
Measuring and Marking Your Wood
Getting the measurements right is crucial for a good engraving. Start by measuring your wood and planning where to place your design. Use a ruler, tape measure, or calipers for accuracy. Mark where you want the design with a light pencil or chalk.
This ensures your design fits well and keeps proportions during engraving. Remember to think about your wood’s grain and texture. They can change how your design looks once engraved.

For more tips on preparing your wood for engraving, check out these helpful planning tips. With good preparation, engraving becomes easier and more fun.
Safety Tips Every Beginner Should Know
Starting your wood engraving journey is exciting and full of possibilities. It’s also important to know how to stay safe while you work. Learning beginner-friendly wood engraving tips and safety in woodworking will help you enjoy your projects more.
Wearing Protective Gear
Always wear the right protective gear before starting any project. Here are some must-haves:
- Safety Glasses: Keep your eyes safe from debris and dust.
- Hearing Protection: Use earplugs or earmuffs with power tools.
- Dust Masks: Avoid breathing in wood dust, especially when sanding or engraving.
- Gloves: They help you grip better and prevent cuts.
Safe Handling of Tools
Knowing your tools well is crucial for safety in woodworking. Here are some tips:
- Firm Grip: Hold your tools tightly to avoid accidents.
- Awareness of Surroundings: Keep your workspace clean to prevent slips.
- Proper Tool Usage: Always use tools as the manufacturer instructs.
- Stay Focused: Work without distractions to stay safe.
By following these safety tips, you can have fun with wood engraving while staying safe. Always put your safety first to enjoy your creative projects fully.
Maintaining Your Tools for Longevity
Keeping your wood engraving tools in good shape is key. Taking care of them makes your projects better and more fun. Simple steps like cleaning, storing, and knowing when to replace tools can keep them working well.
Cleaning and Storage Tips
Always clean your tools after use. Get rid of any dirt and shavings, especially from blades. A brush and a damp cloth can help.
After cleaning, dry your tools well to avoid rust. Store them in a dry place to keep them safe.
When to Replace Your Tools
Knowing when to replace tools is important. Look for signs like worn-out blades, loose handles, or rust. If your tools aren’t working right, it’s time for new ones.

Joining the Wood Engraving Community
Getting involved in the wood engraving community can really enhance your experience. It’s a great way to meet others who love woodworking. There are many places online where you can find support, inspiration, and learn new things.
Online Forums and Resources
There are lots of online forums and websites for wood engraving fans. These sites have tutorials, project ideas, and discussions to help you get better. You can also share your work and get feedback from others.
Reddit and woodworking forums are good places to start. Blogs and social media groups also have lots of useful information and ideas.
Local Workshops and Classes
Local workshops and classes let you learn from experts. Look for classes at community colleges or craft centers. These classes teach you how to use engravers and work with different woods.
Learning with others helps you make friends who love woodworking. You might find groups or clubs for wood engraving too. This can help you get more involved in the craft.
Don’t forget to check out online resources to learn more. For a fun project, try making engraved wooden utensils. This guide can help you impress your friends and family with your new skills.
Conclusion and Next Steps
Starting your wood engraving journey is exciting. It’s a hobby that lets you show your creativity and improve your woodworking. You can start with simple projects and move to more complex ones as you grow.
Keep exploring this craft and share your work with others. It’s a rewarding hobby that offers endless opportunities for learning and growth.
Where to Find More Resources
For beginners, there are many books and online courses to help you learn. YouTube has lots of tutorials to teach you new skills. Joining woodworking forums and social media groups can also give you great tips.
Continuing Your Wood Engraving Journey
Keep learning and trying new things as you go. Experiment with different styles and wood types. With each project, you’ll get better and feel more confident.
Remember, every expert started as a beginner. Your wood engraving journey is just starting, and it’s full of possibilities!