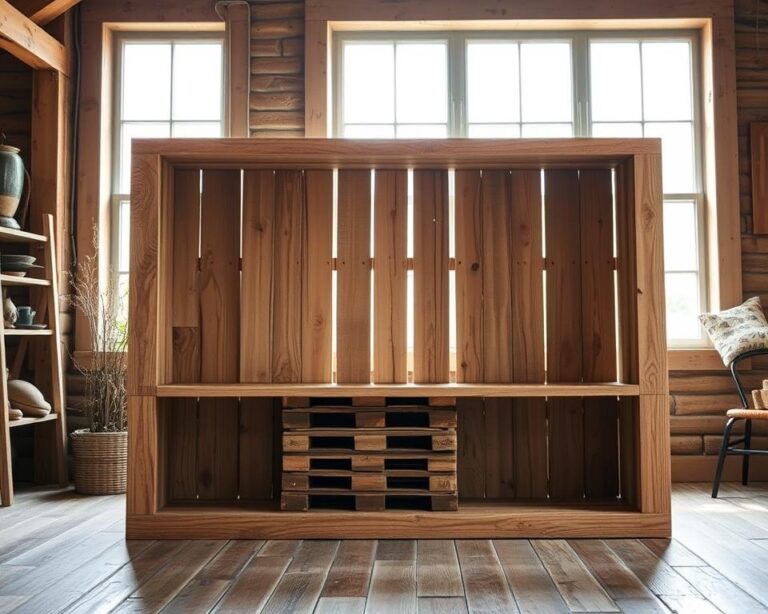
Did you know nearly 70% of Americans enjoy crafting? This shows how popular DIY projects have become. Building a diy wood lantern is a fun way to add light and show off your creativity.
This guide will walk you through making a wooden lantern. You’ll learn about tools and wood types, even with small workshop space. By the end, you’ll be ready to make a lantern that fits your style, making your space cozy.
So, get your tools ready and let’s start this crafty journey. For more ideas, check out a guide on creating wooden candles to go with your lantern.
Introduction to DIY Wood Lanterns
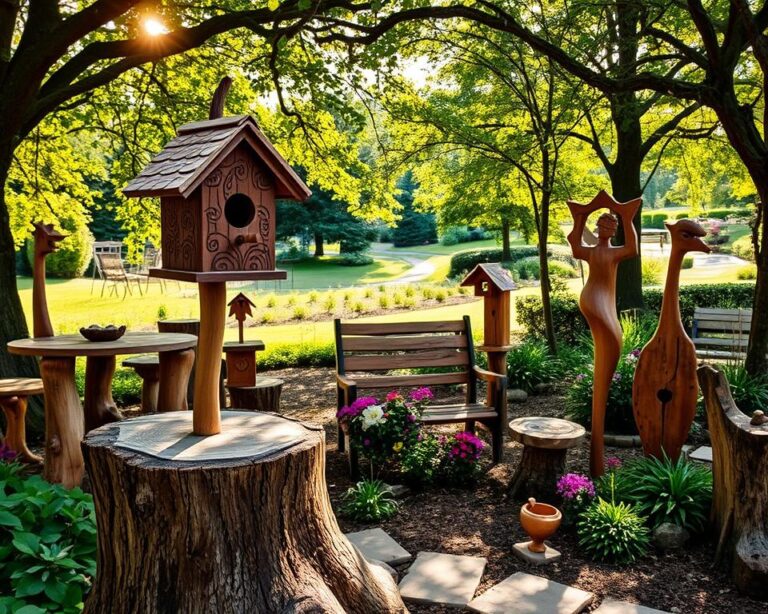
Making your own wood lantern is a fun and rewarding project. It combines practical use with creative flair. Whether for your outdoor or indoor space, a wood lantern can make a big difference. It’s not just a light source; it’s a way to show off your style.
What is a DIY Wood Lantern?
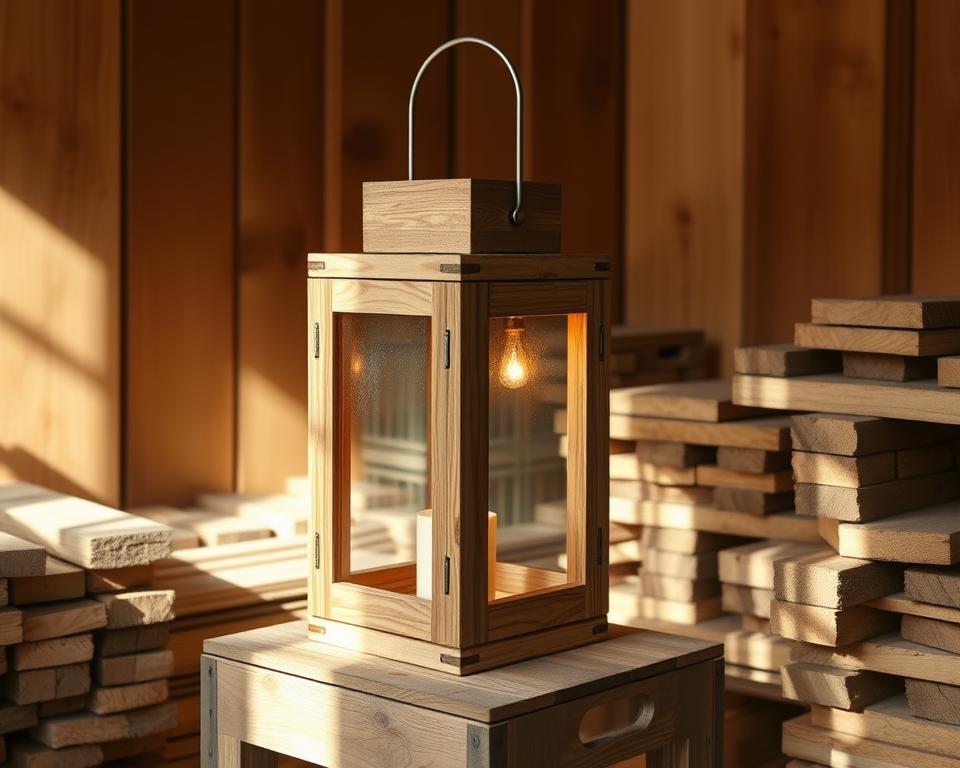
A DIY wood lantern is a handmade light fixture. It’s made from wood and can hold candles or other lights. You can customize it to fit your personal taste, making each lantern unique.
Why Choose Wood for Your Lantern?
Wood is a great choice for lanterns because of its natural beauty. It adds warmth and coziness to any space. Plus, wood is easy to work with, allowing for detailed designs that make your lantern stand out.
Benefits of Crafting a Lantern
Working on a DIY lantern project has many perks. It helps you improve your woodworking skills. You get to be creative with the design and finish. And when you’re done, you’ll feel proud of what you’ve made.
Essential Tools for Woodworking in Limited Space
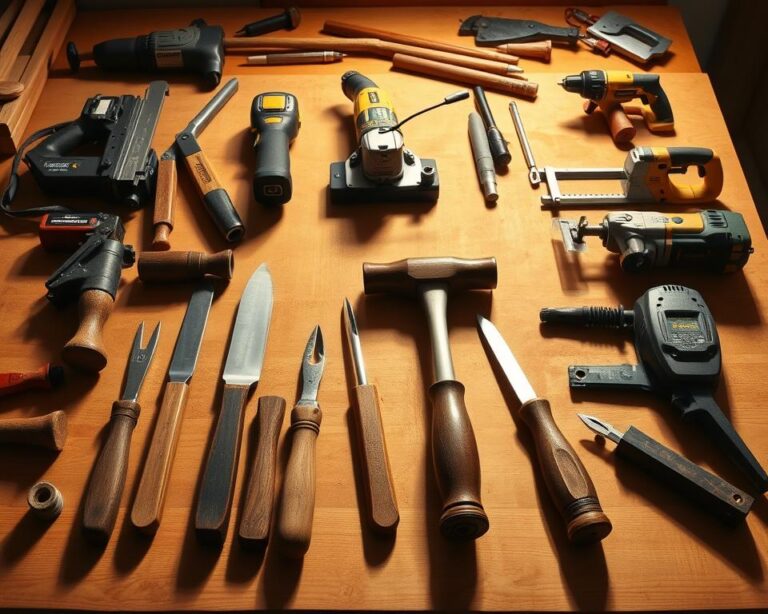
Starting a woodworking project in a small area means making smart choices. You need tools that are both essential and space-saving. A combination of hand tools and small power tools is key. They offer versatility without cluttering your space. Also, organizing your workspace well can boost your productivity.
Must-Have Hand Tools
Having the right hand tools in a small space is crucial. Make sure you have:
- Chisels for detailed cuts and adjustments.
- Saws, such as a coping saw or a small hand saw for intricate designs.
- Clamps to secure your workpieces easily.
- Measuring tools for accurate dimensions, such as a tape measure or square.
Best Compact Power Tools
Compact tools are great for saving space. Here are some top picks:
- A cordless drill is essential for quick drilling and driving tasks.
- A jigsaw is great for making curved cuts and intricate designs.
- A compact router allows for precise edge shaping.
Organizing Your Workspace
Keeping your workspace clean is crucial for efficient woodworking. Here are some tips:
- Use pegboards to hang tools, keeping them visible and accessible.
- Install shelves for easy storage of smaller items like screws and fasteners.
- Utilize stacking bins to make the most of vertical space.
Choosing the Right Wood for Your Lantern
Creating a beautiful wood lantern starts with picking the right materials. The wood you choose affects both how it looks and how long it lasts. When picking wood for your DIY project, think about a few key things to get the best results.
Types of Wood Suitable for Lanterns
Many types of wood work well for lanterns, each with its own special qualities. Here are some favorites:
- Cedar: It’s light, smells nice, and fights off decay, perfect for outside.
- Pine: Affordable and easy to work with, pine gives a timeless look.
- Plywood: Strong and versatile, plywood’s layered look can add interest.
Factors to Consider When Selecting Wood
When picking wood for your DIY project, remember these points:
- Grain Patterns: The grain’s look can really make or break the lantern’s beauty.
- Weather Resistance: Choose wood that can handle moisture and temperature changes if your lantern will be outside.
- Workability: Pick wood that’s easy to cut and shape, based on your skill level.
Sustainable Wood Options
If you care about the planet, look into sustainable wood options. Reclaimed wood and certified sustainable sources are good choices. They’re better for the environment and can make your lantern truly unique.
Designing Your DIY Lantern
Creating a wooden lantern is more than just following a blueprint. It needs creativity and careful planning. By exploring different lantern designs, you can make a unique piece that shows your style and fits your space. A DIY lantern sketch is your guide, helping you see the project. You must also focus on the wood lantern dimensions for a balanced and useful design.
Inspiration Sources for Your Lantern Design
Find inspiration in nature, like tree shapes or flower silhouettes. Architectural features, such as doorways or window frames, can also inspire. Look at crafts like pottery and metalwork for interesting patterns or textures to add to your lantern.
Making a Simple Sketch
Creating a DIY lantern sketch helps you outline your ideas. Use basic shapes for the lantern’s parts, like the top, base, and panels. This sketch helps in the design phase and keeps you on track during construction.
Dimensions to Consider
When planning your lantern, focus on the wood lantern dimensions. Think about how you’ll use it, for light or ambiance. Make sure it’s the right size for a good look and function in your space.
Step-by-Step Guide to Building Your Lantern
Starting your lantern project needs careful planning and action. Here, you’ll learn the key steps for building a lantern. This will help you create a beautiful piece that shows off your skills.
Preparing Your Wood Pieces
First, measure and cut your wood to fit your design. Cutting accurately is crucial for a great lantern. Use a miter saw for angled cuts and a table saw for straight edges.
After cutting, sand down any rough edges. This makes sure everything fits together smoothly.
Assembly Instructions
With your wood pieces cut, it’s time to assemble your lantern. Dry-fit the pieces to check their fit and alignment. Once you’re happy, use wood glue and clamps to hold the joints together.
For extra strength, add screws to your structure. Make sure everything is square and firm before the glue dries.
Finishing Touches
Finishing your lantern makes it look better and last longer. Start by sanding the whole surface for a smooth finish. You can add a wood stain or paint for color and style.
Finally, seal the wood with outdoor varnish. This protects it from moisture and UV rays. Your lantern will stay beautiful for many years.
Adding Lighting to Your Lantern
Lighting up your DIY wood lantern opens up a world of creativity. You can pick from many types of lantern lights, each with its own features. The choice depends on the look you want and how practical it needs to be.
Types of Lights to Use
For lighting, you can choose classic candles or modern LED lights. Candles give a warm, cozy glow. On the other hand, LED lights are energy-efficient and safe. They come in many designs, making your lantern both beautiful and practical.
Safety Considerations When Using Candles
If you pick candles, follow some important safety tips. Make sure there’s good air flow and keep candles away from anything that can catch fire. Also, place candles safely inside the lantern to avoid any dangers.
Using LED Lights for Efficiency
LED lights are great for those who want something that lasts long and is easy to care for. They come in many styles, letting you light up your lantern in a creative way. Plus, battery-powered LED lights make it easy to enjoy your lantern without hassle.

Personalizing Your Wood Lantern
Personalizing your wood lantern shows off your style and creativity. You can choose colors and add unique designs. This makes your lantern truly special.
Painting and Staining Options
Wood staining options are great for enhancing your lantern’s beauty. Stains add color and protect the wood. Paint lets you pick from many colors, showing off your personality.
Choose colors that match your home or the season. This makes your lantern versatile.
Adding Decorative Elements
Adding decorative elements can make your lantern stand out. Think about using beads, metal, or fabric. These details add charm and interest.
For a rustic look, try jute twine or lace. For something modern, use sleek metal. These choices can change your lantern’s whole look.
Engraving Techniques for Unique Designs
Engraving wood projects adds a personal touch. Techniques like pyrography let you carve designs into the wood. This adds a handmade quality.
Engrave your favorite quote, initials, or symbols. It makes your lantern a one-of-a-kind piece. For more ideas, check out this resource.
Troubleshooting Common Issues
Every DIY project has its challenges. When making a wood lantern, knowing how to fix common problems can make the process better. This section will cover solutions for three common issues you might face.
Dealing with Splintering Wood
Splintering wood can mess up your project’s look. To avoid this, use good tools. Sanding the edges well before and after cutting helps get rid of splinters.
Using fine-grit sandpaper can fix most troubleshooting wood problems with splinters. Always wear protective gear when sanding to stay safe.
Correcting Design Mistakes
Everyone makes design mistakes. If your piece doesn’t look like you wanted, think of creative fixes instead of starting over. Adding paint or decorations can hide flaws and make your lantern special.
You could also use the piece for a different project. This way, you turn a mistake into something new and interesting.
Repairing Finishing Flaws
Uneven stain or paint can ruin your woodwork. To fix these repairing wood finishing issues, check the surface for uneven spots. Lightly sanding these areas can help.
Applying a new, even coat usually fixes the problem. This will give your project a smooth and shiny finish.
Maintaining Your DIY Wood Lantern
Keeping your wood lantern in top shape is key. It makes your decor look great for longer. Here are some tips for cleaning, protecting, and storing your lantern.
Cleaning Tips for Longevity
Start by cleaning your lantern often to stop dirt from building up. A soft, damp cloth is best for cleaning. For tough spots, a gentle wood cleaner is perfect.
This keeps your lantern looking beautiful. It adds charm to your space.
Weatherproofing Your Lantern
It’s important to protect your lantern from the weather. Use a good sealant or waterproofing spray to keep it safe. This helps the wood last longer and stay looking good.
Storing Lanterns Effectively
Store your lantern in a dry spot, especially when it’s raining. If it’s for outside, cover it with something breathable. These steps help keep your lantern in great shape for years.

| Maintenance Task | Frequency | Details |
|---|---|---|
| Cleaning | Monthly | Wipe down with a damp cloth and use wood cleaner as needed. |
| Weatherproofing | Annually | Apply sealant or waterproofing spray to protect against moisture. |
| Storage | As Needed | Store in a dry place and cover during bad weather. |
Sharing Your Project with the Community
Getting involved in the woodworking community is very rewarding. It helps you grow as a craftsman. Sharing your DIY projects can spark creativity and teamwork. Whether you’re just starting or have lots of experience, connecting with others can make your journey better.
Joining Local Woodworking Groups
Think about joining local woodworking groups or clubs. These places are full of life and learning. You can pick up new skills, share ideas, and make friends for life. Being part of workshops or group projects can improve your skills and deepen your love for woodworking.
Showcasing Online: Social Media Tips
Sharing your finished lanterns on social media is a fun way to get feedback and support. Make your posts interesting by showing how you designed and made your lanterns. Use hashtags to reach more people and connect with others who love DIY projects. Talking with your followers can lead to great conversations and new ideas.
Creating a Blog to Document Your Progress
Starting a blog to share your woodworking journey is a great idea. Write about how you made your lantern, including any tough spots and how you solved them. This keeps your story alive and helps others who might want to try the same thing. A blog lets you connect with the woodworking community and inspires both you and your readers.
Benefits of DIY Projects Beyond Crafting
DIY projects, like making a wood lantern, offer more than just creating something. They open up new opportunities in many areas. Learning about DIY can make your projects more rewarding and inspire you to try more.
Enhancing Your Creative Skills
DIY activities are great for improving your creative skills. By trying out new designs and techniques, you get better at solving problems. This hands-on learning sparks your imagination and lets you show your unique style in every project.
Building Confidence as a Maker
Finishing DIY projects makes you feel proud and boosts your confidence. Overcoming challenges helps you grow and become more skilled. Each project you complete shows you can do more, making you ready for even bigger projects.
Connecting with Others Through Crafting
Crafting brings people together, creating a community. Whether you join local groups or share online, it helps you make friends. This network of support gives you ideas, helps you work together, and share your creativity.
Conclusion: Your Journey in Woodworking
Your woodworking journey starts with a beautiful DIY wood lantern. It’s just the beginning of many exciting projects. With each project, you get better and more confident. This encourages you to take on even bigger DIY projects.
Every step you take is a step forward. It inspires you to try new techniques and make different things. This is what makes woodworking so exciting.
There are many learning resources for woodcraft online. You can find video tutorials and join woodworking forums. These resources help you grow and get new ideas.
Being part of the woodworking community is great. You can share tips and learn from others. This helps you keep improving and trying new things.
Looking back on your DIY wood lantern project, you should be proud. It shows your hard work and creativity. Celebrate your progress and look forward to what’s next.
Your journey shows your dedication to woodworking. Every DIY project is a chance to show your creativity and love for crafting. Keep going and enjoy the journey.