Did you know over 10 million pallets are thrown away every year in the U.S.? That’s a lot of potential for your DIY projects!
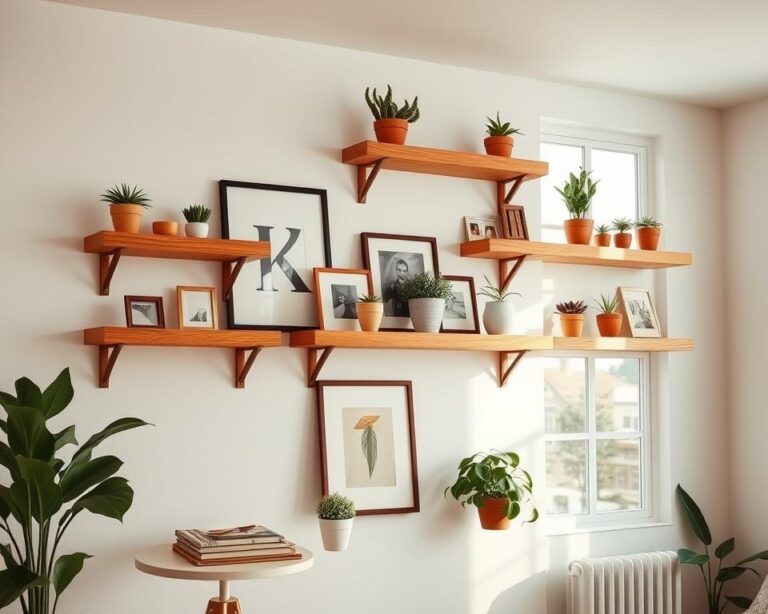
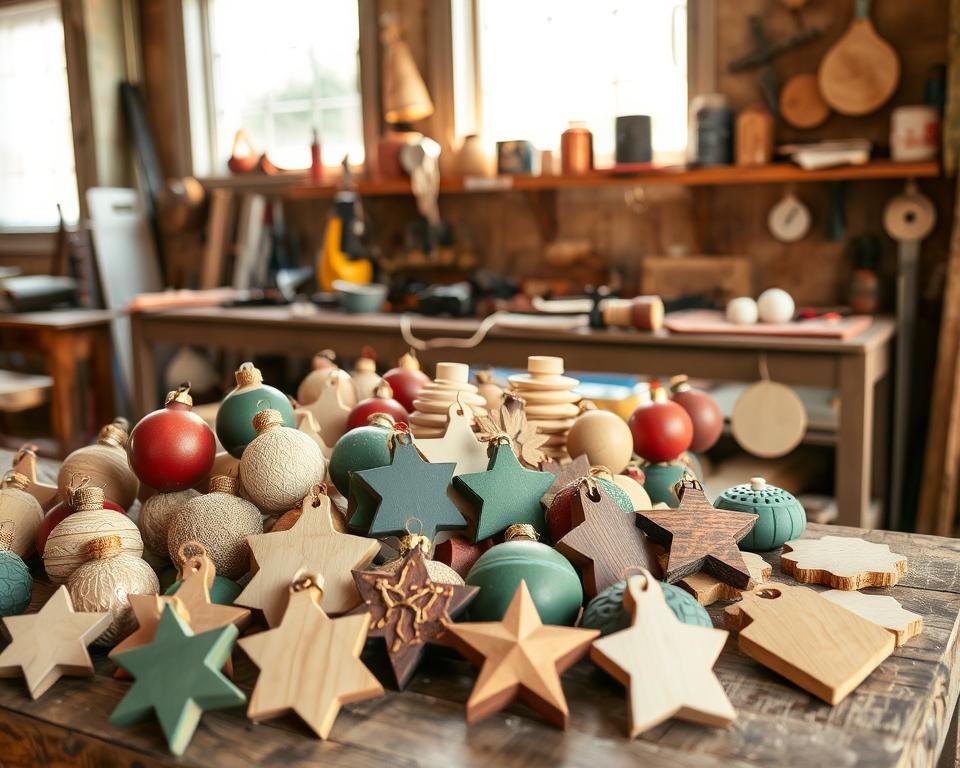
Pallet wood brings rustic charm and character to your creations. It’s perfect for making beautiful holiday crafts or unique ornaments. You’ll learn how to work with pallet wood in this section. It will help you make stunning pieces that warm up your home.
Understanding Pallet Wood for DIY Ornaments
Pallet wood is great for making ornaments. It comes from old pallets used for shipping. Knowing what pallet wood is can help you pick the right pieces for your projects.
What is Pallet Wood?
Pallet wood is made from planks and boards for moving goods. It’s made from lower-grade materials, making it cheap. Despite looking rough, it adds a special charm to your crafts. It’s often knotty and uneven, which makes it unique.
Benefits of Using Pallet Wood
Using pallet wood for ornaments has many perks. It’s cheap, so you can find it for free or low cost. It’s also good for the environment because it keeps old materials out of landfills. This fits well with eco-friendly crafting.
Types of Pallets Commonly Used
You’ll find heat-treated and untreated pallets. Heat-treated ones have a “HT” mark and are safe. Untreated ones might be risky if not checked first. It’s important to pick safe pallets for your crafts.
| Type of Pallet | Characteristics | Safety Level | Use Case |
|---|---|---|---|
| Heat-Treated Pallets | No harmful chemicals, sturdy | High | DIY Projects, Safe for Decorations |
| Untreated Pallets | More natural look, but may have contaminants | Variable | Non-decorative uses, potential safety concerns |
| Methyl Bromide Treated Pallets | Contains toxic chemicals | Low | Avoid for any DIY or decoration |
Safety First: Preparing Your Workspace
Working with pallet wood requires a safe environment. Start by getting your safety gear ready and organizing your space well.
Essential Safety Gear
First, get the right safety gear for woodworking. Gloves and goggles protect your hands and eyes from splinters and dust. A dust mask is key when sanding to keep harmful particles out. Good gear keeps you safe and makes your workspace better.
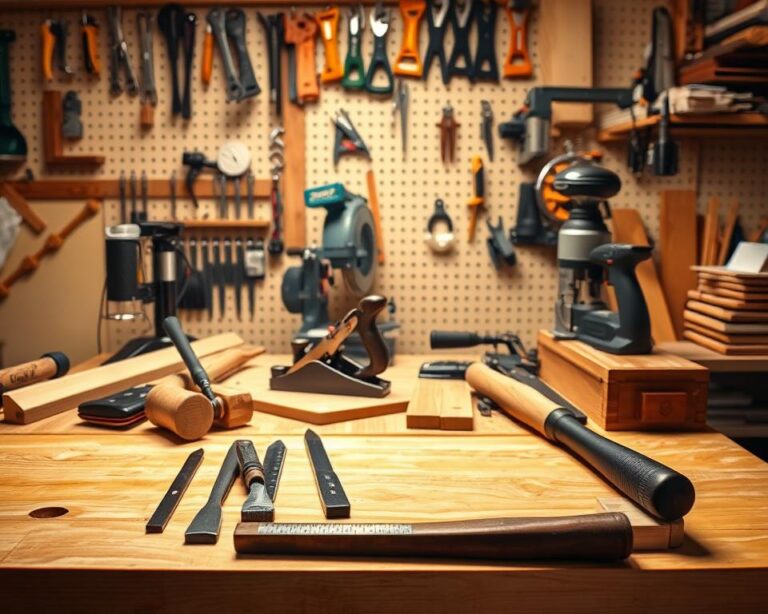
Tools You’ll Need
The right tools are crucial for success. Here are the basics for pallet wood projects:
- Prybar for disassembly
- Circular or reciprocating saw
- Hammer
- Drill
- Measuring tape
- Level
These tools help you work efficiently and accurately. They make creating DIY wood ornaments easier.
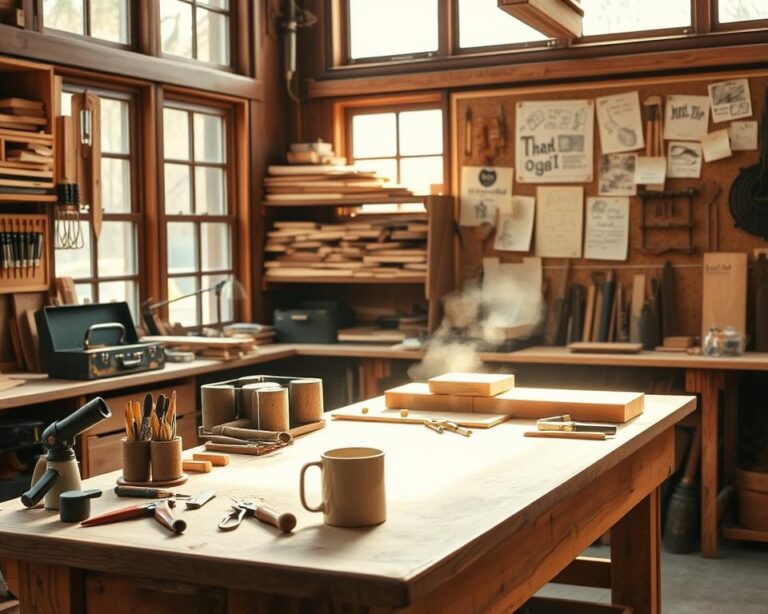
Setting Up a Designated Area
Organize your DIY space for safety and efficiency. Pick a bright, roomy spot for crafting. Keep tools and materials within reach to avoid distractions and dangers. A tidy workspace boosts creativity and safety, letting you concentrate on your project.
Selecting the Right Pallet for Your Project
Choosing the right pallet is key to a successful project. It should be both functional and look good. Knowing how to pick quality pallet wood is crucial.
Look for pallets that are sturdy, clean, and have no damage. These signs help you pick the best pallets for your project.
Signs of Quality Pallet Wood
When checking pallet wood, avoid those with too many nails or damage. A clean, dry surface means the wood is well-kept. Look for warped or cracked boards to ensure your project lasts.
Wood treated with chemicals can be harmful. So, it’s best to avoid it.
Avoiding Contaminated Pallets
It’s important to know what to avoid in pallet wood. Steer clear of pallets marked “MB” or those that look discolored. These might have been treated with chemicals.
Knowing about pallet safety helps you choose safe materials. Look for unique markings to make sure you’re picking the right pallet.
Color and Texture Considerations
The look of your pallets can make or break your project. Choose pallets with interesting textures or colors to add character. Think about how these will fit with your design.
| Pallet Characteristics | Signs of Quality | Red Flags |
|---|---|---|
| Clean Surface | Free from dirt or mold | Visible stains |
| Structural Integrity | No cracks or warps | Loose or broken slats |
| Color Variations | Rich, vibrant hues | Pale or faded sections |
| Marks on Pallet | Safe designations | Containment markings like “MB” |
Basic Woodworking Techniques for Beginners
Learning basic woodworking techniques can make working with pallet wood much better. Using the right measuring tools, cutting accurately, and sanding well are key. These skills will help you start your DIY projects right.
Learning to Measure Accurately
Measuring accurately is crucial in woodworking. Use tools like a measuring tape and square to ensure your cuts are right. Always measure twice and cut once. This helps save time and materials, preventing mistakes in your wood projects.
Cutting Pallet Wood with Precision
Cutting pallet wood needs careful attention because of its uneven surface and knots. Learning to cut wood well is important. Use a circular saw with good blades, like those from Freud Diablo, to cut through nails and hard parts. Making straight cuts helps get the right shape and size for your projects safely.
Sanding and Finishing Techniques
After cutting, smooth the edges with sanding. Sanding is key to removing splinters and rough spots. Start with coarse grit sandpaper and move to finer grit for a smooth finish. To protect and highlight your work, use sealing or staining. This makes your creations durable and beautiful.

| Tool | Purpose | Recommended Brand |
|---|---|---|
| Measuring Tape | For accurate measurements | Stanley |
| Circular Saw | Precision cutting | Makita |
| Sandpaper | Smoothing surfaces | 3M |
| Wood Finish | Enhancing appearance | Minwax |
Designing Your DIY Wood Ornaments
Finding inspiration for your DIY wood ornaments is fun. You can look at sources for ornament design like home décor magazines or Pinterest. You can also find ideas in nature. This helps you come up with unique designs and themes.
Inspiration Sources for DIY Projects
With inspiration, check out websites that show planning and visualizing craft ideas. These sites have great images and detailed projects. You can also go to local craft fairs or workshops to see what others do.
Sketching Your Ideas
After getting inspired, sketching designs for woodworking is key. Writing down your ideas helps you think about details and proportions. Try different designs and let your sketches change. This step turns your ideas into solid plans.
Utilizing Templates and Stencils
To make designing easier, use templates for woodworking and stencils for decoration. You can find many designs online. Or, make your own stencils with cardboard or plastic. This makes your ornaments look professional and consistent.
Painting and Staining Your Ornaments
Transforming your DIY wood ornaments with the right paint or stain makes a big difference. It’s key to pick paint options for wood that highlight their natural beauty. Water-based paints are great because they’re easy to use and safe for indoor projects.
Choosing the Right Paint or Stain
When picking finishes for your ornaments, look into different staining techniques. Test colors on scrap wood to get the look you want. Choose finishes that show off the wood grain and make your ornaments pop.
Techniques for a Flawless Finish
Painting wood ornaments needs patience and care. Start with thin layers and let each dry fully for a smooth finish. Try using brushes, sponges, or spray guns. Techniques like distressing or layering colors can add interest.
Tips for Adding Personal Touches
Adding personal touches makes your wood ornaments special. Add names, dates, or unique designs to show your creativity. Use stamps, stencils, or hand lettering to make them truly unique. They become keepsakes for you or others.
Assembly Methods for Your DIY Ornaments
Knowing how to join materials is key for making DIY ornaments. You can use adhesives or fasteners for woodworking projects. Each method has its own strengths for creating strong joints.
Adhesives vs. Fasteners
Adhesives and fasteners have different uses. Glue is great for looks, while screws or nails add strength. Think about what your project needs for the best choice.
Using Wood Glue Effectively
For the best wood glue results, clean the surfaces first. Make sure the pieces fit well together. Use clamps to hold them while the glue dries. Always follow the glue’s drying time for the best results.
Simple Joinery Techniques
Learn basic woodworking joints to attach wood pieces well. Joints like butt, lap, or pocket holes work for different designs. Knowing these techniques will make your ornaments last and look good.
Adding Decorative Elements
Adding decorative elements to your DIY wood ornaments can make them look amazing. You can use different materials, textures, and paints to show off your style. Here are some creative ideas to try, like using found objects, nature-inspired designs, and painting.
Incorporating Natural Materials
Using twigs, pinecones, and dried flowers can add a rustic charm to your ornaments. These natural elements connect your crafts to the outdoors. Look around in parks or your backyard for inspiration. Nature-inspired ideas can make your ornaments truly unique.
Using String and Twine Creatively
String and twine are great for adding details to your ornaments. You can use them to create patterns, hang your crafts, or add texture. Simple designs like knots and bows can make your projects stand out. Exploring different string ideas can add character to your ornaments.
Painting Details for Enhanced Appeal
Painting can make your wood crafts look even better. Try techniques like stenciling or freehand painting to add depth. Highlighting and shadowing can make simple designs pop. Choose colors that match your natural materials for a beautiful finish. Painting allows you to explore endless creative possibilities.

Caring for Your Pallet Wood Ornaments
To keep your pallet wood ornaments looking great, follow some simple care tips. Regular maintenance helps them stay beautiful for years. Start by learning how to care for your wood crafts and fix any problems that come up.
Best Practices for Maintenance
First, store your wood crafts in a cool, dry place. This helps prevent warping or cracking. Dust them often to remove dirt. Don’t use harsh chemicals, as they can harm the finish.
A soft cloth is all you need to keep them looking new.
Recommendations for Storing Your Ornaments
Keeping your ornaments organized is important. Use containers that breathe or wrap them in soft cloth to protect them. Don’t stack them too high, as this can cause damage.
Label your storage boxes so you can find what you need easily.
Repairing Damaged Wood
Even with care, damage can happen. Small scratches can be fixed with a bit of stain or paint. For bigger repairs, use wood filler or epoxy to fix your ornaments.
Learning these repair techniques will improve your skills and make your crafts last longer.
Sharing Your Creations and Inspiration
Social media is a great place to show off your DIY wood ornaments. By sharing your crafts online, you can meet people who love your work. Share photos of your projects and tutorials to connect with others.
Using the right hashtags can make your work more visible. It also encourages others to try DIY projects. This way, you help grow a community of crafters.
Being part of craft communities online and locally is very beneficial. You can join discussions, go to craft fairs, and take workshops. These activities can inspire you and help you grow as a crafter.
Teaching DIY skills through workshops is very rewarding. It lets you share your knowledge and passion with others. Hosting workshops for all skill levels can bring people together and make crafting more fun.
For more ideas on community projects, check out this resource. Organizing workshops not only shows your love for crafting but also inspires others to explore their creativity.