Did you know that creative activities can boost your mood and happiness? Painting DIY wooden trays is a great way to express your creativity. It can make your wood crafts stand out and improve your crafting skills.
In this article, we’ll show you how to turn simple wooden trays into stunning pieces. You’ll learn unique painting techniques to showcase your artistic talent.
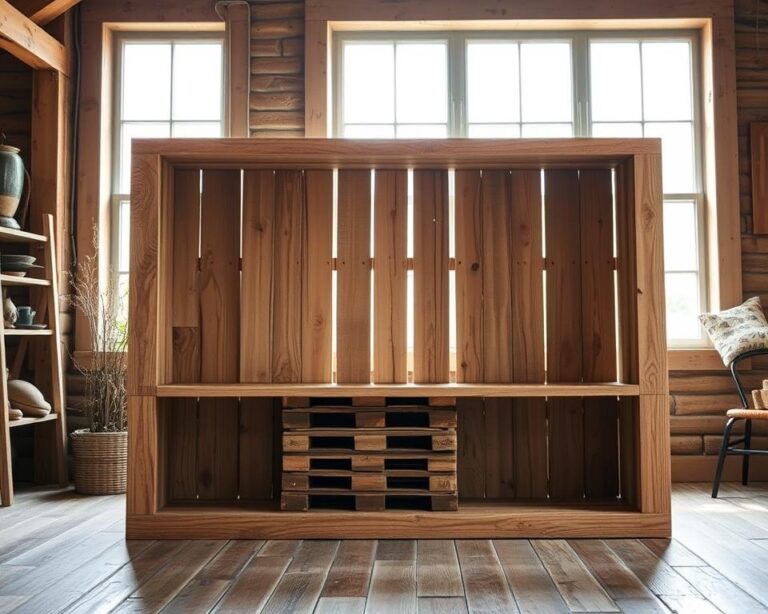
Understanding the Basics of Wood Trays
Making your own wood trays is both fun and useful. To start, it’s key to know which wood is best. The wood you pick greatly impacts your tray’s look and how long it lasts. Each wood has its own perks, so picking the right one is crucial.
Choosing the Right Type of Wood
For wood trays, some types are better than others:
- Basswood: It has a fine grain and is light, perfect for detailed designs.
- Birch: Its smooth surface is great for painting, adding a nice finish.
- Maple: Strong and hard, maple is durable and looks natural.
Think about what you’ll use your tray for. Softer woods are good for looks, while harder woods are better for everyday use.
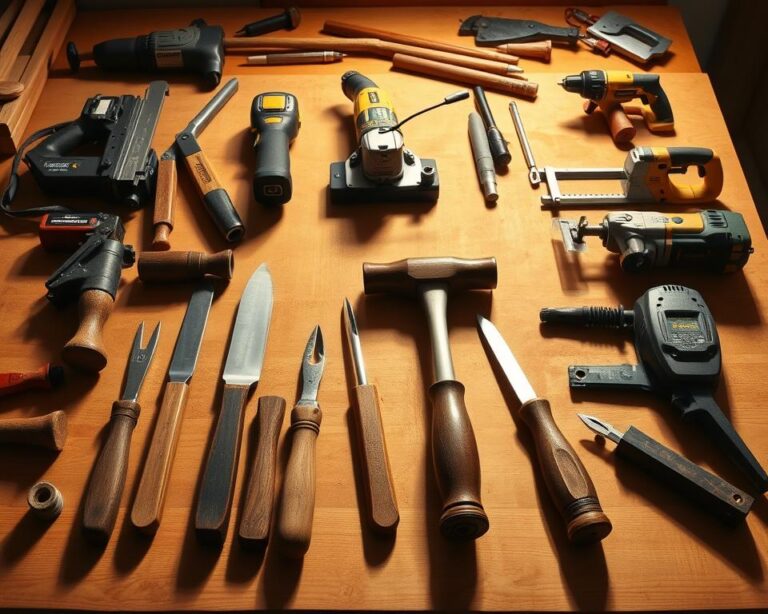
Tools and Materials You’ll Need
To make your DIY trays, you’ll need the right tools and materials. Here are the basics:
- Sanders: These tools smooth out your wood, making it ready for paint.
- Brushes: Use good brushes for painting to get a clean finish.
- Sealants: Apply sealants to protect your trays and make them last longer.
With the right wood and tools, you can make trays that are both beautiful and practical.
Preparing Your Wooden Tray for Painting
Getting your wooden trays ready is key to a beautiful finish. You must follow a few important steps. These steps help your paint stick well and make your project look great. Start by sanding to get a smooth surface, then clean and prime the wood for painting.
Sanding Techniques for a Smooth Finish
Sanding is crucial for a perfect finish. Start with sandpaper of at least 180 grit. Move to 220 grit for an even smoother surface. Always sand with the wood grain to avoid splinters and improve texture.
This step is vital for even paint absorption. It ensures your paint colors pop once the project is done.
Cleaning and Priming Your Surface
After sanding, clean the surface with a damp cloth. This removes dust and debris from sanding. It helps the paint stick better to the wood.
Depending on your paint, you might need to prime the wood. Priming makes the paint colors more vibrant and adds durability. This turns your wooden tray into a lasting decoration.
Exploring Color Selection for Your Tray
Choosing the right colors makes your wood crafts more appealing. Understanding color theory is key to picking the best color selection for trays. By trying out different DIY wooden trays colors, you can make pieces that really catch the eye.
Using Color Theory to Your Advantage
Color theory helps you see how colors work together. Learn about complementary, analogous, and triadic colors. These ideas will help you pick colors that look good together, making your designs balanced and beautiful.
Popular Color Palettes for Wood Crafts
Some color combinations are always hits for wood craft palettes. Here are a few that might spark your creativity:
| Palette Name | Color Combinations | Best Used For |
|---|---|---|
| Earthy Tones | Olive Green, Terracotta, Cream | Rustic Style Crafts |
| Bold Contrasts | Royal Blue, Bright Yellow | Modern Designs |
| Muted Pastels | Soft Pink, Mint Green | Elegant Decor |
| Warm Neutrals | Beige, Soft Brown | Classic Wooden Trays |
Playing with these palettes lets you create unique pieces that reflect your style. Don’t be afraid to try new things and let your creativity flow with your DIY wooden trays colors.
Techniques for Applying Paint
Applying paint to wooden trays can be a fun project. Knowing the right techniques is key. Different methods give different looks and finishes. You might choose between a brush, roller, or spray paint, each with its own benefits.
Brush vs. Roller: Which is Best?
Choosing between a brush and a roller depends on your design needs. Brushes are great for detailed work and getting into tight spots. They let you control the paint, making your finish smooth and clean.
Rollers are better for big, flat areas. They cover fast and evenly. This makes them perfect for the main parts of your tray.
| Technique | Advantages |
|---|---|
| Brush |
|
| Roller |
|
The Art of Spray Painting Your Tray
Spray paint is popular for its smooth finish. It’s great for DIY wooden trays. It works fast and gets into tight spots.
Always paint in a well-ventilated area. Use light coats for the best look. Keep the can at the right distance to avoid runs or uneven spots. With practice, you’ll get better at spray painting.
Adding Texture to Your Wooden Tray
Texture can make your wooden tray projects look amazing. By trying out different materials and techniques, you can turn a simple wood surface into something special. Using stencils and mixed media are great ways to do this.
Using Stencils for Creative Designs
Stencils let you add cool patterns to your trays. You can pick from many designs that match your style. They work well with paint or a sponge, making it easy to get creative.
Incorporating Mixed Media Elements
Mixed media crafting opens up a world of possibilities for your trays. You can add fabric, decorative paper, or even leaves and flowers. Mixing these with paint makes your crafts stand out and unique.
Sealing and Protecting Your Painted Tray
After painting your wooden tray, it’s important to seal it properly. The right varnishes and sealers offer vital surface protection for crafts. This helps keep your designs looking great for a long time. Here, we’ll talk about how to seal your tray, from choosing the right product to getting a lasting finish.
Understanding Varnishes and Sealers
There are many products for sealing painted trays, each with its own benefits. Let’s look at some common ones:
| Type | Finish | Durability | Best For |
|---|---|---|---|
| Polyurethane | Gloss, Satin | High | Heavy-use trays |
| Water-based Sealers | Clear | Medium | Light-use decorative trays |
| Acrylic Varnish | Matte, Gloss | Medium | Indoor trays |
| Oil-based Sealers | Clear | High | Outdoor trays |
Applying the Final Touch: Tips for Durability
Choosing the right varnish or sealer is key. But how you apply it matters a lot for DIY wooden tray longevity. Here are some tips for the best results:
- Make sure the painted surface is clean and dry before you start.
- Use a good brush or spray for an even coat.
- Apply thin coats, not thick ones.
- Let each coat dry fully before adding more.
- If needed, lightly sand between coats for better stick.

Creative Ideas for Tray Designs
Designing wooden trays lets you unleash your creativity. You can make personalized decorative items. Think about adding seasonal designs that match holidays and special occasions.
Customizing trays for gifts makes them more meaningful. Friends and family will love these thoughtful presents.
Seasonal Designs to Celebrate the Year
Seasonal wooden tray ideas bring nature inside. For autumn, use leaves or pumpkins. Winter trays can have snow or ornaments.
Spring trays feature flowers, and summer ones have sun and beach themes. Each season has its own beauty to inspire your designs.
Customizing Trays for Gifts
Customized trays make gifts special. Add initials, colors, or themes that match the person. They’re great for birthdays, weddings, or welcoming someone to a new home.
These trays are not just useful but also show you care. Consider adding a DIY touch like a small plant or homemade treats to make it even more unique.
Maintenance Tips for Your Painted Trays
To keep your painted trays looking great, regular care is key. It not only makes them look better but also lasts longer. By following the right cleaning and repair tips, you can easily keep your DIY wooden trays in top shape.
Cleaning Guidelines to Extend Longevity
When cleaning painted trays, be gentle. Use a soft, damp cloth to remove dust and spills. Stay away from harsh chemicals that can ruin the paint. A mild soap solution works well without harming the surface.
Always dry the tray right after cleaning to avoid moisture damage.
Touch-Up Techniques for Minor Scratches
Scratches can happen even with careful use. For minor scratches, start by cleaning the area well. Then, apply touch-up paint that matches the original color.
Use small brushes or cotton swabs for precise work. Let the paint dry completely before using the tray again. This ensures a smooth fix.
Inspiring Examples of DIY Wooden Tray Projects
Exploring DIY wooden tray projects can spark your creativity. You’ll find many ways to make your own, reflecting the latest DIY decor trends. The maker community shares unique techniques and designs, inspiring you to improve your crafting.
Highlighting Popular DIY Decor Trends
Now, minimalist designs, bright colors, and eco-friendly materials are all the rage. These trends focus on both looks and function. You’ll see trays with:
- Natural finishes that show off the wood’s grain
- Bold, contrasting colors to stand out
- Functional designs that also serve as decor, like serving trays and display pieces
Showcasing Unique Artisan Techniques
Artisan wooden tray techniques are all about creativity. Mixing materials, textures, and finishes can create amazing looks. Some cool ideas include:
- Inlaying contrasting woods for a fancy look
- Using resin for a shiny, modern finish
- Adding hand-painted details to make each piece unique

Explore these inspiring tray designs to start your creative craft journey. Embrace DIY and add your personal touch. Try out these exciting trends and techniques.
Hosting an Arts and Crafts Workshop
Planning an arts and crafts workshop on tray painting makes a welcoming space for all. It’s perfect for both newbies and seasoned crafters. Hands-on activities spark creativity and bring people together. Make sure everyone has fun and feels proud of their work.
Group Activities for Tray Painting
For your workshop, think about adding different tray painting activities. This will make the crafting more enjoyable. You can offer:
- Design challenges, where participants create their unique patterns.
- Collaborative projects that allow for group effort on large tray designs.
- Theme-based painting sessions, focusing on seasonal decor or specific motifs.
Tips for Engaging Participants
It’s important to keep everyone involved for a great workshop. Here are some tips:
- Start with a warm welcome and a friendly introduction to set a positive tone.
- Give clear instructions and demonstrations to guide participants through the process.
- Encourage creativity by suggesting that participants personalize their trays, allowing for individual expression.
- Facilitate discussion among participants to share techniques and ideas during painting.
Common Mistakes to Avoid
Making beautiful wooden trays can be tricky. Knowing common DIY errors can make your project better. It’s key to avoid paint mistakes and pick the right materials for lasting beauty.
Misapplication of Paint and Its Effects
One big mistake is using paint wrong. The wrong brush or roller can cause uneven paint or drips. This not only looks bad but also makes your tray less durable.
Applying paint in thin, even layers helps. It leads to a smooth finish that lasts longer.
Choosing Incompatible Materials
Using the wrong materials can ruin your project. Mixing different woods or paints that don’t stick can cause peeling or flaking. It’s important to choose materials that work well together for a great result.
Resources for Further Learning
As you keep crafting, exploring different learning resources can boost your skills and creativity. You might find new ideas for projects or improve your current techniques. There are many ways to learn, from books to online tutorials, helping you grow as a crafter.
Recommended Books and Online Tutorials
Begin by checking out DIY books on woodworking and painting. Famous authors share essential knowledge and fresh ideas. Online tutorials are also great, showing you how to do things step by step.
YouTube is full of creators who share their skills in easy-to-follow videos. They cater to all skill levels, so you’re sure to find something that suits you.
Joining Community Groups for DIY Enthusiasts
Also, think about joining DIY groups online. These communities let you share and learn from others. It’s a chance to meet people who love crafting as much as you do.
Being in a community not only teaches you more but also helps you make friends. It’s a great place to dive deeper into your crafting passion.