Did you know nearly 70% of people love handmade gifts, especially wood ones? This shows how much your woodwork can mean to others. Painting and sealing your crafts makes them look better and last longer. It’s key for a professional look, whether it’s a DIY project or a special gift.
This guide will help you pick the best paints and sealants. It’s all about protecting and enhancing your creations. For more tips, check out some useful resources. Let’s get creative and make your wood crafts unforgettable!
Understanding Your Wood Craft Project
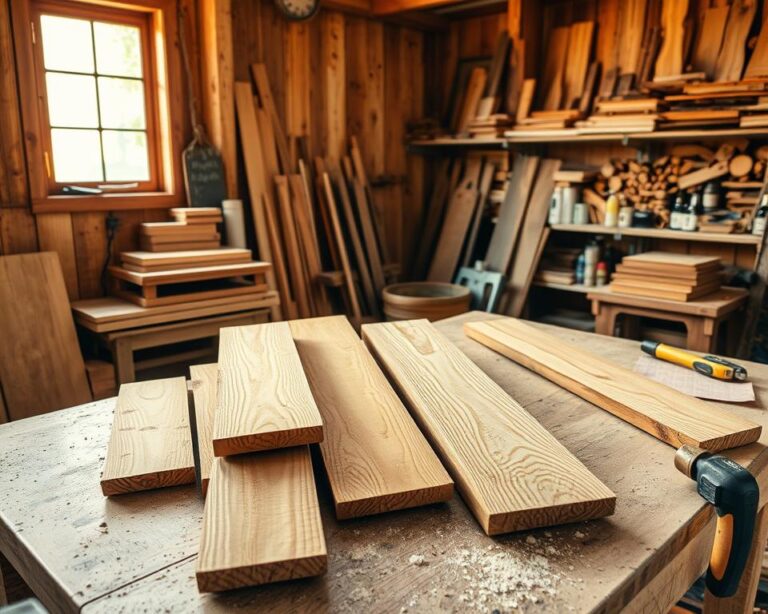
Starting a wood craft project means knowing the right wood for painting. Each wood type reacts differently with paint. This affects both how it looks and how long it lasts. Knowing this helps make sure your project turns out well.
Types of Wood Suitable for Painting
Choosing the right wood is key. Here are some common ones:
- Pine: This softwood is easy to find and has a smooth surface, great for painting.
- Birch: Its fine grain makes birch perfect for a polished finish in your projects.
- Maple: Maple is durable and has a beautiful grain. It adds strength and elegance when painted.
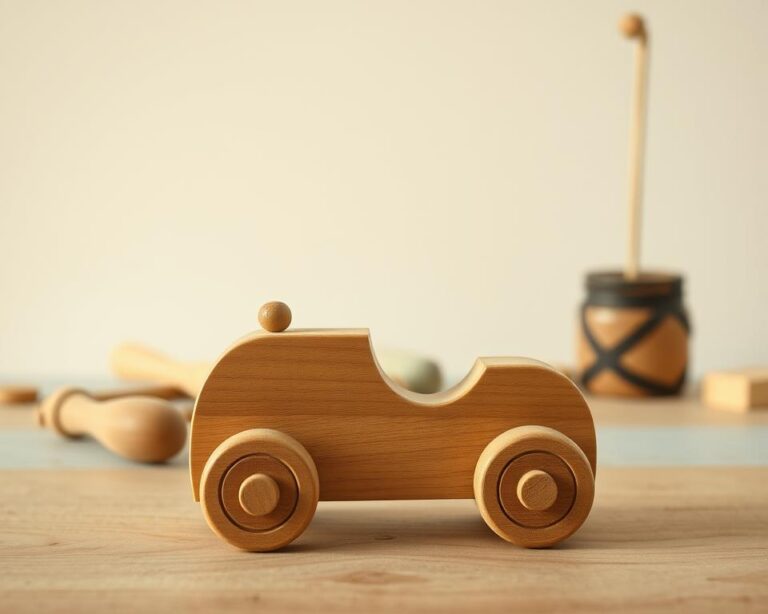
Benefits of Homemade Wood Gifts
Handmade wooden gifts show your creativity and care. They are different from store-bought items. Your unique wood crafts gain charm because of the love you put into them.
Preparing Your Wood for Painting
Getting your wood ready for painting is key to a great finish. Good preparation makes sure the paint sticks well and looks beautiful. You’ll need to focus on two main steps: sanding and cleaning your wood crafts well.
Sanding Techniques for Smooth Finishes
Sanding is crucial for a smooth wood surface. Use fine-grit sandpaper, like 140 to 180 grit, to remove flaws and get ready for paint. Here are some tips for sanding right:
- Sand with the wood grain to avoid scratches.
- Apply even pressure for a smooth finish.
- Be gentle on edges and corners to avoid rough spots.
Cleaning Your Wood Before Painting
After sanding, you must clean the wood to remove dust and debris. Cleaning well is important because dirt can mess up your paint job. Here’s how to clean your wood properly:
- Wipe the whole surface with a damp cloth.
- Use a vacuum or soft brush for tight spots.
- Let the wood dry completely before painting.
Choosing the Right Paint for Wood
When starting a wood craft project, picking the right paint is key. You can choose from acrylic paint for wood crafts or oil-based paints. Each has its own benefits, affecting your project’s look and durability.
Acrylic Paint vs. Oil-Based Paint
Acrylic paint is a favorite among wood crafters. It dries fast and is easy to clean up with soap and water. This makes it perfect for quick projects.
Oil-based paints, however, last longer and give a strong finish. But, they need solvents for cleaning and take longer to dry. Acrylic paints offer a wide range of colors, letting you express your creativity.
Eco-Friendly Paint Options
Eco-friendly paints are becoming more popular as people care more about the environment. These paints have low VOCs, making them safer for you and the planet. They come in many colors and finishes, providing great coverage for your wood crafts.
Choosing eco-friendly paints shows you care about the environment. It doesn’t mean you can’t enjoy the beauty of painted wood crafts.
Essential Painting Tools and Supplies
Having the right painting tools and supplies is key for a successful wood craft project. Quality equipment makes your work more efficient and looks better. Knowing the difference between tools helps you pick the best for your project.
It’s also important to know about safety gear for painting. This protects you from dangers while you work.
Brushes, Rollers, and Sprayers
These painting tools each have their own purpose:
- Brushes: Great for detailed work and smooth finishes on small areas.
- Rollers: Best for big areas, giving an even coat with less effort.
- Sprayers: Perfect for a smooth, even coat, ideal for a fine mist.
Choosing the right tools can make your wood crafts better. It makes painting fun and efficient.
Safety Gear You Should Consider
Safety gear for painting is crucial for your crafting experience. Here are some items to consider:
- Gloves: Keep your hands safe from paint chemicals and keep your workspace clean.
- Masks: Use a mask to block harmful fumes and dust while painting.
- Goggles: Protect your eyes from splashes or particles in the air.
Staying safe while working with wood craft supplies is important. It lets you focus on making beautiful pieces without worry.
Painting Techniques for Wood Crafts
Painting wood crafts can be a fun and rewarding hobby. Knowing different painting techniques can make a big difference. A solid base coat is key to ensure your paint sticks well and looks even.
This section will show you how to apply paint well. We’ll also explore ways to add texture to your wood crafts.
Techniques for Applying Base Coats
Getting your base coat right is crucial. Start with a good primer to seal the wood and help the paint stick. Use a synthetic brush or foam roller for a smooth finish.
For detailed spots, a small brush or an artist’s brush is best. This lets you get into tight spaces.
- Apply in thin layers to avoid drips.
- Use long, even strokes to maintain consistency.
- Allow each layer to dry completely before adding another.
Creating Texture with Painting Tools
Adding texture to your wood crafts can make them stand out. Techniques like sponging or stippling can turn simple painting into stunning art. Tools like textured rollers or combs can also create unique patterns.
- Sponging: Use a natural sponge to dab paint onto the surface, creating a soft, cloud-like effect.
- Stippling: A stiff brush applied vertically adds a varied texture to the painted surface.
- Textured Rollers: These rollers have patterns that imprint while you paint, giving a unique finish with minimal effort.
Sealants: Why They Matter
When you put time and effort into wood craft projects, sealants are key. They make your work look better and last longer.

Types of Sealants for Wood Projects
Choosing the right sealant is important. Here are some top picks:
- Polyurethane sealants – Known for their durability and water resistance.
- Polycrylic sealants – A great choice for a clear finish and low odor.
- Eco-friendly options – Perfect for environmentally conscious projects while still providing adequate protection.
When to Apply a Sealant
Knowing when to seal painted wood is crucial. Apply sealant after the paint dries completely. It protects the finish from scratches, moisture, and UV damage. This is especially important for outdoor crafts or items that get handled a lot.
Step-by-Step Painting Process
Learning the step-by-step painting for wood crafts can make your project stand out. Each step of the paint application is crucial for a smooth finish. By following these steps, you’ll enjoy the process and show off your skills.
Applying the First Coat of Paint
Begin with a thin, even layer of paint on the surface. Use a good brush or roller for even coverage. Make sure your brush strokes go with the wood grain.
Don’t overload your brush with paint to avoid drips. Wait until the first coat dries before adding more.
Drying Time and Additional Coats
Let the paint dry well after each coat. Most acrylic paints dry in about 20 minutes. But, it may take longer depending on the paint thickness and the environment.
Be patient during drying to prevent smudges. Once the first coat is dry, you can add more layers for the perfect finish.
Tips for a Flawless Finish
Getting that perfect look for your wood crafts needs careful attention. Paying close attention to finishing touches is key. Tips for smooth finishes can really make your project stand out. Watch out for common mistakes that can lead to frustrating results.
Avoiding Common Mistakes
Ensuring a flawless finish means avoiding painting mistakes. Applying paint too thick can cause drips and uneven textures. Also, rushing the drying process can lead to smudges or fingerprints.
Always follow the recommended drying times between coats. Using a quality brush or roller can help you achieve an even application.
Touch-Up Techniques for Imperfections
Every wood project might have minor flaws during painting. Touch-up techniques are crucial in fixing these issues. Start by lightly sanding any imperfection with fine-grit sandpaper.
After sanding, apply matching paint carefully. Blend it with the surrounding finish to keep it consistent. These steps help maintain a polished look, showcasing your wooden creations’ beauty.

Personalizing Your Wood Gifts
Personalizing wood gifts opens up a world of possibilities. You can use many techniques and materials to make your vision come true. Adding unique stains, finishes, and designs turns each piece into a special treasure that shows your feelings.
Adding Stains and Finishes
Stains can really make wood gifts stand out. There are many colors to choose from, adding depth and character. Applying a gloss or matte finish adds elegance and protection, making your crafts even more beautiful.
Incorporating Designs and Patterns
Designing wood crafts lets you get creative and personal. You can use stencils, stamps, or paint freely. Each method lets you make gifts that truly mean something to the person who receives them.
Caring for Painted Wood Crafts
To keep your painted wood crafts looking great, you need to take good care of them. Knowing how to clean and store them safely is key. Follow these tips to make them last longer.
Proper Cleaning Techniques
Cleaning painted wood requires gentle methods. Use a soft, damp cloth to remove dust and dirt. Stay away from rough materials that can scratch the wood.
If you have stubborn stains, a mild soap solution might help. But make sure to dry the area well after. Taking care of your wood crafts keeps them looking new and keeps them in good shape.
Storing Your Wood Gifts Safely
It’s important to store wood gifts in a safe place. This protects them from moisture and heat, which can cause damage. Keep them in a cool, dry spot, away from sunlight.
Choose storage that lets air in and keeps dust out. This way, your gifts will stay beautiful for a long time.
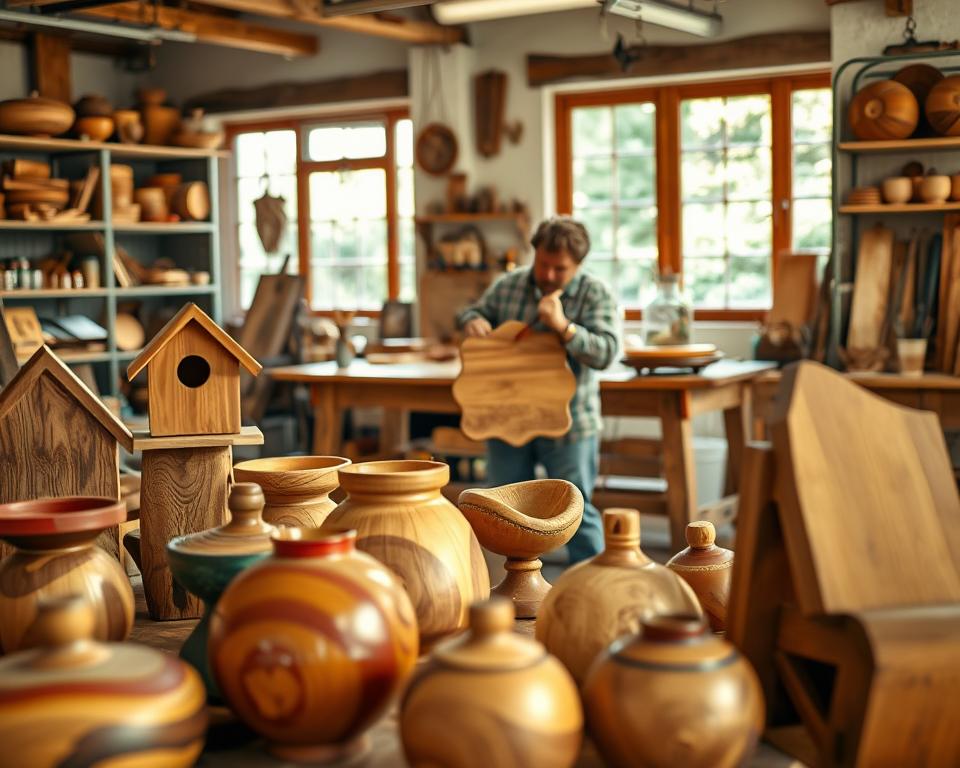
Inspiring Ideas for Homemade Wood Gifts
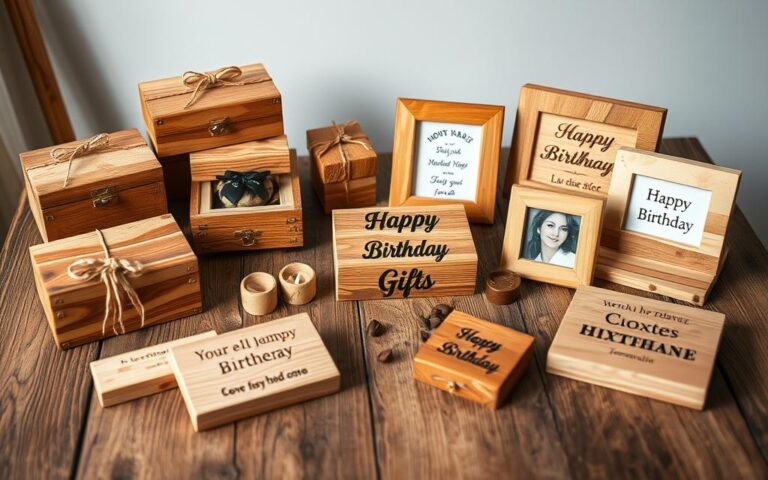
Making unique wood gifts for your loved ones is a great way to show your creativity. It’s perfect for birthdays, anniversaries, or just to say thank you. You can use many wood crafting techniques to make something special for your friends and family.
Gift Ideas for Family and Friends
Think about making custom wood keychains or photo frames with special memories. Personalized coasters or engraved cutting boards are also great. These gifts are both beautiful and useful, and can be made just for the person you’re giving them to.
With a little creativity, these wood gift ideas can make any occasion brighter. They bring joy and warmth to everyone.
Seasonal and Holiday Themes
As the holidays get closer, consider making wooden ornaments or festive centerpieces. Hand-painted nutcrackers or themed wall hangings can make your holiday celebrations special. Using warm and vibrant colors can add to the festive spirit.
Creating gifts for any season can leave a lasting impression. It shows you care and pay attention to the special times you share together.