Did you know over 60% of Americans want to try DIY woodworking? Making your own wooden box is a great way to start. This guide will show you how to make a wooden box, teaching you skills for bigger projects later.
Creating a wooden box is a fun way to get into woodworking. It’s easy to follow and the results are both useful and beautiful. It’s perfect for organizing or making a special gift. Learning to make a wooden box opens up a world of DIY projects.
Introduction to Small Woodworking Ideas
Starting woodworking is exciting, especially for beginners. Working with wood boosts creativity and sharpens your skills. It also gives a great feeling of accomplishment.
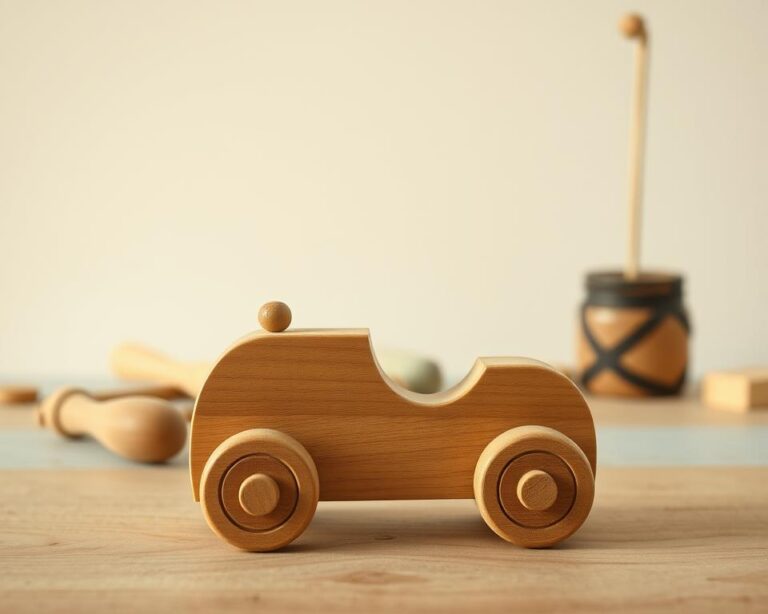
For beginners, small woodworking projects are perfect. They help you learn important skills while having fun.
Benefits of Woodworking for Beginners
Woodworking is great for beginners. It offers many benefits. Here are some:
- Enhancing creativity: You can make unique pieces that show your style.
- Improving concentration: Working on details sharpens your focus.
- Building problem-solving skills: Overcoming challenges improves your thinking.
- Developing manual dexterity: Using tools and materials boosts your coordination.
Overview of Projects You Can Try
Beginners can try many easy woodworking projects. Here are a few to start with:
- Making a basic birdhouse
- Crafting a small bookshelf
- Building a simple stool
- Creating decorative picture frames
These projects are great for beginners. They help build your skills and let you be creative.
Materials Needed for Your Wooden Box
Making a wooden box needs the right materials and tools. Choosing the best wood and tools makes your project rewarding. This part talks about the wood types for beginners and the tools you need.
Types of Wood Suitable for Beginners
For small wood crafts, beginners have many options:
- Pine: It’s light and easy to work with, making it a great choice for beginners.
- Poplar: A bit denser than pine, poplar is smooth and stable, ideal for detailed projects.
- Oak: Strong and elegant, oak is durable but a bit harder to work with, leading to beautiful results.
Essential Woodworking Tools
Having the right tools is key for your projects. Here are some must-haves:
- Drills: Great for making pilot holes for clean joins.
- Saws: Use a handsaw or miter saw for precise cuts.
- Clamps: Essential for keeping pieces together while the glue dries.
- Sanders: Sanding tools help achieve a smooth finish on your box.
Knowing about woodworking materials and tools is the first step to a great project. Each choice affects your final product, encouraging more projects as you improve.
Planning Your Wooden Box Design
Before starting your DIY woodworking project, take time to plan your wooden box design. Good planning is key to a successful project. It ensures your box looks great and works well. Follow simple steps for measuring, drawing, and choosing the right size.
Measuring and Drawing Your Plans
Getting accurate measurements is crucial. First, decide what your wooden box will be used for. Then, use a measuring tape to take precise measurements. After, draw your plans on graph paper. This helps you see how your box will look and fit together.
Choosing the Right Dimensions
Think about both looks and function when picking dimensions. A box that looks good and works well is best. Consider what you’ll put in the box and how big it should be. For example, a jewelry box needs different sizes than a toy box. Don’t forget to add the wood thickness to your calculations.
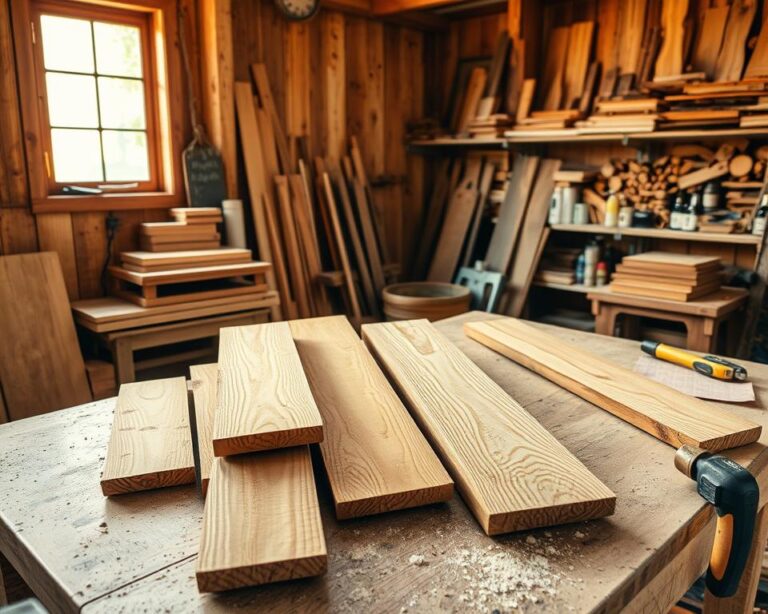
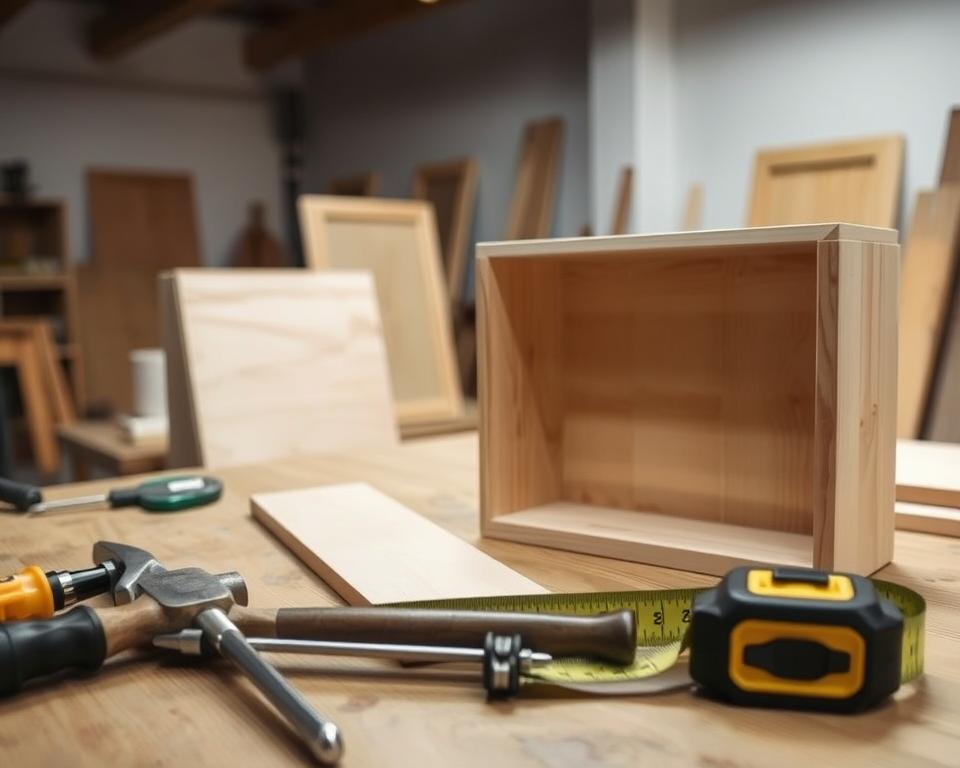
Preparing Your Wood
Getting your wood ready is a crucial step for woodworking success. Whether you’re starting with beginner projects or tackling more complex ones, proper wood preparation is key. It greatly affects the quality of your wooden box.
Cutting Wood to Size
One of the first steps is cutting your wood to the right sizes. Making accurate measurements ensures your cuts are precise. This way, all pieces fit together perfectly. Here are some tips to help:
- Use a miter saw or hand saw for clean, straight cuts.
- Measure twice to avoid errors. Take the time to mark each piece clearly before cutting.
- Always wear safety goggles to protect your eyes while cutting.
Sanding for a Smooth Finish
Sanding is as important as cutting in woodworking. It helps remove splinters and rough edges, giving your box a smooth finish. Here’s how to do it right:
- Start with a coarse sandpaper (around 80-grit) to level any rough spots.
- Progress to finer sandpaper (120-grit to 220-grit) for a polished look.
- Sand in the direction of the wood grain to prevent scratches.

Assembling the Box
Assembling your wooden box is an exciting part of your project. The right woodworking techniques are key to making it sturdy and beautiful. You can pick from many joinery options based on your skill and taste. Knowing these methods will help you build your wooden boxes like a pro.
Joining Techniques: Dovetails vs. Butt Joints
Dovetail joints are strong and perfect for boxes. They make your box last longer and look great. For more on making these joints, check out this guide on joinery techniques.
Butt joints are simpler and work well for basic boxes. Adding dowels or splines can make them stronger. If you’re up for a challenge, try mortise and tenon joints for the corners.
Using Wood Glue and Clamps
Quality wood glue is crucial for strong joints in your wooden boxes. Apply glue to the joint surfaces for better adhesion. Use clamps to keep the pieces together while the glue dries.
Before you start, test your joints with scrap wood. This step can save you from mistakes. Also, think about how wood moves with the seasons and design your joints accordingly.
Adding Features to Your Wooden Box
Adding features to your wooden box can make it even better. You can add a lid, hinges, and decorations to make it unique. These additions make your box not just useful but also a stylish piece that shows off your taste.
Incorporating a Lid or Hinges
A lid is a great addition to your wooden box. Using hinges makes it easy to open and close. Choose hinges that match your box’s design and your woodworking style.
Make sure the hinges can handle the weight of the lid. This ensures your box is both durable and functional.
Optional Decorative Elements
Decorative elements can really make your wooden boxes stand out. You can carve designs, paint, or add hardware like knobs. There’s no limit to what you can do.
Try a vintage look with fancy designs or a modern style with simple elements. Use different materials and techniques to match your style. This way, you can create something truly unique.
Finishing Touches
Adding finishing touches to your wooden box makes it look better and last longer. Using the right finishing techniques for woodworking means your box will last for a long time. You can stain or paint it to get the look you want and protect the wood.
Staining and Painting Your Box
Stains go deep into the wood, giving it a rich, natural look. If you want something more colorful, paint your box. Use acrylic or enamel paints for different colors and finishes. Always sand the surface lightly before painting or staining for better adhesion.
Let the paint or stain dry completely for a smooth finish.
Applying Protective Coatings
Protective finishes are key to keeping your box in good shape. Use food-safe oils or wax to nourish the wood and protect it from moisture and dirt. Regularly reapplying oils helps keep your box looking great. For more tips on protecting and caring for your wooden creations, visit this link: protecting and nourishing the wood.
| Type of Finish | Description | Best Used For |
|---|---|---|
| Stain | Penetrates wood grain, enhances color | Natural look with grain visibility |
| Paint | Covers wood, available in various colors | Vibrant, colorful designs |
| Oil | Nourishes wood, water-resistant finish | Food-safe applications, moisture protection |
| Wax | Provides a soft sheen, easy to apply | Final touch, quick and easy maintenance |
Choosing the right finishing techniques for woodworking makes your wooden box beautiful and long-lasting.
Troubleshooting Common Issues
Woodworking can be challenging, but solving problems makes you better. You might face issues like misaligned joints or surface flaws. Luckily, there are ways to fix these problems and make your work shine.
Fixing Misaligned Joints
Misaligned joints are common but fixable. First, figure out the joint type and its problem. Here’s how to fix it:
- Disassemble the joint carefully to avoid damaging the wood.
- Check your measurements and mark where adjustments need to be made.
- Apply wood glue to realign and clamp the joint closely.
- Once dry, sand down any rough edges for a seamless look.
By following these steps, you’ll not only fix the issue but also improve your woodworking skills.
Repairing Scratches and Imperfections
Scratches or imperfections can ruin the look of your wooden box. Here’s how to fix it:
- Clean the area with a soft cloth to remove any dirt.
- Use a wood filler that matches your wood type for deeper scratches.
- Smooth the filler with sandpaper following the grain of the wood.
- If necessary, apply touch-up stain or finish to blend.
These steps will greatly improve your box’s look. It shows your commitment to quality and detail.

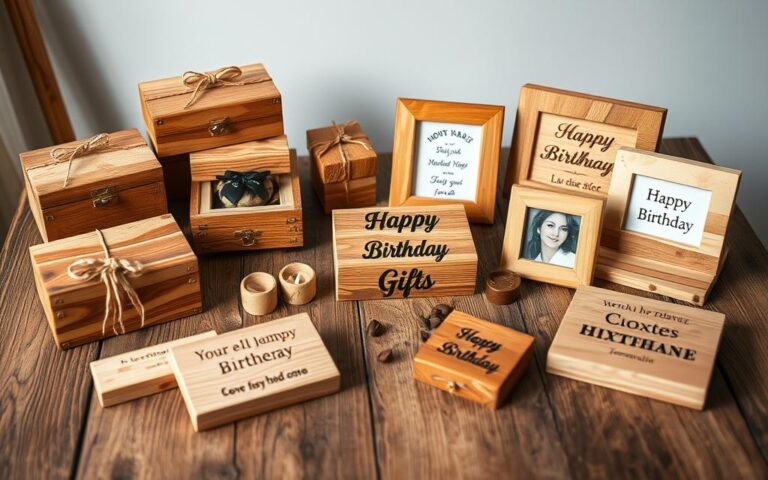
Personalizing Your Wooden Box
Turning a wooden box into something special requires creativity and personal touches. Adding engravings or branding can make your project stand out. This personalization not only boosts the box’s look but also adds emotional value, perfect for special moments.
Engraving and Branding Ideas
Engraving lets you carve names, dates, or messages into the wood, leaving a lasting mark. Here are some top ideas for making your wooden box unique:
- Monograms or initials for a classy touch
- Inspirational quotes that resonate with recipients
- Special dates, such as anniversaries or birthdays, for meaningful gifts
- Custom designs or logos that reflect personal interests or hobbies
Gift Options for Special Occasions
Custom woodworking can lead to thoughtful gift ideas. These boxes are ideal for:
- Weddings, filled with keepsakes or love letters
- Birthdays, offering a unique way to present surprises
- Graduations, displaying cherished memories and achievements
- Holidays, serving as beautiful storage for seasonal decorations or photos
Conclusion and Next Steps
As you finish this guide on making a wooden box, you’ve laid a solid foundation in woodworking. You’ve learned how to choose materials and make your projects unique. These skills will help you with many future projects.
Every step you took improved your craft and sparked creativity. This creativity can lead to even more exciting projects.
Exploring More Small Woodworking Ideas
Now, it’s time to find more small woodworking ideas to practice. You could make a simple shelf, a plant holder, or something decorative. These projects will improve your skills and let you try new techniques and finishes.
By trying different designs, you’ll gain valuable experience. This experience will prepare you for bigger projects in the future.
Encouragement to Start Your Next Project
So, why wait? Start your next woodworking project with excitement. Remember the joy and pride of turning raw material into something beautiful and useful.
Each new project brings new inspiration and the chance to grow. Embrace the journey and enjoy creating! Your woodworking dreams are just starting.