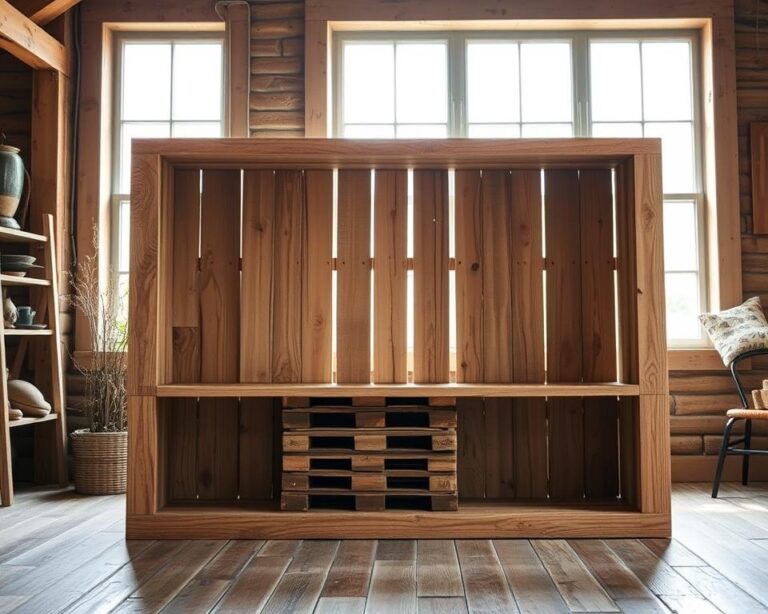
Did you know over 50% of furniture is made from wood? The right wood staining technique can make your DIY wood projects stand out. Learning how to add depth to wood staining lets you show off the natural beauty of the grain.
To get stunning finishes, you need to know about wood types and preparation. Using good wood cutting techniques and woodworking tips helps a lot. With the right approach, your projects will look great and last long.
Understanding Wood Types for Staining
Choosing the right wood type for staining is key to great results in woodworking. Knowing common wood species helps you pick the best one. Each species has its own look and how it takes stain.
Understanding these differences lets you use the right techniques. This way, you get the best look from your wood.
Common Wood Species Used in Projects
- Oak: A durable hardwood, known for its strength and beautiful grain. It accepts stains well, providing depth and richness.
- Pine: A popular choice among softwoods, easy to work with and stain. Its lower density allows it to absorb colors fully.
- Maple: A hardwood that offers a fine, consistent grain ideal for more modern designs. Stains can bring out its natural warmth.
- Cedar: Known for its aromatic scent and natural resistance to decay, cedar is a softwood that takes stain beautifully.
Characteristics of Softwoods vs. Hardwoods
Softwoods come from coniferous trees and are lighter. They stain easily. Hardwoods, from deciduous trees, are denser and last longer. They also hold color better.
Knowing these differences helps you choose the right wood. This ensures your project looks great and lasts long.
Preparation: Getting Wood Ready for Staining
Getting your wood ready for staining is key to a perfect finish. Start with coarse 80-grit sandpaper to remove big flaws. Then, move to finer grits like 120, 220, and finish with 320 or 400-grit sandpaper. This step ensures your wood is smooth for even stain absorption.
Sanding: Tools and Techniques
Choosing the right tools is as crucial as the sanding method. A random orbital sander speeds up sanding, but hand sanding is better for small areas. Always keep the sander moving to avoid uneven spots. Learning these sanding techniques saves time and effort later.
Cleaning Dust and Debris
After sanding, clean the wood thoroughly. Dust and debris can ruin your stain. Use a vacuum or soft cloth to clean the surface. A clean wood surface prevents imperfections in your final project. For more tips, check out this guide on hand-carved wooden cutting.
Choosing the Right Stain for Your Project
Choosing the right wood stain is key for a great look and durability. There are many stains, each with its own benefits. Knowing these options helps you make the best choice for your project.
Types of Wood Stains
Wood stains come in oil-based and water-based types. Oil-based stains go deep into the wood, giving a rich look. They take longer to dry but protect well. Water-based stains dry quicker and are better for the environment.
Color and Finish Options
There are many colors to choose from. You can mix stains to get the perfect shade. Finishes like glossy and matte affect both look and protection. Glossy adds color and protection, while matte is softer.
| Type of Stain | Finish | Drying Time | VOC Emissions |
|---|---|---|---|
| Oil-Based | Glossy, Satin, Matte | 24-48 hours | Higher |
| Water-Based | Glossy, Satin, Matte | 1-4 hours | Lower |
Choosing stains and finishes should match your style and project needs. Try different colors and finishing techniques to get amazing results.
Test Your Stain: Sample Boards Matter
Testing stains on sample boards is key to getting the look you want. These boards let you see the finish before you start on the real project. Using scrap wood can lead to new discoveries in color and technique.
Creating Sample Boards
To make sample boards, follow these steps:
- Gather several pieces of scrap wood that match the type you plan to stain.
- Sand the pieces to achieve a smooth surface, as this will affect the stain’s absorption.
- Apply different stains to each sample board to see how various colors interact with the wood.
- Evaluate the boards after they dry, assessing both color and texture.
This method helps you find the perfect stain for your project.
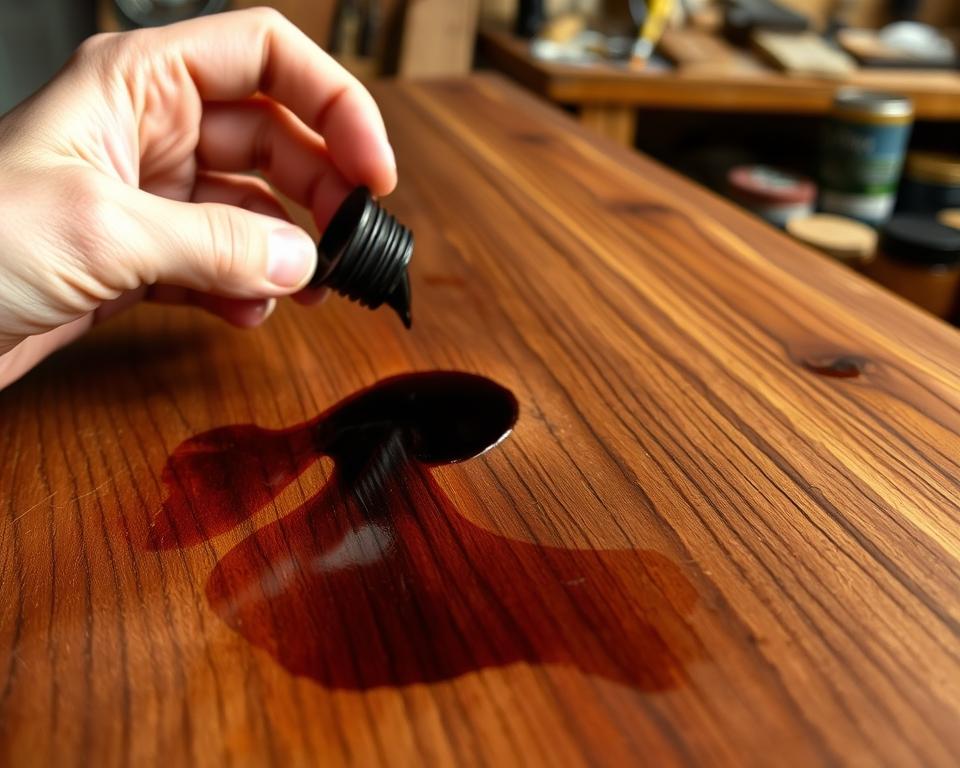
Adjusting Stain Application Techniques
Trying different stain application techniques can give you unique results. Here are a few methods to consider:
- Brushing: Offers better control and coverage, ideal for intricate areas.
- Wiping: Provides a more blended look and can reduce the intensity of the stain.
- Spraying: Delivers a smooth finish over large surfaces but requires practice for precision.
Changing these techniques can make your finish look deeper. By layering or blending stains, you can add depth to your project.

Application Techniques for Depth
Choosing the right technique for wood staining can make a big difference. Brushing and cloth application are two main methods. Each has its own benefits and drawbacks. Knowing these can help you achieve the depth and look you want.
Brush vs. Cloth Application
Brushing is great for precision. It spreads the stain evenly, perfect for detailed work. Good brushes, like those from natural or synthetic materials, hold and release stain well. This is best for complex wood designs.
Cloth application gives a different feel. It lets you control the stain, adding texture and grain to the wood. A soft cotton cloth applies a thin layer neatly. Your choice depends on your project and what you like best.
Layering for Enhanced Depth
Layering is key for depth in staining. Using different stain colors in layers creates a deep, rich look. Start with a light layer, let it dry, then add a darker one. This lets the colors mix, adding depth to your finish.
Try different color mixes and timing. The right approach can turn a simple piece into a beautiful centerpiece.
Drying: Importance Before the Next Coat
Understanding the drying time between coats is key in wood staining. It ensures the stain binds well and looks great. Knowing the right drying times helps your work stand out.
Recommended Drying Times
The drying time depends on the stain type. Here are some basic guidelines:
| Type of Stain | Recommended Drying Time |
|---|---|
| Oil-based Stain | 6 to 8 hours |
| Water-based Stain | 1 to 2 hours |
| Gel Stain | 2 to 4 hours |
| Lacquer Stain | 30 minutes to 1 hour |
Factors Affecting Drying Time
Several things can change how fast your stain dries. This affects your project’s quality:
- Humidity: High humidity slows drying, while low humidity speeds it up.
- Temperature: Warmer temps dry faster, while cold temps slow it down.
- Wood Type: Softer woods absorb stain quicker than hardwoods.
- Application Thickness: Thicker stain coats dry slower than thinner ones.

Sealing Your Stained Wood
After staining your wood, picking the right sealant is key. Good wood sealants keep the stain looking great and protect against moisture and wear. Knowing your options and how to apply them ensures your project stays beautiful.
Types of Sealants to Consider
There are many wood sealants, each with its own benefits. Here’s a quick look at some popular ones:
| Sealant Type | Application Method | Ideal For |
|---|---|---|
| Polyurethane | Brush or spray | Durability, high traffic areas |
| Varnish | Brush | High-gloss finish, outdoor projects |
| Shellac | Brush or cloth | Quick drying, interior use |
| Oil-based Sealant | Brush | Deep protection, enhancing color |
Application Tips for Sealants
Getting sealant right is crucial for protecting your stained wood. Here are some tips for even coverage:
- Make sure the stained surface is dry before applying the sealant.
- Use high-quality brushes or spray equipment to avoid bubbles.
- Apply thin coats for a smooth finish, rather than one thick layer.
- Sand lightly between coats for better adhesion and a polished look.
Maintenance Tips for Stained Wood
Maintaining stained wood needs regular care to keep it looking great. Proper upkeep extends the life of the finish and guards against damage. This guide offers tips on cleaning stained surfaces and knowing when to reapply stain.
Cleaning and Upkeep Your Finish
Regular cleaning is key for stained wood. Here are some tips to improve your wood upkeep routine:
- Use a soft cloth or sponge with a mild soap solution. Avoid harsh chemicals that can damage the stain and wood.
- Wipe up spills right away to prevent stains from setting and damaging the finish.
- Dust the surfaces often with a microfiber cloth to prevent build-up that can scratch the finish.
- Avoid using abrasive cleaners or scouring pads, as these can lead to scratches that mar the beauty of your stained wood.
When to Reapply Stain
Knowing when to reapply stain is important for maintaining stained wood. Look for these signs:
- Fading color or dullness indicates that the protective layer may be wearing off.
- Water stains or beads of moisture sitting on the surface may suggest that the stain has lost its effectiveness.
- Visible wear in high-traffic areas often means the wood requires another layer of protection.
Troubleshooting Common Staining Issues
Working with wood stains can sometimes lead to problems. Issues like uneven color and blotchy areas can ruin your project’s look. But, with the right knowledge and techniques, you can fix these problems and get a beautiful finish.
Dealing with Uneven Color
Uneven color in stained wood often comes from poor preparation or application. First, make sure the wood is sanded evenly. Using a wood conditioner before staining helps ensure even absorption, reducing uneven color.
When staining, work in small sections. Blend them well to avoid lines. This helps achieve a smooth, consistent look.
Fixing Blotchy Stains
Blotchy stains can be a big problem in woodworking. They often occur in porous wood or when too much stain is used. To fix this, use a pre-stain conditioner to control stain absorption and prevent blotching.
If you already have blotches, lightly sand them. Then, reapply the stain. This will help even out the color and fix the stains.